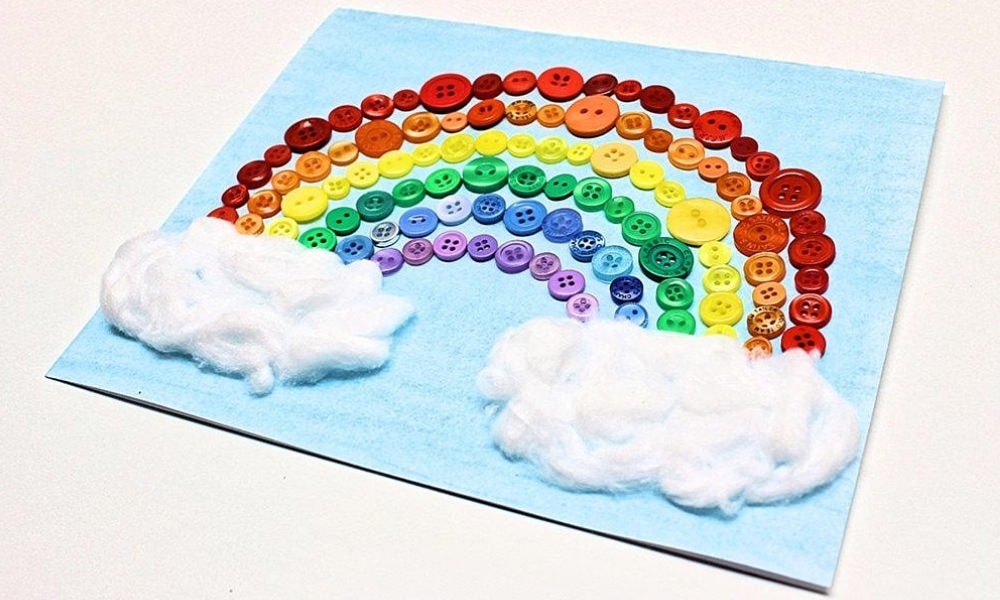
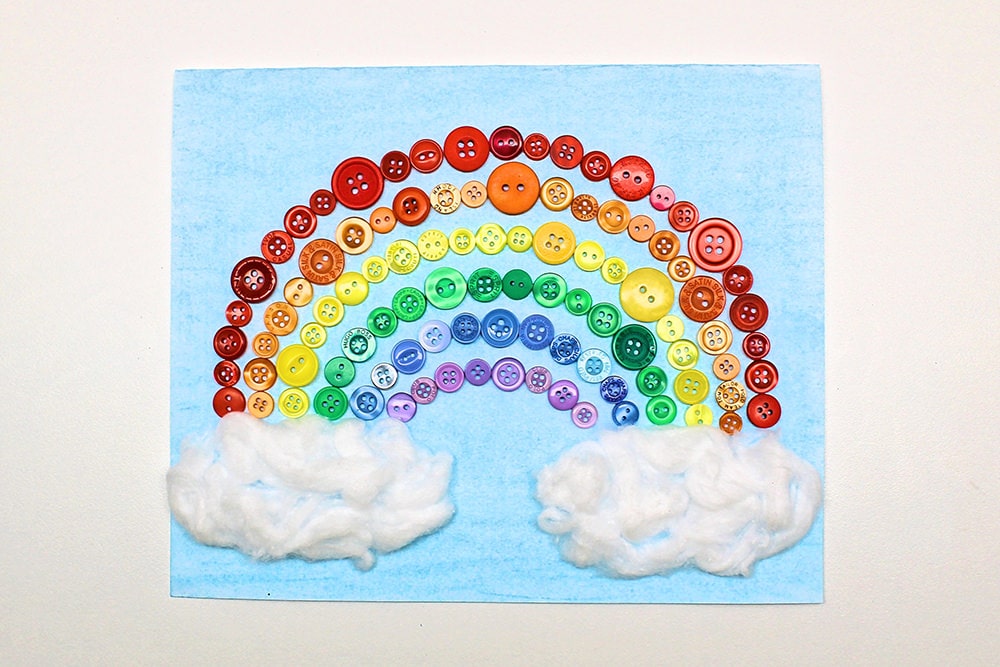
This cute button rainbow craft is so easy to make and only requires a few simple supplies! It’s the perfect way to use up mismatched buttons, and it makes a great homemade card for Mother’s Day—or for any other occasion. You can even frame it to turn it into a sweet DIY gift!
This post may contain affiliate links, which means I may receive a commission, at no extra cost to you, if you make a purchase through a link. As an Amazon Associate, I earn from qualifying purchases. Please see my full disclosure for further information.
JUMP TO…
There are things I can’t help but collect.
I don’t like clutter, but somehow clutter always seems to happen anyway, because I can’t bring myself to throw certain things away.
I do try to get rid of things, but there always seems to be a nagging little voice in my head saying, “You can use that for something. Why throw it away and have to buy more?” And before I know it, it’s two years later and the little bag of paper scraps that I was hoping to turn into a mosaic is still sitting on my dresser collecting dust.
Occasionally I’ll get annoyed with all the clutter and get rid of everything at once. I think that might be a good sign? Though I do need to be more careful about not getting rid of things I actually need when I’m in a decluttering frenzy!
Buttons are one of the things I keep, but I’m very pleased to report that I didn’t have enough to do this project and had to buy a bag of assorted buttons specifically for the purpose of making crafts. Perhaps there’s hope for me yet!
This craft is super cute and really easy to make! It’s right on theme with the rainbow crafts that have been going around lately, and it makes a perfect card or gift for Mother’s Day or for any other occasion!
Required Materials
Here’s what you’ll need to make your very own button rainbow:
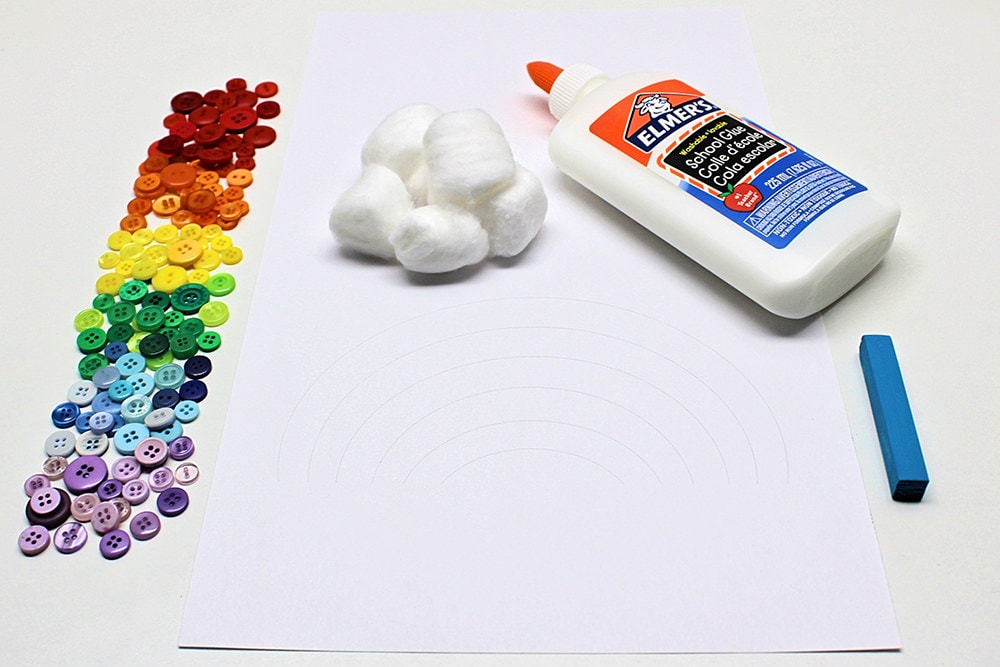
- White Legal-sized cardstock (not Letter-sized)
- My free rainbow printable, which you can download using the form at the bottom of this article
- Chalk pastels or liquid watercolours or markers
- Bottle of white school glue with precision tip
- Assorted buttons in rainbow colours
- Cotton balls (we got ours at the dollar store)
Note: We used regular school glue and didn’t have any issues with the buttons falling off, but if you’re scared that they will, feel free to use a stronger glue. As for the blue background, I created it using chalk pastels because I love pastels. But if you don’t have any on hand, just colour the sky using whatever you have available!
How to Make a Button Rainbow (Step-by-Step)
1. Print Template
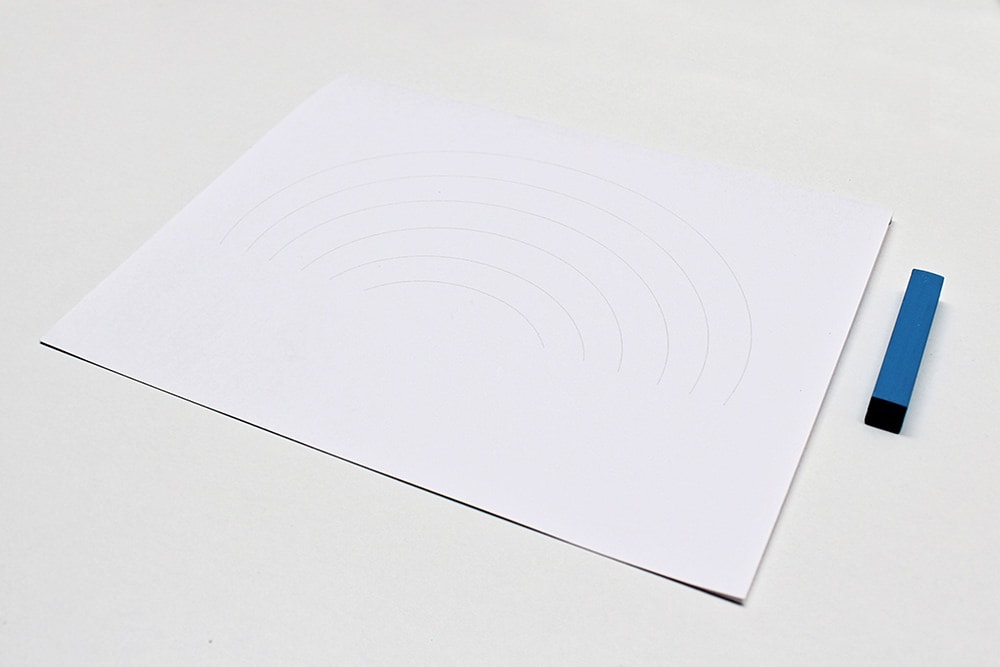
Start by printing the template on a Legal-sized (8.5″ x 14″) sheet of white cardstock. My template is meant to be printed in that format, so make sure your cardstock is the right size!
2. Fold Cardstock
Fold your sheet of cardstock down the middle so that the pattern appears on the top of the card.
Note: The lines are very light, but you should still be able to see them. The reason I made them so light was so they wouldn’t show through the holes of the buttons in the finished craft!
3. Write Message (Optional)
At this point, you might want to open up the card and write your Mother’s Day message.
It’s easier to do at this stage and if you mess it up, you can always print the template on another sheet of cardstock and start over, which is much harder to do if you’ve already decorated the card.
If you’re planning on framing your rainbow instead of using it as a card, it might be a good idea to glue the insides together using a glue stick (liquid school glue could make it wavy).
4. Colour Sky
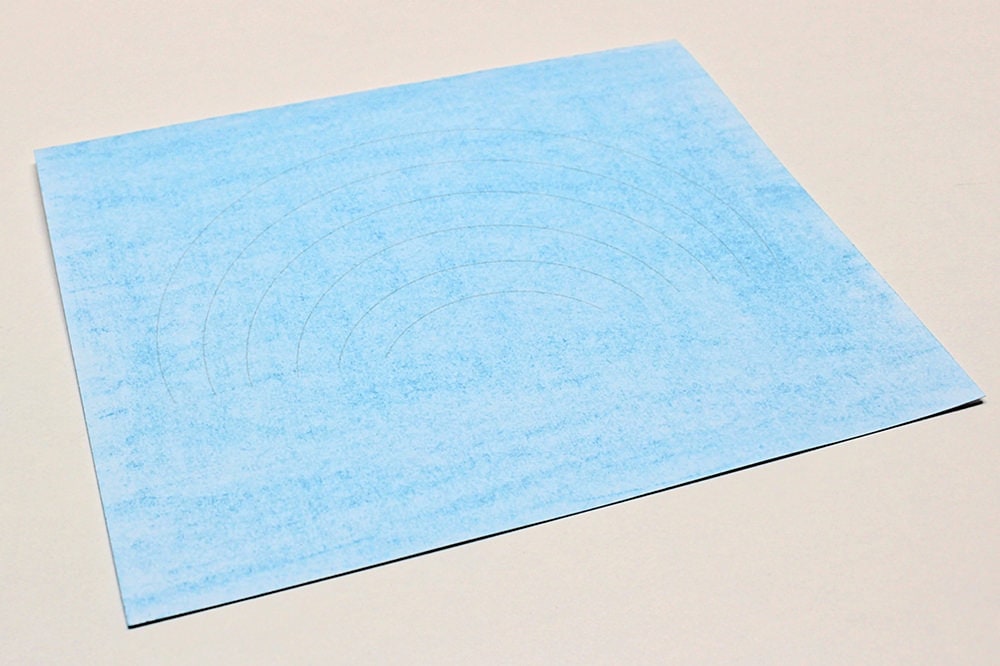
Once you’ve folded your paper and written your message inside the card, colour the front of the card in blue.
I used a tissue to spread around some blue chalk pastel because I love pastels (if you do too, check out these Glue and Chalk Pastel Easter Eggs!), but you can use whatever you have on hand.
Liquid watercolours would work fine as long as you let them dry before the next step, but you can even use markers if that’s all you have. If you do decide to use liquid watercolours, make sure to unfold the paper before painting it so the water doesn’t permeate through the card and onto your message!
5. Sort Buttons (Optional)
If your buttons are pre-sorted, you won’t need to do this next step. But if they’re not, it will be easier to sort them by colour before continuing. We used purple, blue, green, yellow, orange and red.
Kids who are old enough to do this craft can definitely take care of the sorting. My four-year-old loved doing this so much that ever since we made this card, she’s been asking to sort the remaining buttons for fun during quiet time!
6. Trace Rainbow
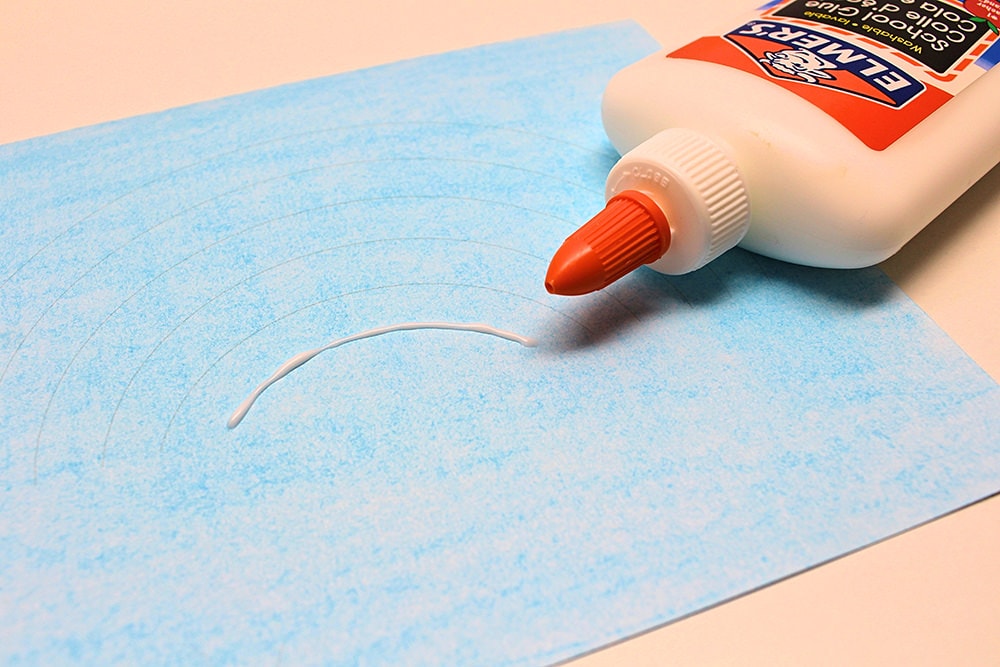
Once the sky is blue and the buttons are sorted, trace the printed line at the bottom of the rainbow using school glue (or something stronger).
7. Press Buttons into Glue
Trace the lines one at a time, and as you finish tracing each line, press buttons into the glue until the whole line is covered. We decided to start with purple.
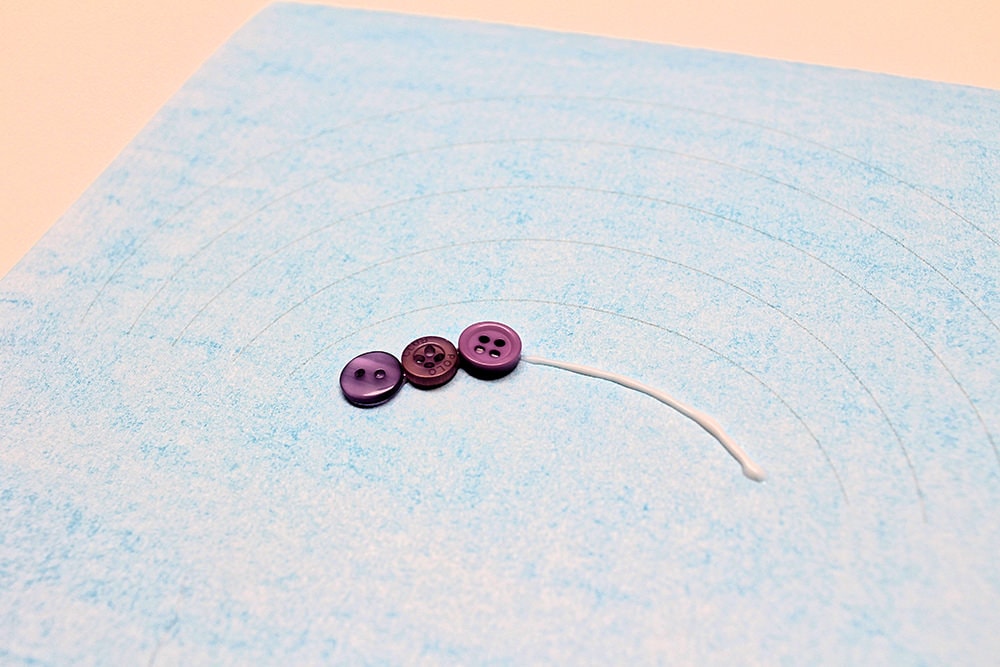
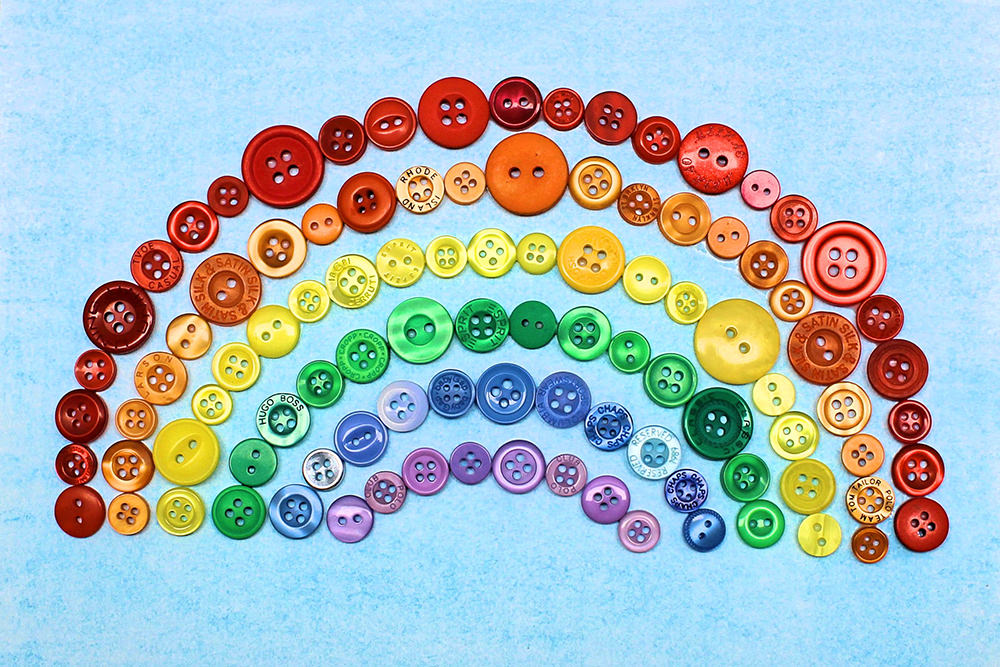
Continue doing this with every printed line until they’re all covered with buttons. It’s fine if all your buttons are identical, but since ours weren’t, we had fun picking out buttons of various sizes and designs to place next to each other.
Note: Make sure the buttons aren’t too big or you won’t be able to fit six rows on the card! If you do occasionally use a bigger button like we did, make sure you use smaller buttons on the lines above and below it so it won’t take up too much room and prevent you from completing the other rows.
8. Create Clouds
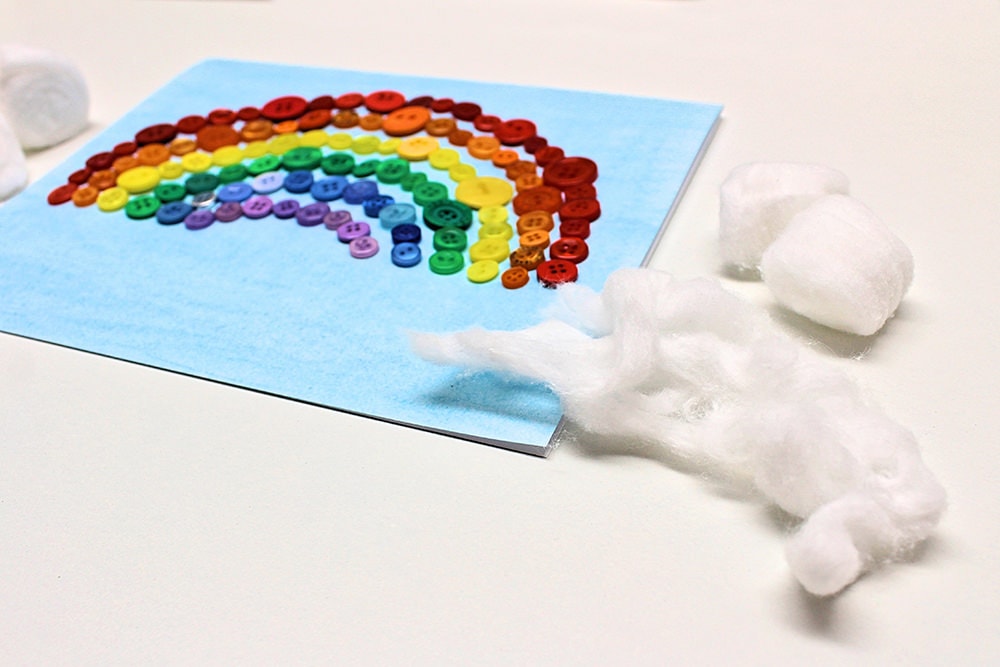
Once all six rows are completed, it’s time to make the clouds! To make each cloud, pull apart one cotton ball and then glue it onto the card at the end of a row of buttons.
9. Let Dry
Let the glue dry and you’re done! This button rainbow craft looks lovely on a card, but you could also frame it and give it as a gift!
Related Crafts & Homemade Cards
Love rainbows? Check out this gorgeous craft idea:
Or, if you’re looking for more homemade card ideas, why not give these ones a try?
- Scratch-Off Ladybug Card (with Free Printable!)
- Marbled Shaving Cream Shirt & Tie Card (with Free Printable!)
- Scratch-Off Car Card (with Free Printable!)
Join my mailing list using the form below to receive your free button rainbow printable as a welcome gift! Subscribers gain access to my free printables library as well as to exclusive content that may never be published on my site!
Only your name will be made public. Please note that by submitting your comment, you are agreeing to the terms of our Privacy Policy.