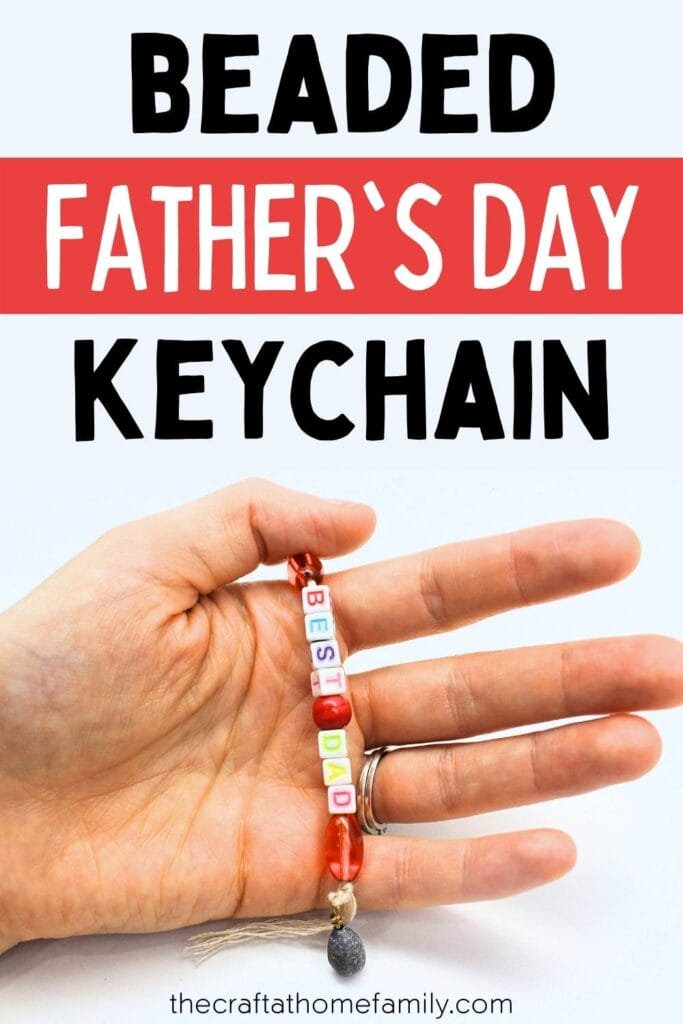
Tired of handprint art? Wish Daddy a happy Father’s Day with this cute beaded keychain craft that kids can make themselves! What father wouldn’t love to have a constant reminder of his kids’ love hanging right on his keyring?
This post may contain affiliate links, which means I may receive a commission, at no extra cost to you, if you make a purchase through a link. As an Amazon Associate, I earn from qualifying purchases. Please see my full disclosure for further information.
JUMP TO…
Nothing says “Happy Father’s Day” like a DIY gift made by the little ones… which is my husband’s office is mainly decorated with handprint art!
Since we’ve made him lots of handprint keepsakes in the past few years, we wanted to do something different this year. And what could be better than a gift that he can carry around with him even when he’s not home?
There a lots of fun Father’s Day gift ideas online, but a DIY keychain seemed like an obvious choice for us. We live in the suburbs and there aren’t too many places Daddy can go without needing his car keys.
So now, he gets to bring along a reminder that his family loves him no matter where he goes!
Required Materials
Here’s what you’ll need to make a DIY Father’s Day keychain for Dad this year:

- Fishing interlock snap
- Fishing weight
- Alphabet beads (ours were from Walmart)
- Regular beads in whatever style you like (make sure the holes are big enough to easily accommodate two pieces of embroidery thread)
- String or embroidery thread
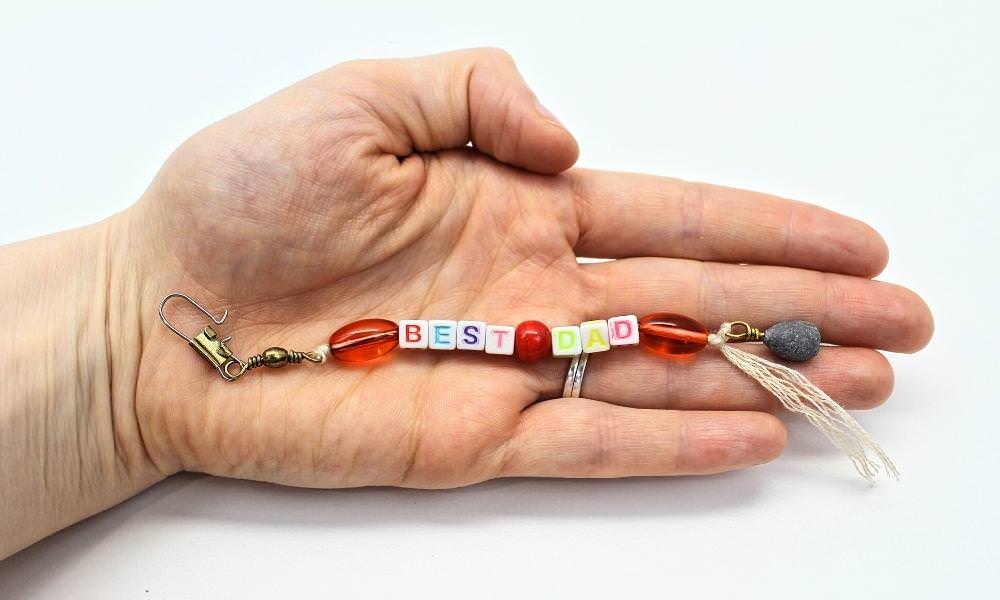
Note: We went with a fishing theme because my husband loves camping and fishing (we stole the required supplies from his tackle box!), but you can just as easily skip the fishing weight and replace the fishing interlock snap with a regular keyring.
How to Make a DIY Fishing Keychain (Step-by-Step)
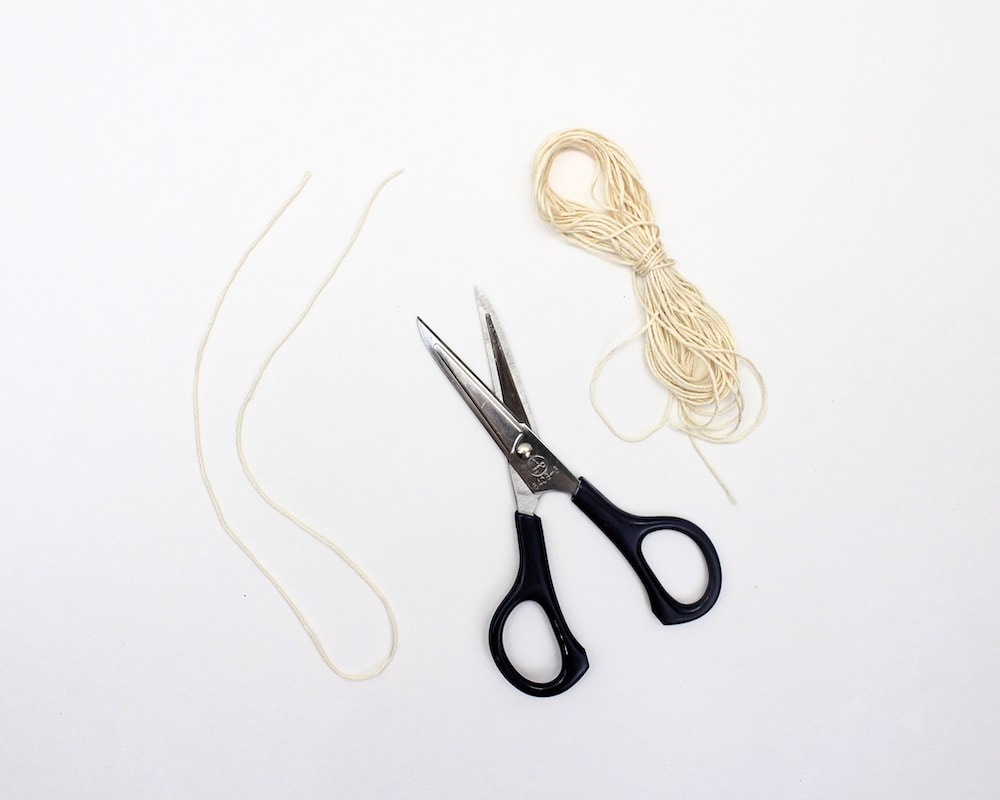
1. Cut Embroidery Thread
Start by cutting a piece of embroidery thread using a pair of scissors.
You’ll be doubling up the thread to make the keychain more solid, so make sure to cut the thread pretty long so you don’t run out (you can always cut off any excess). Mine measured somewhere between 8 and 12 inches.
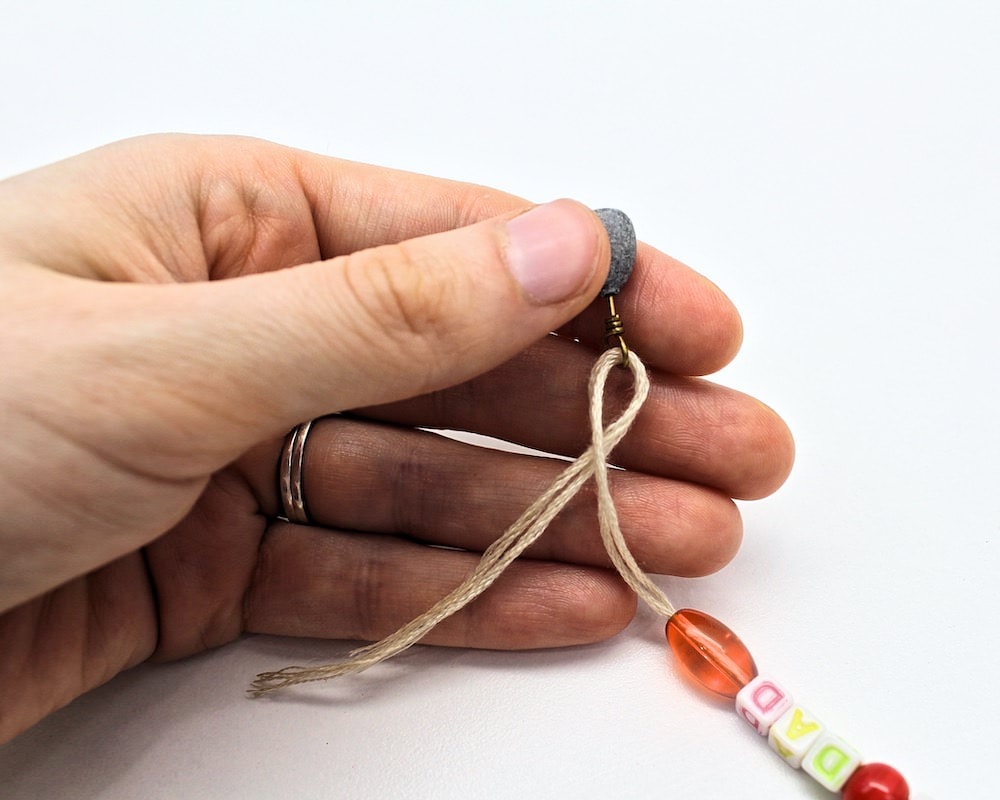
2. Attach Thread to Keyring
Fold the thread in half and poke the folded end through the loop of your fishing snap or keyring.
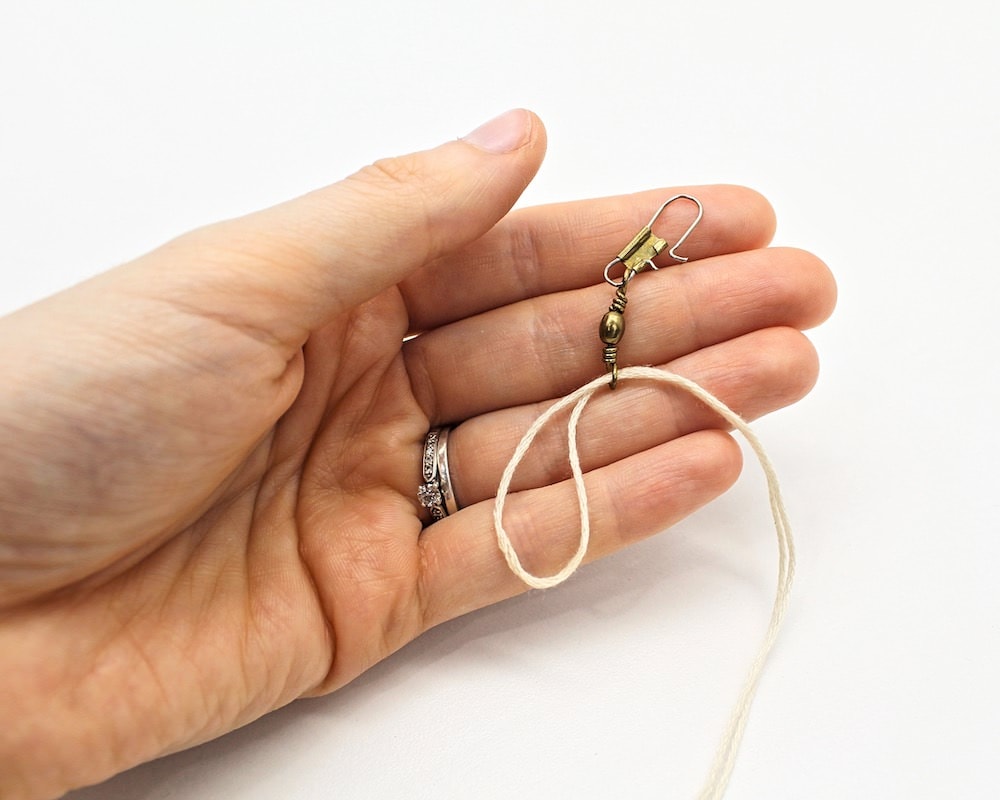
Then, take the other end of the thread and pass it through the loop.
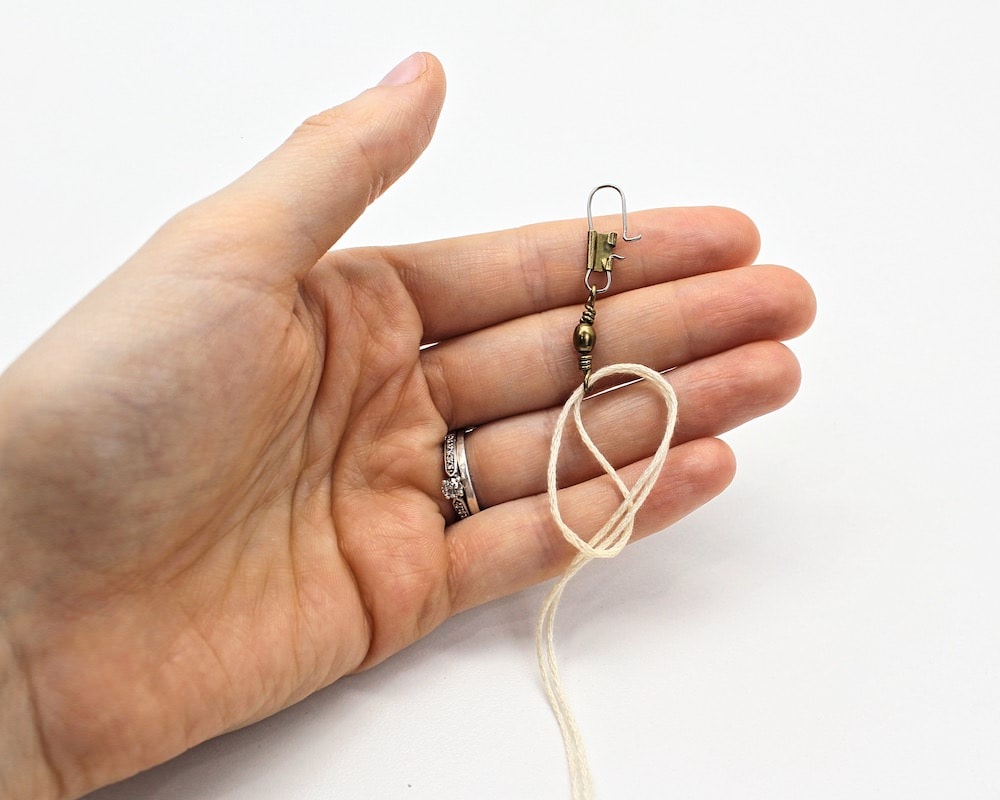
Once the thread is looped into itself, pull it tight to secure it to the fishing snap.
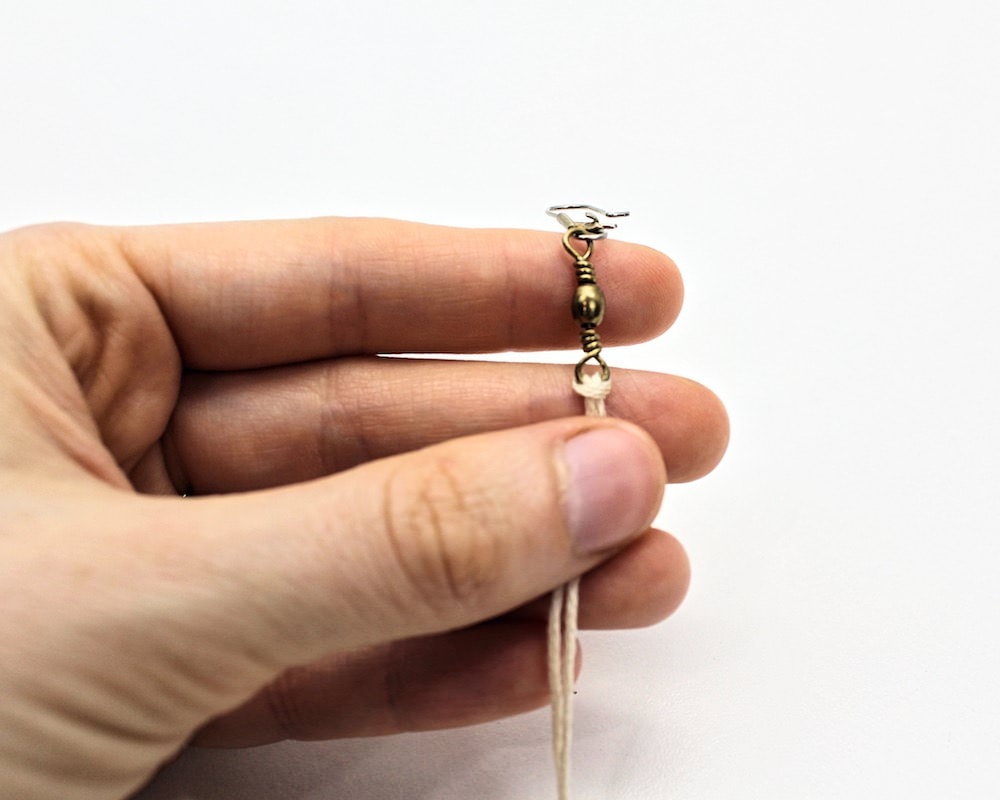
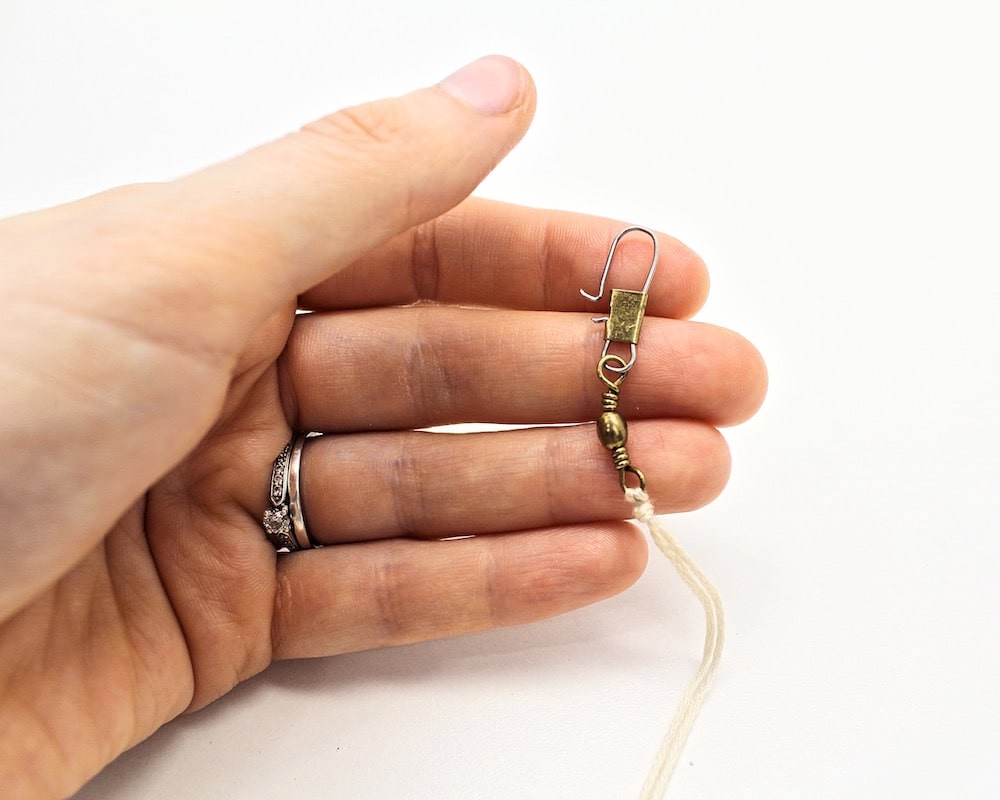
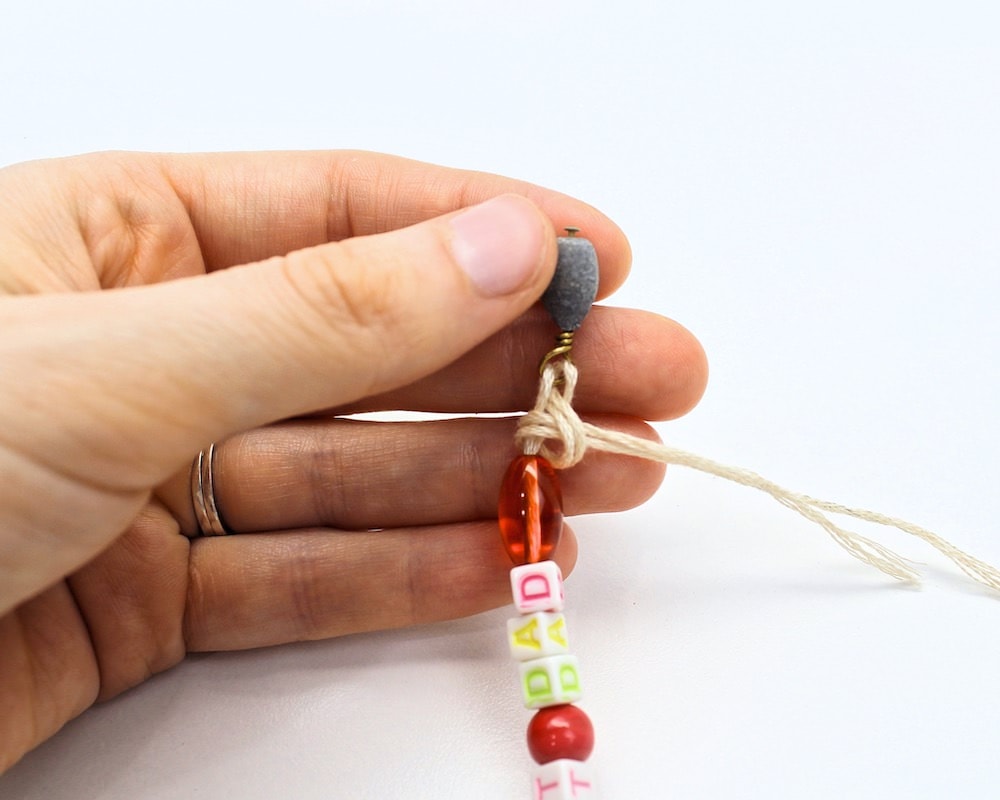
3. Make Knot
Make a knot as close as possible to the fishing snap and pull it tight. This will prevent the thread from coming loose.
4. Thread Beads
Grab your beads and start string them onto the embroidery thread.
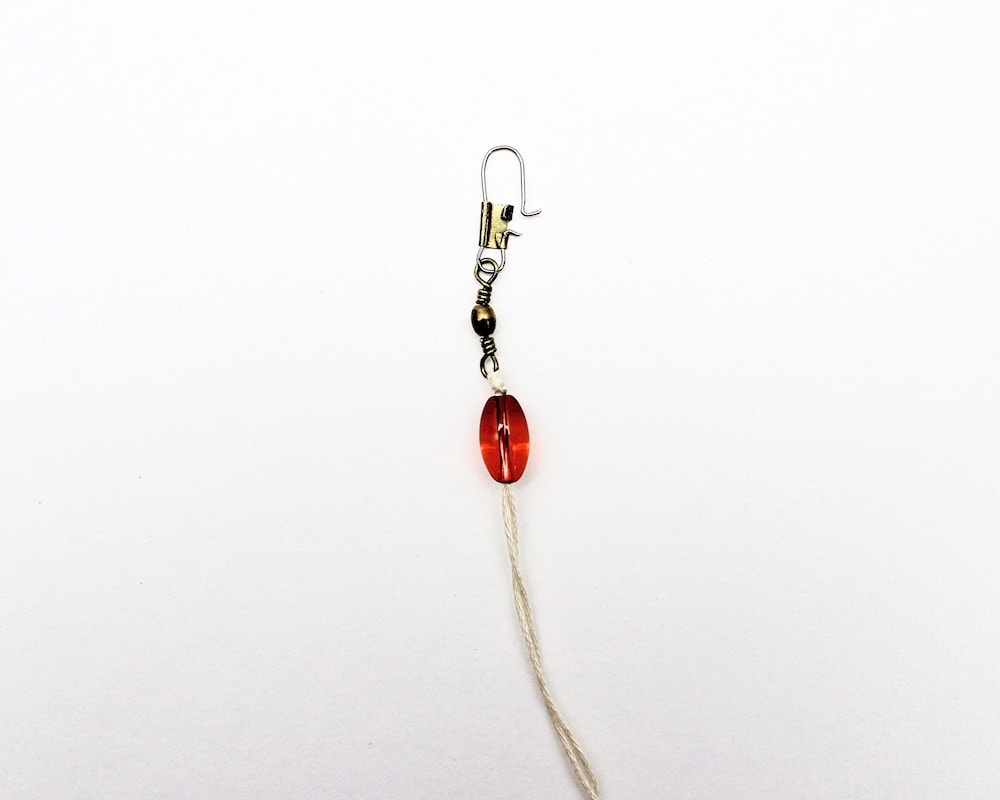
As mentioned above, you’ll want to make sure the holes in the beads are large enough to easily accommodate two pieces of embroidery thread.
My alphabet beads did, but my others did not, and it was a huge pain. I ended up having to painstakingly poke the thread through the eye of a small sewing needle and use the sewing needle to pull the thread through the hole in the bead. Don’t do what I did—save yourself the headache and just choose more appropriate beads right from the start.
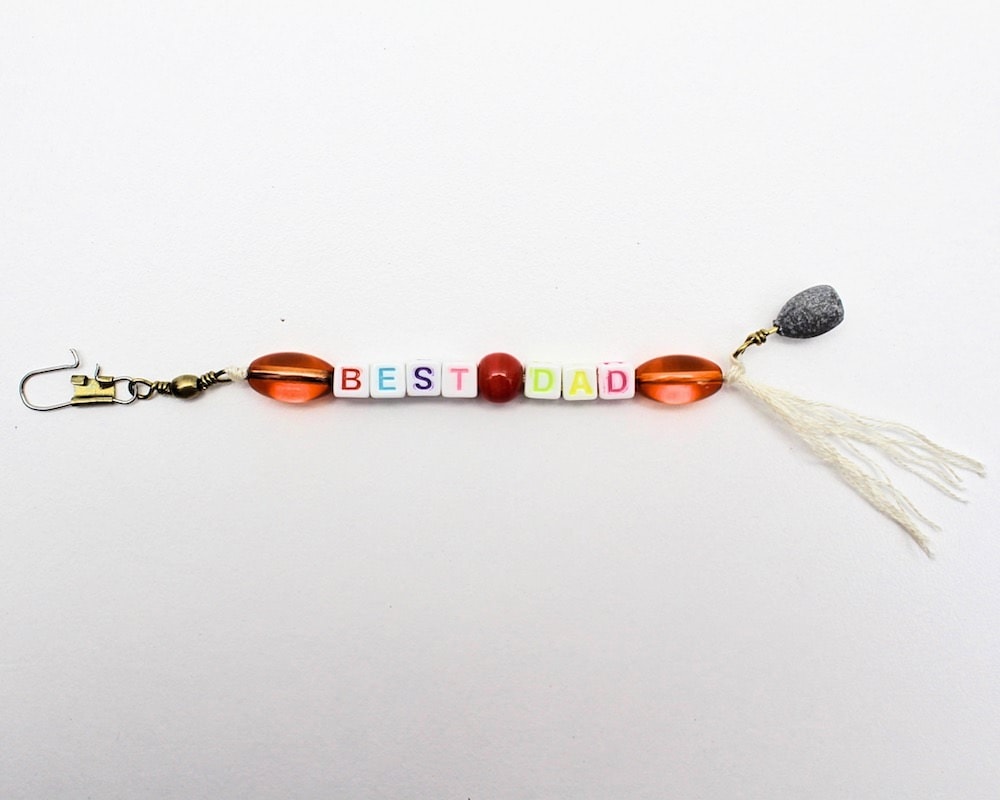
I decided to use one regular bead followed by four alphabet beads that spelled out the word “BEST”. I followed that up with another regular bead, three alphabet beads that spelled out the word “DAD” and finally one last regular bead at the tail end of the keychain.
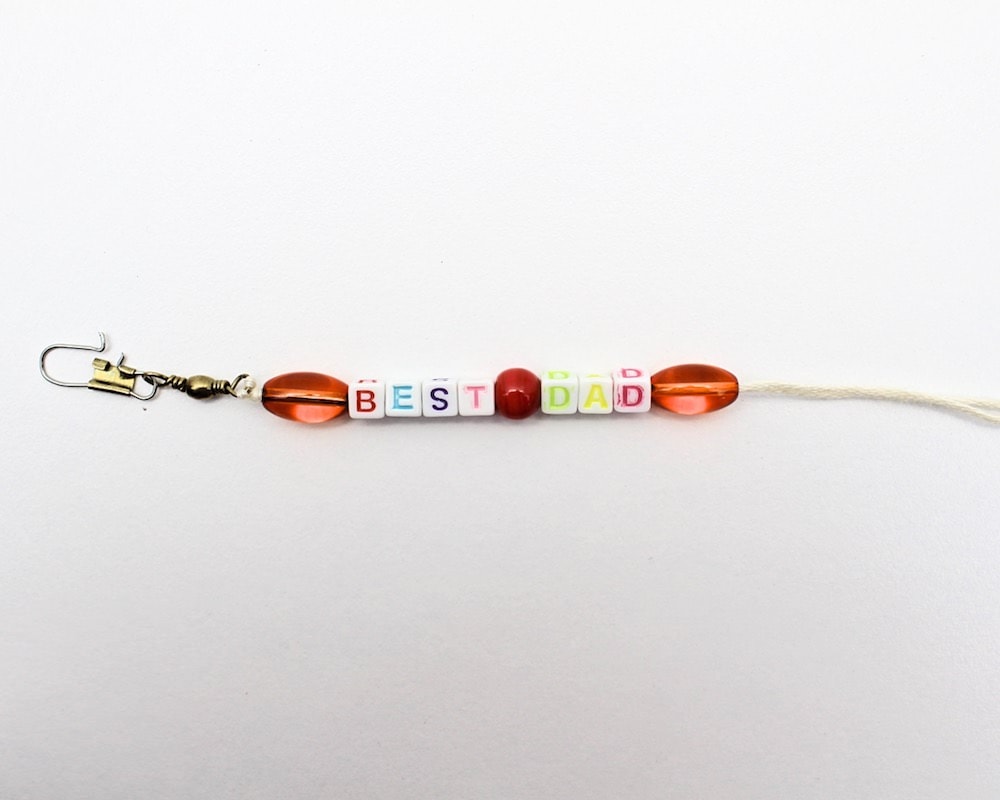
I loved that the alphabet beads had a letter on every side, so you could read the words “BEST DAD” regardless of how the beads were positioned!
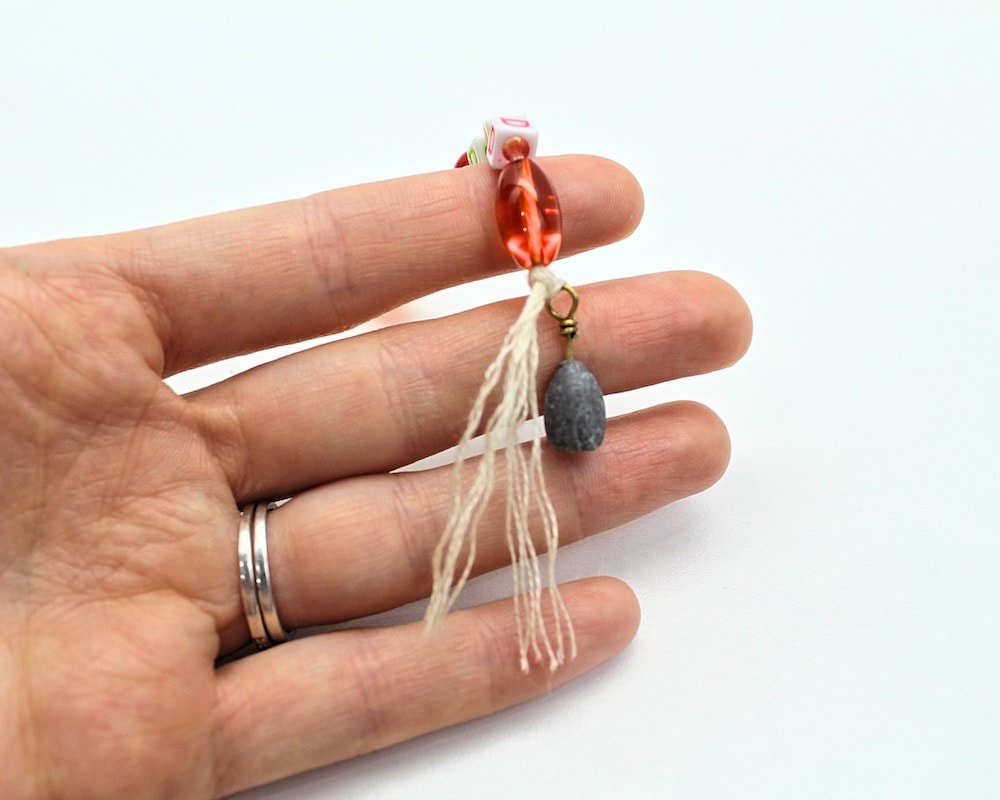
5. Add Fishing Weight
String the fishing weight onto the remaining ends of the embroidery thread. If you’ve decided to skip the fishing theme, simply move on to the next step.
6. Make Knot
Tie a double knot around the metal loop attached to the fishing weight. (If you didn’t use a fishing weight, simply tie a double knot right below the last bead.)
7. Create Tassel
Use a sewing needle or the prongs of a fork to separate all the strands of the embroidery thread and create a tassel.
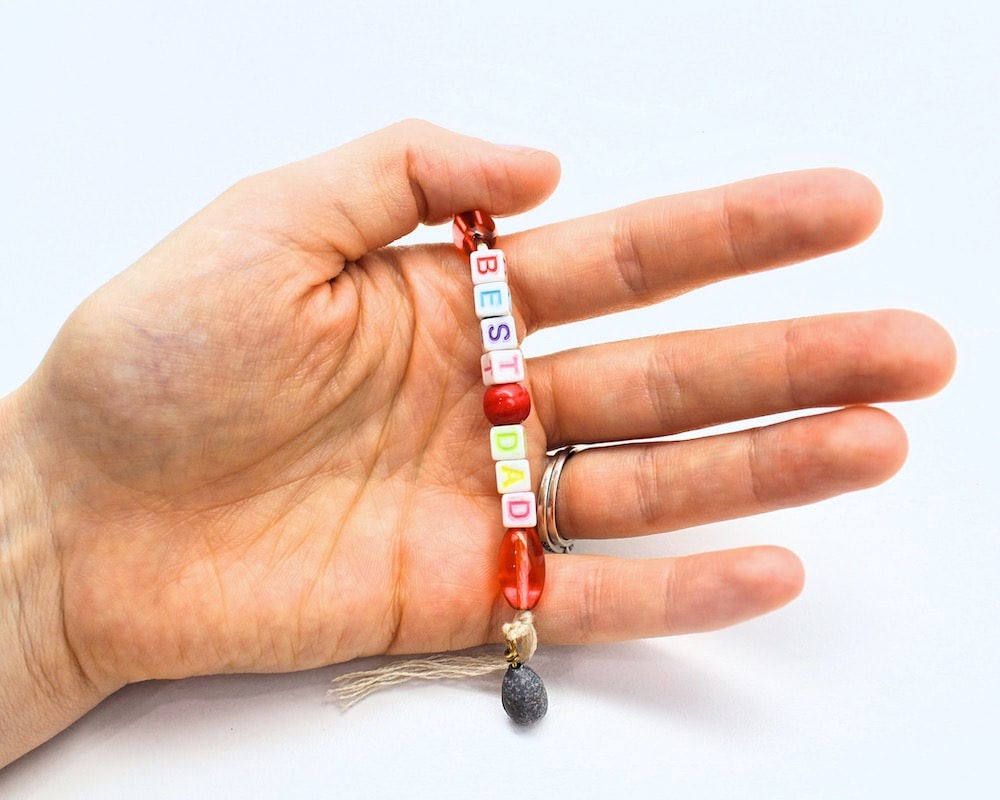
Once the thread has been separated, your DIY keychain is ready! Wrap it up or put it in a gift bag, and take it out on Father’s Day to give to the World’s Best Papa.
This keychain craft is so easy, and it makes a great Father’s Day gift that kids of all ages can make themselves—all the way from preschool (with a bit of help) to tweens!
You can also customize it however you like by swapping out the colours or beads, or even by making the alphabet beads spell something completely different. Ours said “Best Dad”, but there are lots of other phrases to choose from!
Related DIY Gift Ideas for Dad
Looking for more DIY projects to make with your kids for Father’s Day? Check out these articles:
- Free Printable Father’s Day Questionnaires: “All About My Daddy” (+ Grandpa & Stepdad)
- Free Printable Handprint Keepsake Template: “You Are HANDS DOWN the Best Dad”
You can also sign up for my newsletter to receive fun craft and activity ideas right in your inbox! Subscribers gain access to my free printables library as well as to fun bonuses that will never be available on my site!
Only your name will be made public. Please note that by submitting your comment, you are agreeing to the terms of our Privacy Policy.