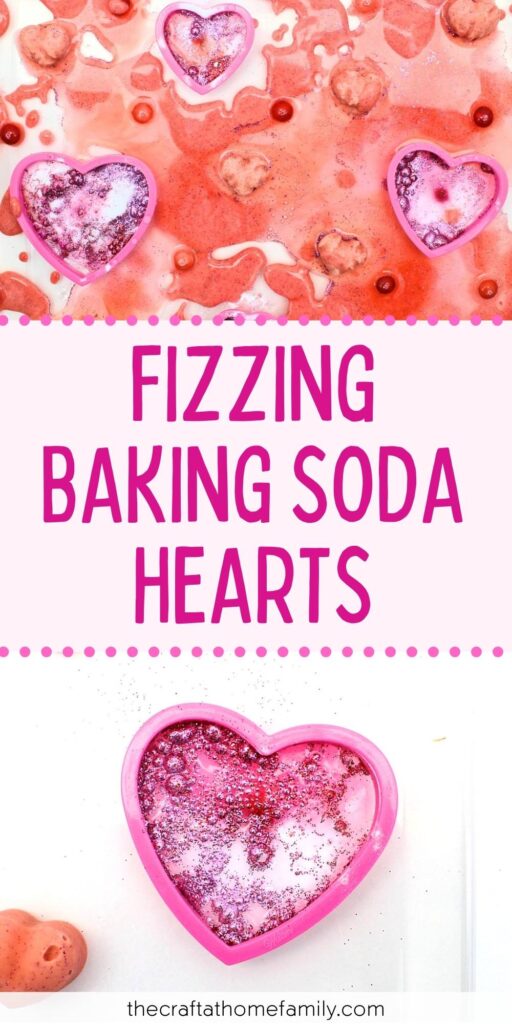
If you’re looking for an easy Valentine’s Day activity to try with your toddler or preschooler, this fizzy baking soda heart experiment is sure to keep engaged… and it only requires minimal prep time and supervision!
JUMP TO…
Out of all the science experiments you can do with young kids, baking soda and vinegar reactions are probably the coolest.
We’ve tried others, especially ones that only take a few minutes to set up. Our Magic Paper Towel Experiment, in particular, was a huge hit.
But there’s something really spectacular about seeing baking soda suddenly erupt due to a tiny drop of vinegar, and I don’t blame the kids one bit for wanting to see it happen again and again!
We happen to have four girls at home, and all of them love pink, glitter and hearts on any day of the year.
So with Valentine’s Day coming up, I knew I had to find a way to combine all of those things into an activity for them… and this seemed like the perfect solution!
Not only is this Valentine’s Day experiment toddler-approved, but it’s also fun for preschoolers and even older kids. It’s easy to set up, requires minimal supervision and has a taste-safe option for little ones who like to put everything in their mouth.
So if you’re looking for a low-prep activity to do at home or in your classroom for Valentine’s Day, why not give this one a try?

Get hundreds of pages of activities!
Get access to all our paid printables, as well as monthly activity planners, for just $5/month. (New printables added twice per month!)
Required Materials
Here’s what you’ll need in order to set up this awesome fizzy heart activity for Valentine’s Day:
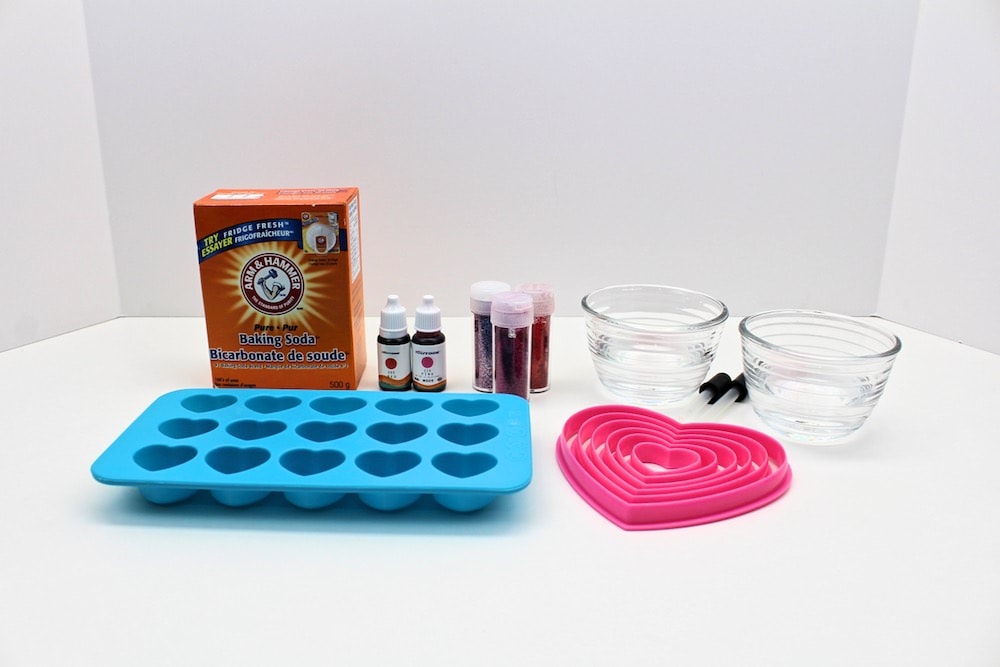
- Baking soda
- Water
- Liquid food coloring in red and pink (you can also use liquid watercolors if you don’t need this activity to be taste-safe)
- Glitter (optional)
- Silicone mold or ice cube tray with heart-shaped cavities
- Heart-shaped cookie cutters
- Vinegar
- Droppers (I recommended sticking with plastic if you’re doing this activity with young kids)
How to Make Fizzy Baking Soda Hearts (Step-by-Step)
1. Combine Baking Soda & Glitter (Optional)
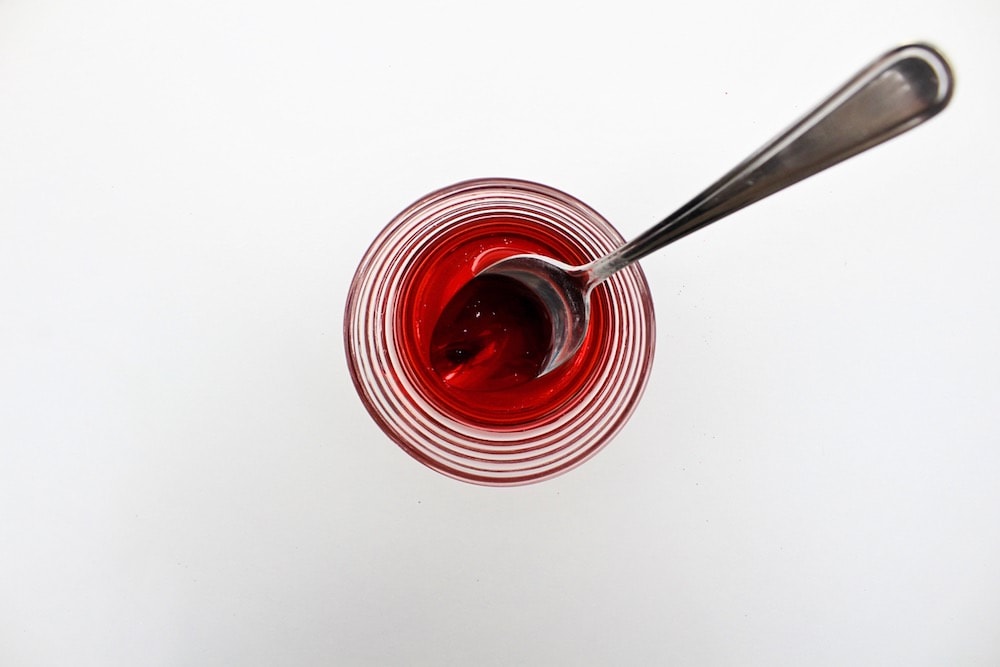
To make fizzing hearts, start by pouring some baking soda into a bowl, sprinkling some fine glitter on top of it and stirring with a spoon until combined.
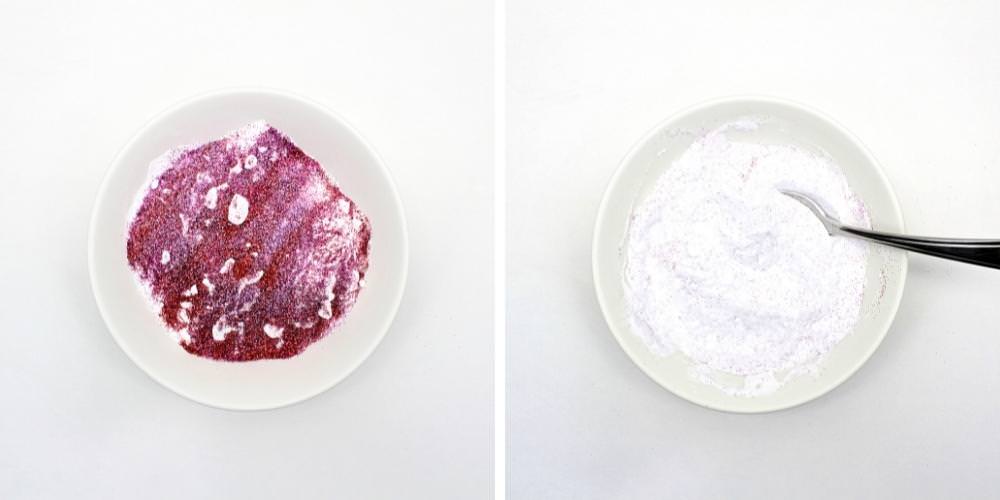
I probably used somewhere between ½ cup and 1 cup of baking soda, but there’s no need for exact measurements and nothing will go to waste if you end up with any extra.
Note: If you don’t like glitter, or if you have young kids who like to put everything in their mouths, feel free to skip this step.
2. Combine Water & Food Coloring
Pour a few tablespoons of water into a small bowl and add a few drops of red and/or pink food coloring.
3. Mix Baking Soda & Water
Slowly pour the water into the baking soda and glitter mixture, adding about one tablespoon at a time and stirring well between each addition.
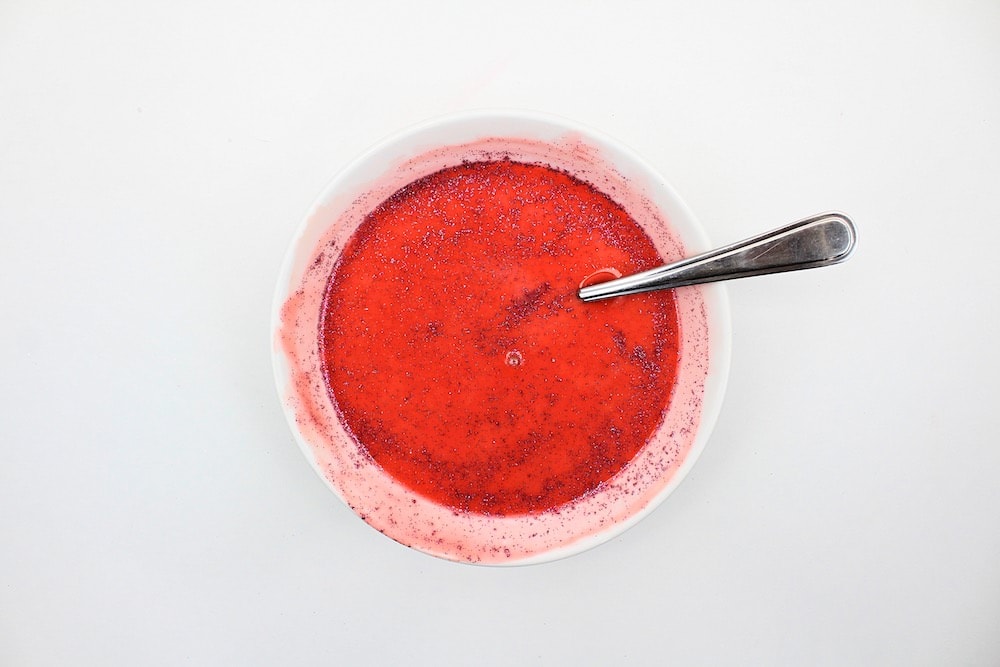
Stop adding water once you see that all the baking soda is wet and the ingredients are well combined.
The amount of water you’ll need will depend on the quantity of baking soda you used, but again, it’s not an exact science—and if you feel you’ve added too much water, simply add a bit more baking soda to compensate!
4. Pour Mixture into Mold
Take out a silicone mold or ice cube tray with heart-shaped cavities and fill all the cavities with the baking soda mixture.
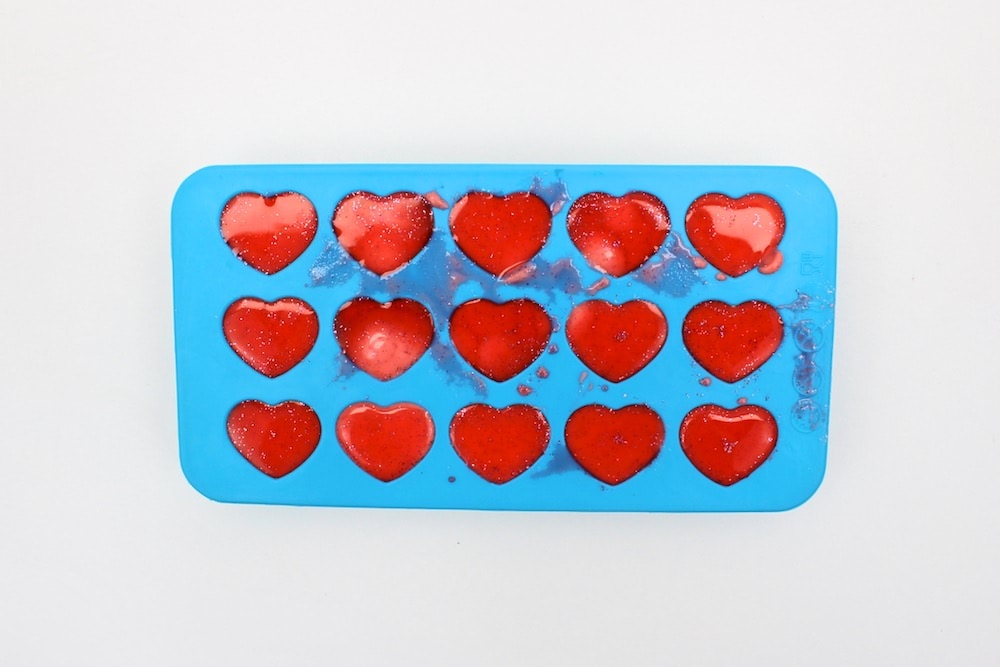
If you have both, I recommend using a silicone mold. This will make it easier for you to pop out the baking soda hearts out once they’re frozen. (Just make sure you place the mold on a plate or cookie sheet before you start filling the cavities.)
If all you have is an ice cube tray, you should be able to use that too. Pop-out ice cube trays work best because they’ll make it easier to pop out the frozen hearts—we found a one at our local dollar store last year, so yours may stock them as well.
If you have any leftover baking soda mixture, it won’t get wasted! Simply place it in an airtight container until play time and you’ll be able to take it out again during step 7.
5. Pour Out Extra Water (Optional)
When you mix baking soda and water, the baking soda tends to sink to the bottom while any excess water rises to the top.
If that’s happens, there’s no need to worry—simply tilt your mold to let the excess water pour into the sink, and you’ll be left with nothing but wet baking soda, which is perfect for this activity.
You can also just leave it and you’ll end up with a layer of colored ice on top of the baking soda. This isn’t a huge issue since you’ll be turning the hearts right side up to do the experiment and the ice will end up on the bottom.
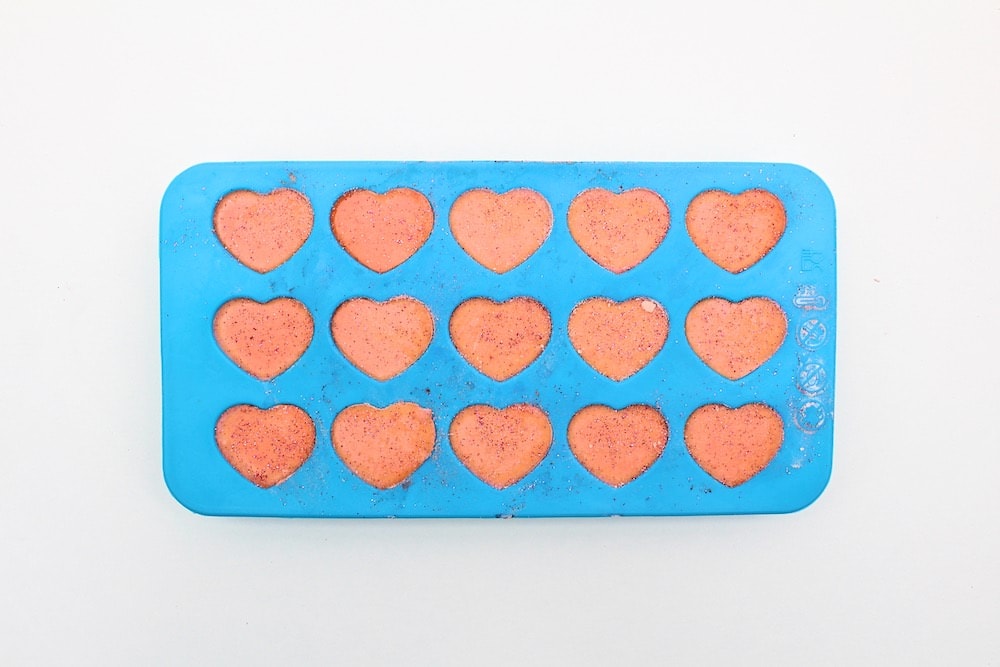
5. Let Freeze
Place your mold or ice cube tray in the freezer for several hours or overnight, until the baking soda hearts are completely frozen.
6. Prepare Cookie Cutters
When the baking soda hearts are fully frozen and you’re ready to set things up for your little one, it’s time to prepare the second component of this activity.
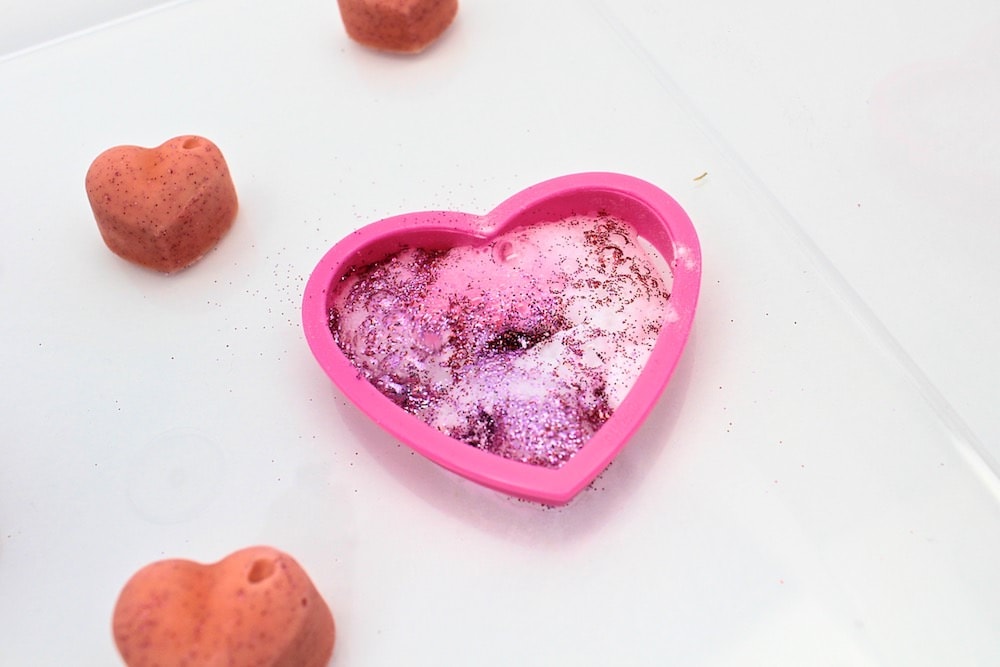
Place some heart-shaped cookie cutters at the bottom of a plastic container or bin and add one or two drops of food coloring inside each one. This will add a pop of color to your heart eruptions.
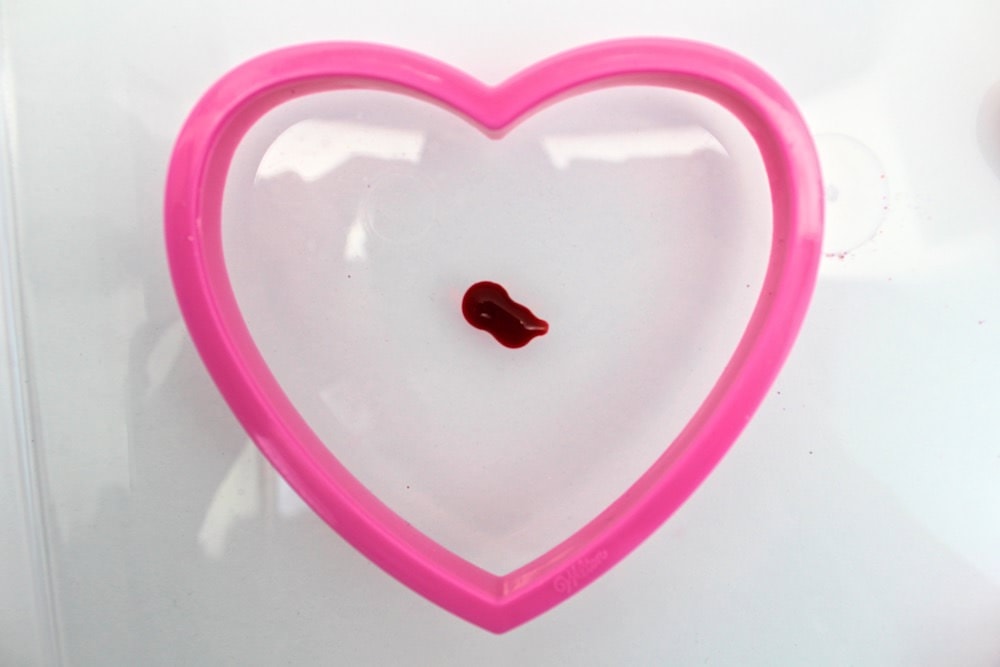
Once you’ve added the food coloring, cover the bottom of each cookie cutter with a layer of baking soda.

If you like, you can also top it off with fine red and/or pink glitter to give the baking soda reaction a little sparkle. This is totally optional and you can skip it if you’re not a fan of glitter or if you need this activity to be taste-safe.
7. Create Fizzy Heart Eruptions
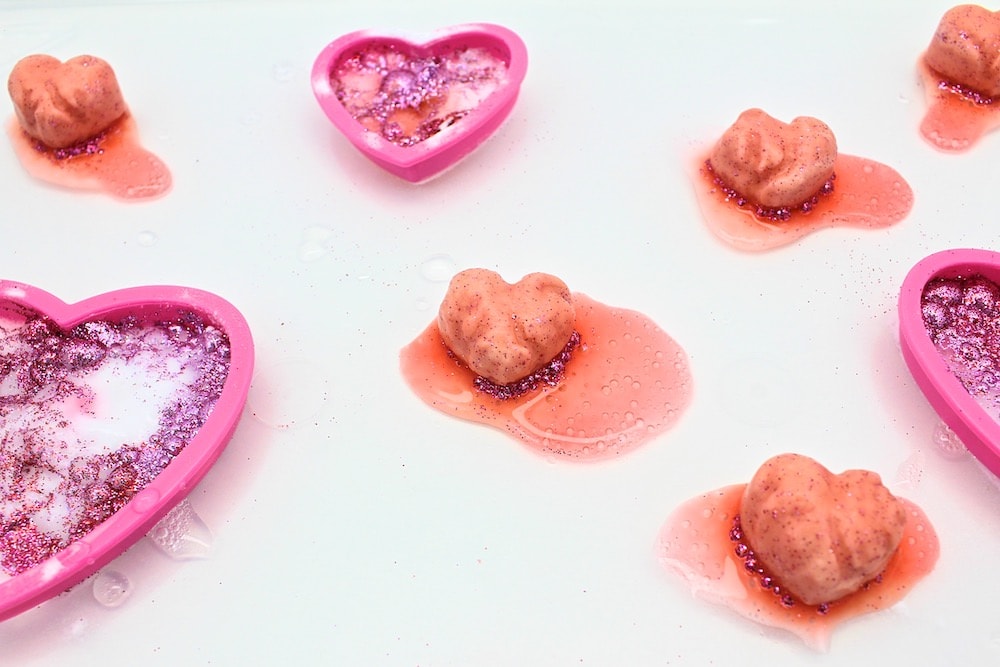
It’s time to play! Pop a few frozen baking soda hearts out of the silicone mold or ice cube tray and place them all around the baking soda-filled cookie cutters.

Then, give your child a small container of vinegar and some droppers. (Larger droppers will create bigger eruptions.)
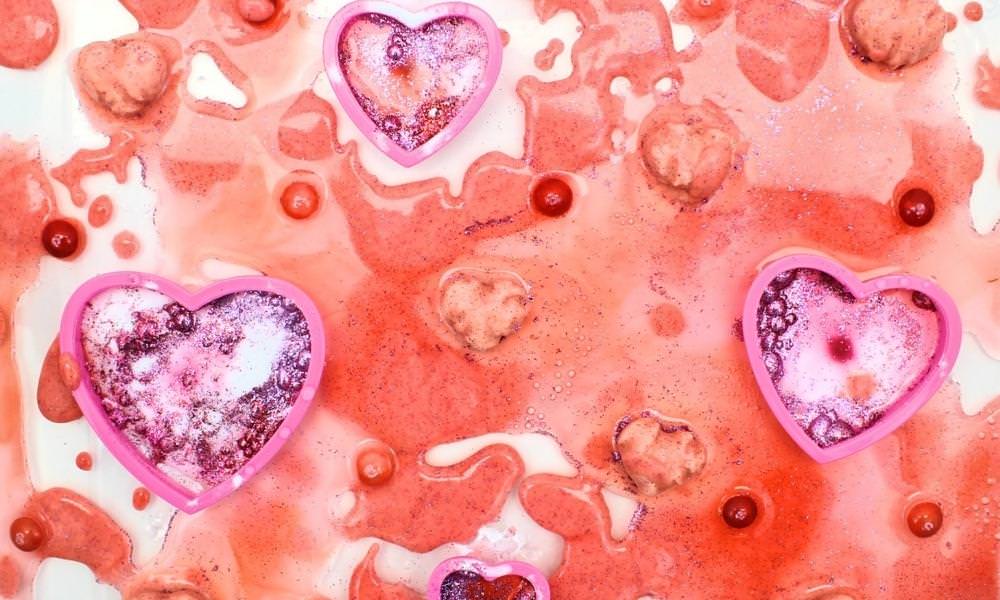
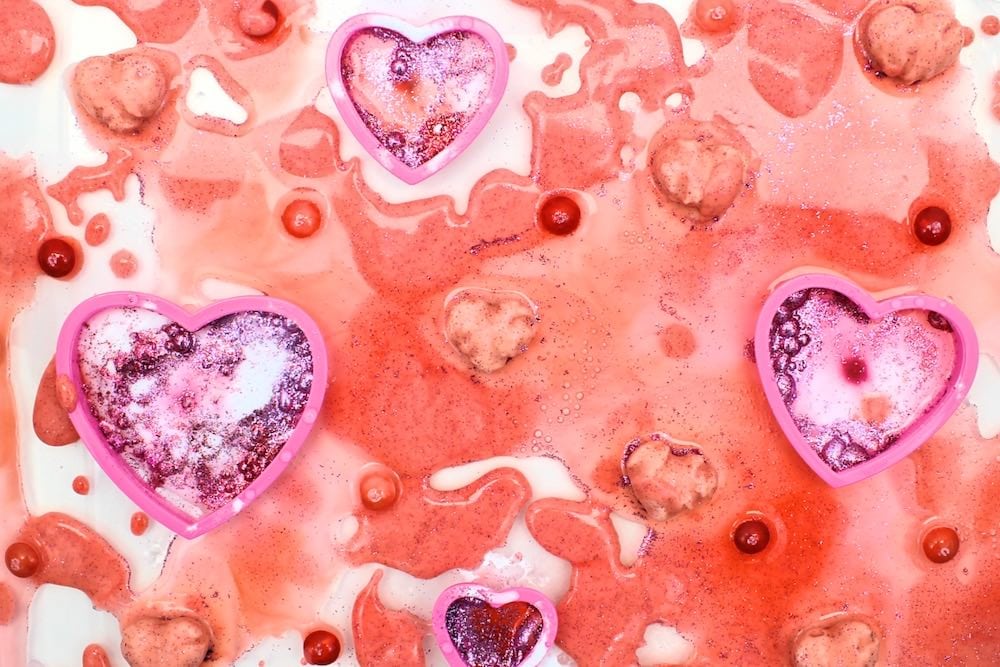
When they pour vinegar on the frozen hearts, the hearts will start to fizz and bubble.
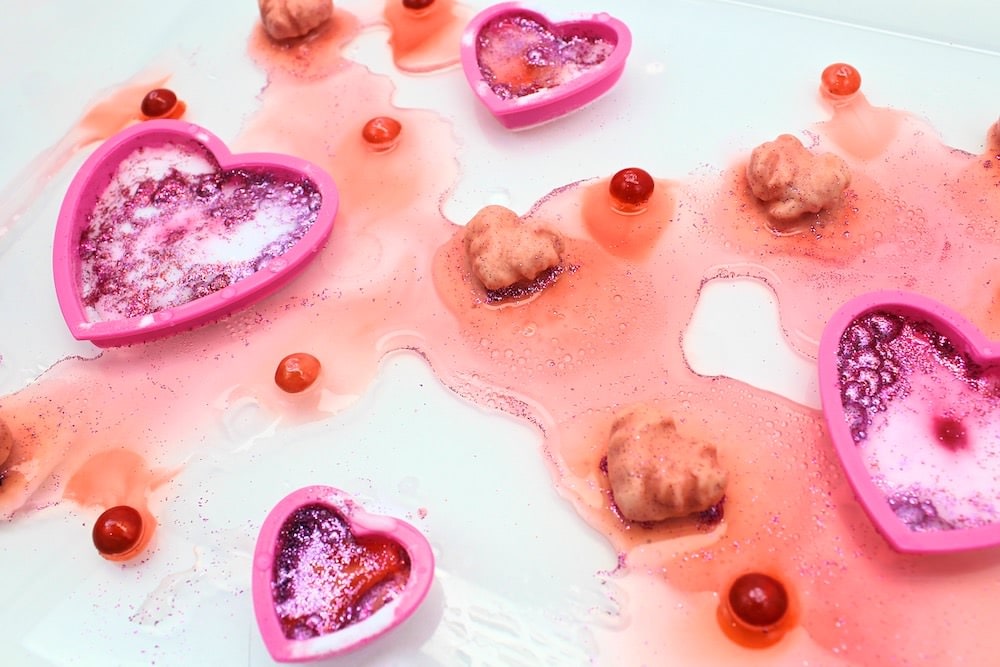
Likewise, if they pour vinegar into the heart-shaped cookie cutters, the contents will start to fizz and if you’ll end up with a colorful eruption of baking soda and food coloring!
For added fun, you can also add other ingredients to your Valentine’s Day sensory bin. In the spirit of keeping it taste-safe, I placed some red and pink Skittles on the bottom of the bin and added a little water to make the colors bleed.
If you have any baking soda mixture leftover from when you were making the frozen hearts, you can also pour that into the bottom of the bin to create EVEN MORE baking soda and vinegar reactions! (You can also use it to make more hearts.)
Because we filled the entire mold, we ended up with lots of baking soda hearts. And since we didn’t use them all up the first time, we popped them out and have been storing them in a container in our freezer until the next time the kids feel like doing this activity. So much fun!
You can also adapt this experiment to pretty much any season or holiday simply by using different colors and molds, so I’m sure we’ll be repeating it quite often.
Related Valentine-Themed Activities
Looking for more activities to do with your kids this Valentine’s Day? Check out these articles:
Only your name will be made public. Please note that by submitting your comment, you are agreeing to the terms of our Privacy Policy.