

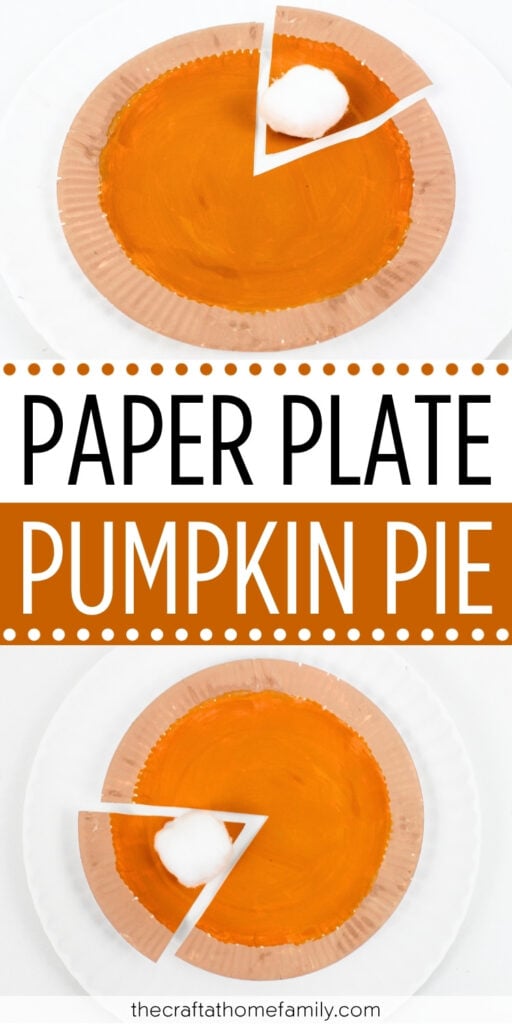
This paper plate pumpkin pie craft is perfect for fall or Thanksgiving, and you’ll only need a few simple supplies in order to make it! Whether you have younger or older kids at home, they’ll love this cute art project.

JUMP TO…
Looking for an easy Thanksgiving craft to make with your kids? This easy pumpkin pie-themed craft is perfect for kids of all ages, and you may already have all the supplies you need to make it.
We kept the craft really basic, but I’ve also included a few fun variations that you can try. I hope your kids enjoy this craft as much as mine did!
Why You’ll Love This Craft
- Simple supplies: If you often do crafts with your kids, you may already have everything you need to make this. If not, a quick trip to Walmart should provide whatever’s missing!
- Easy to make: You don’t need to be crafty in order to make this easy paper plate craft! It only requires a few simple steps and a few minutes of your time.
- Great for younger kids: This simple art project is easy enough that even younger kids should be able to complete most of the steps without any help from an adult.
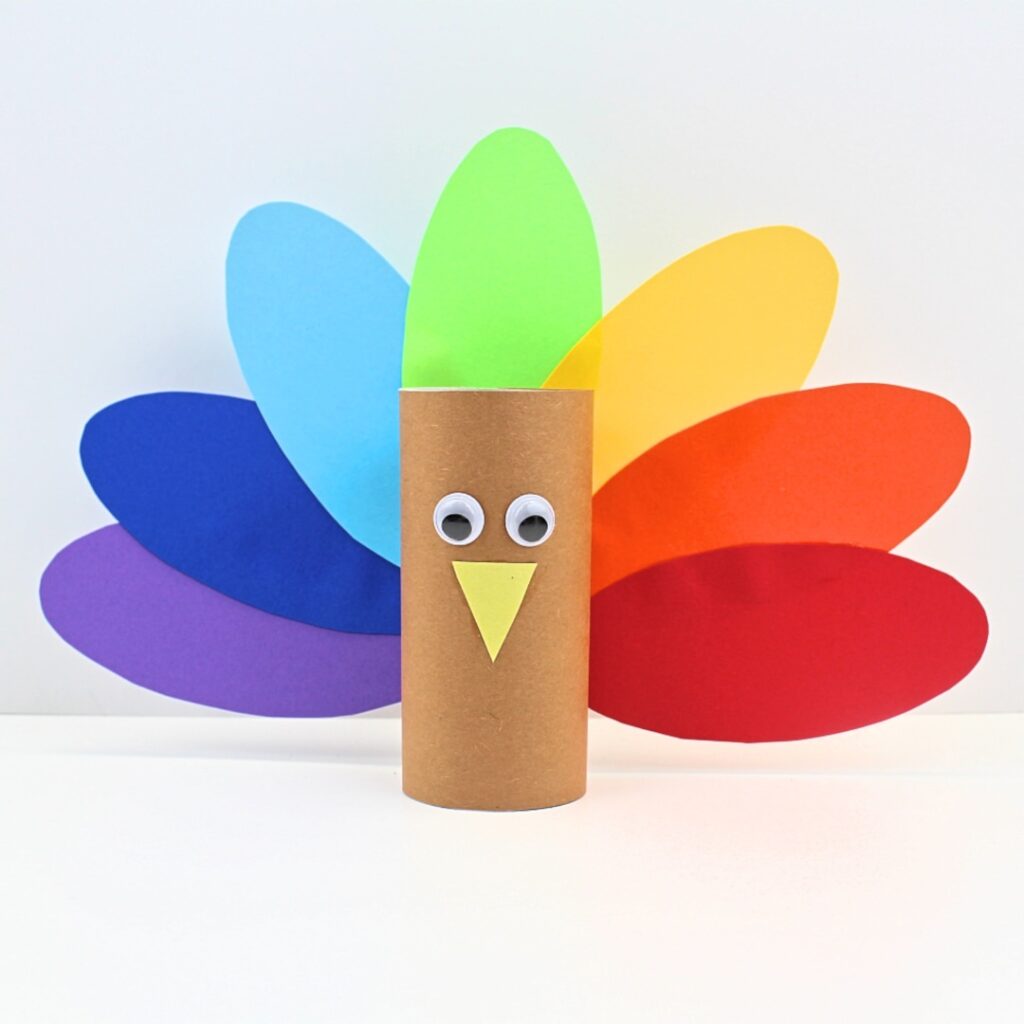
Looking for more easy crafts to make for Thanksgiving? Check out this Thankful Tree Craft, this Thankful Turkey Craft Template or this Toilet Paper Roll Turkey Craft!
GRAB OUR FREE 30-PAGE ACTIVITY BUNDLE!
By submitting your email address, you are agreeing to the terms of our Privacy Policy. You can unsubscribe at any time.
Required Materials
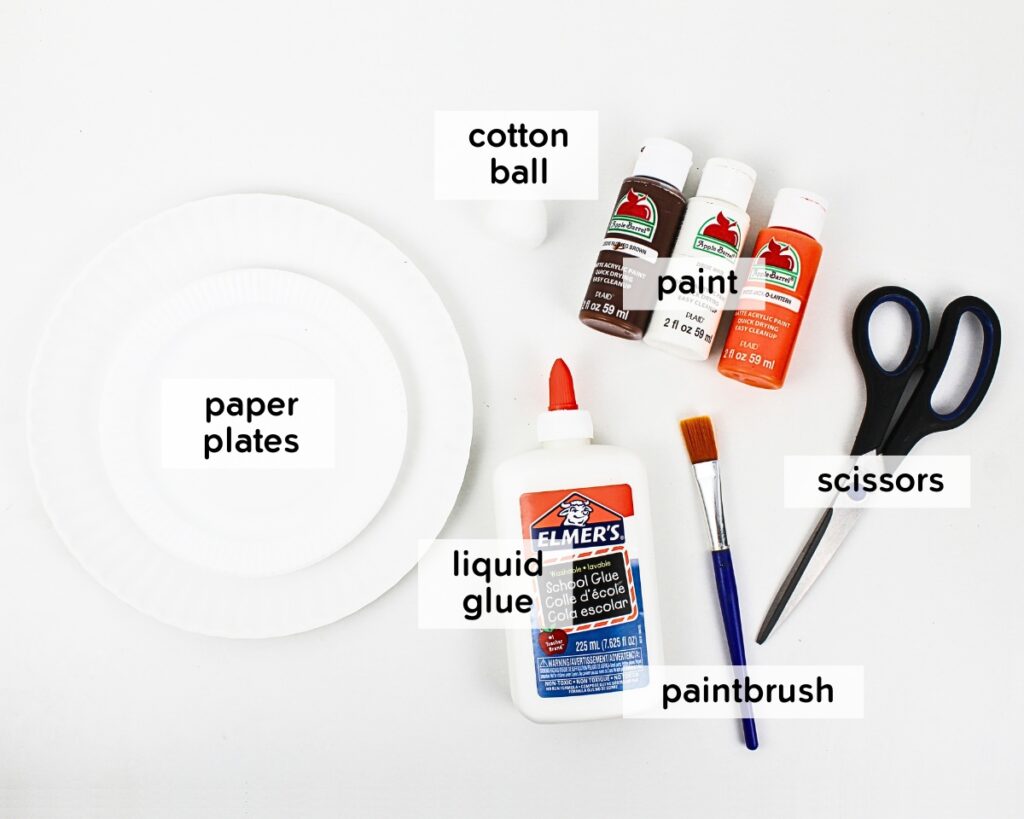
- Paper plates: No need to use anything fancy—the cheapest disposable paper plates you can find are perfectly fine for the purposes of this craft. Since one of them will be painted, white is best. I used a 6-inch paper plate for the pie, and a 9-inch paper plate for the plate that the pie is glued to.
- Paint: I used acrylic paint, but washable kids’ paint is also fine. The brown paint I had was too dark, so I mixed it with white to create a color that looked more like the color of pie crust. For the pie filling, I used orange paint and mixed it with a tiny bit of the remaining light brown to give it an earthier tone.
- Paintbrush: Any medium or large paintbrush will do. Mine was from the dollar store.
- Scissors: Make sure they’re sharp enough to cut through a paper plate. Plastic safety scissors probably wouldn’t work for this project.
- Cotton ball: Anything you have at home will do. You can find them at the dollar store if you don’t have any.
- Glue: I recommend using liquid school glue for this craft, though you may be able to get away with using a glue stick if that’s all you have on hand. (You’ll just need to apply the glue to the painted plate instead of the cotton ball during the last step.)
The full supply list and instructions can be found in the how-to card.
GRAB OUR FREE 30-PAGE ACTIVITY BUNDLE!
By submitting your email address, you are agreeing to the terms of our Privacy Policy. You can unsubscribe at any time.
How to Make a Paper Plate Pumpkin Pie (Step-by-Step)
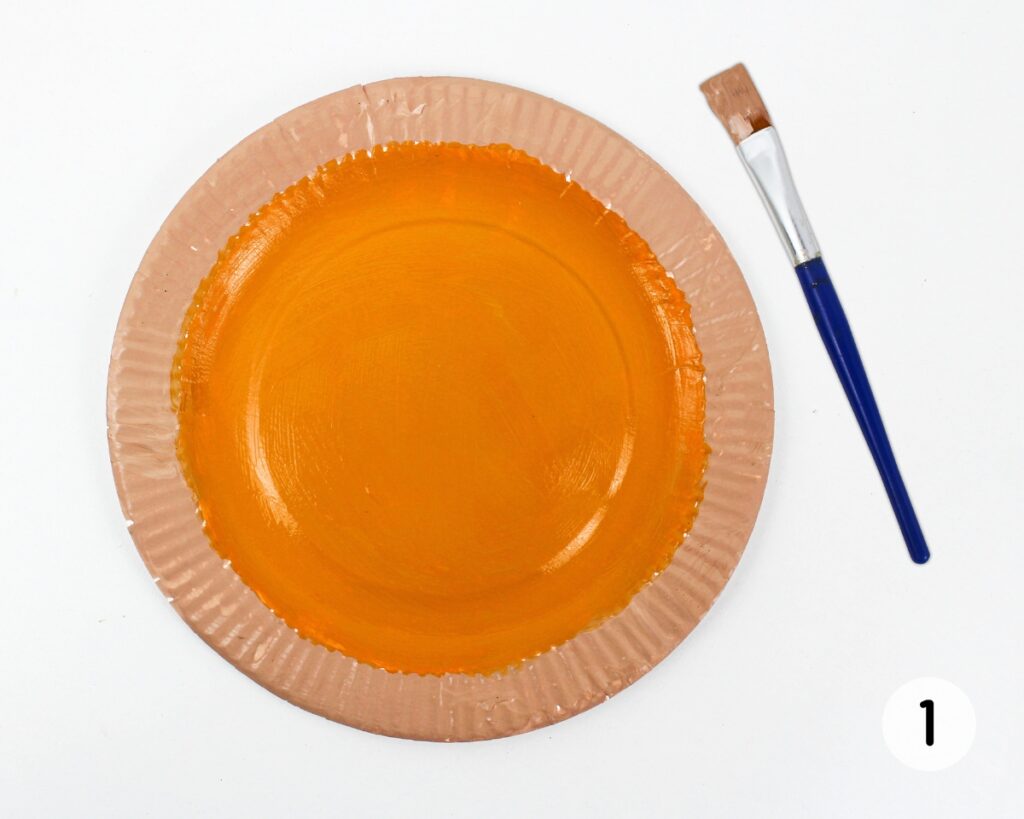
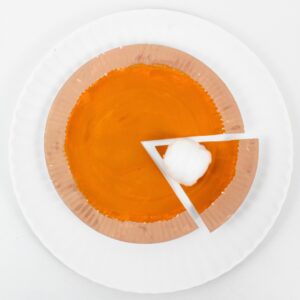
Step 1: Paint paper plate. Combining brown and white paint if needed to create a lighter shade of brown, paint the outside rim of a small paper plate to create the pie crust. Stir some orange into the remaining light brown paint to create an earthier shade of orange, then paint the inside of the plate to create the pie filling. Allow the paint to fully dry before moving on to the next step.
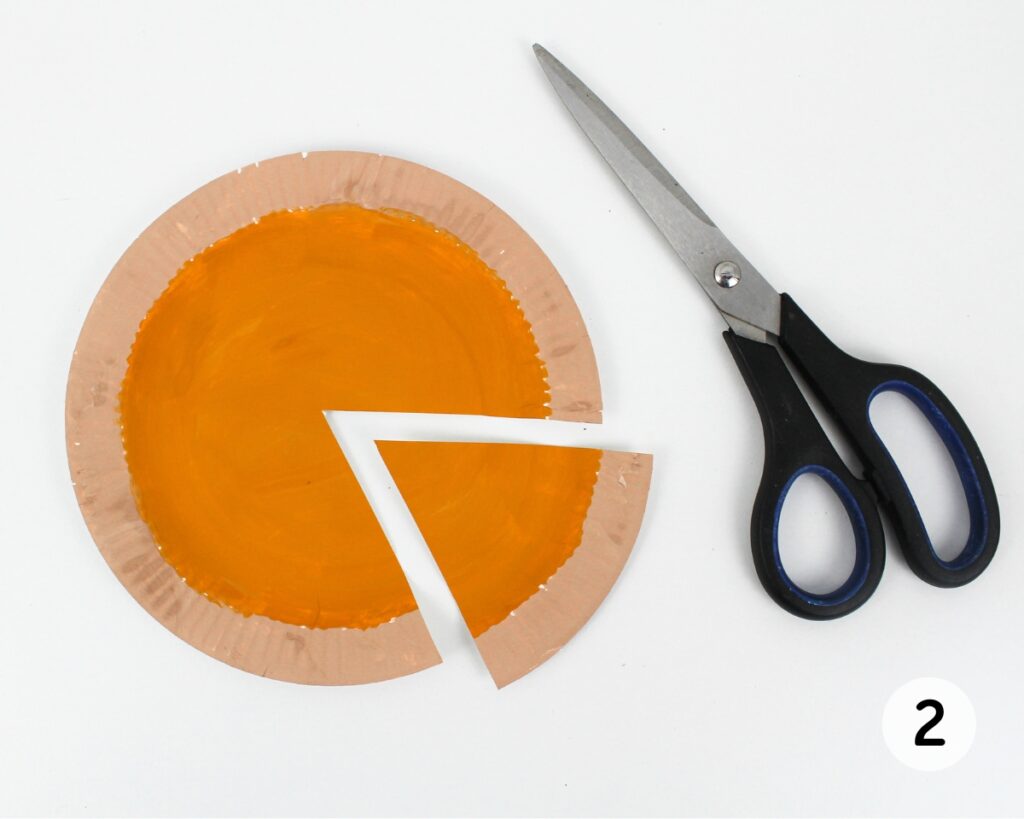
Step 2: Cut pie slice. Once the paint is completely dry, use scissors to cut a triangular “slice” out of the painted plate, as if someone cut a slice out of the pie.
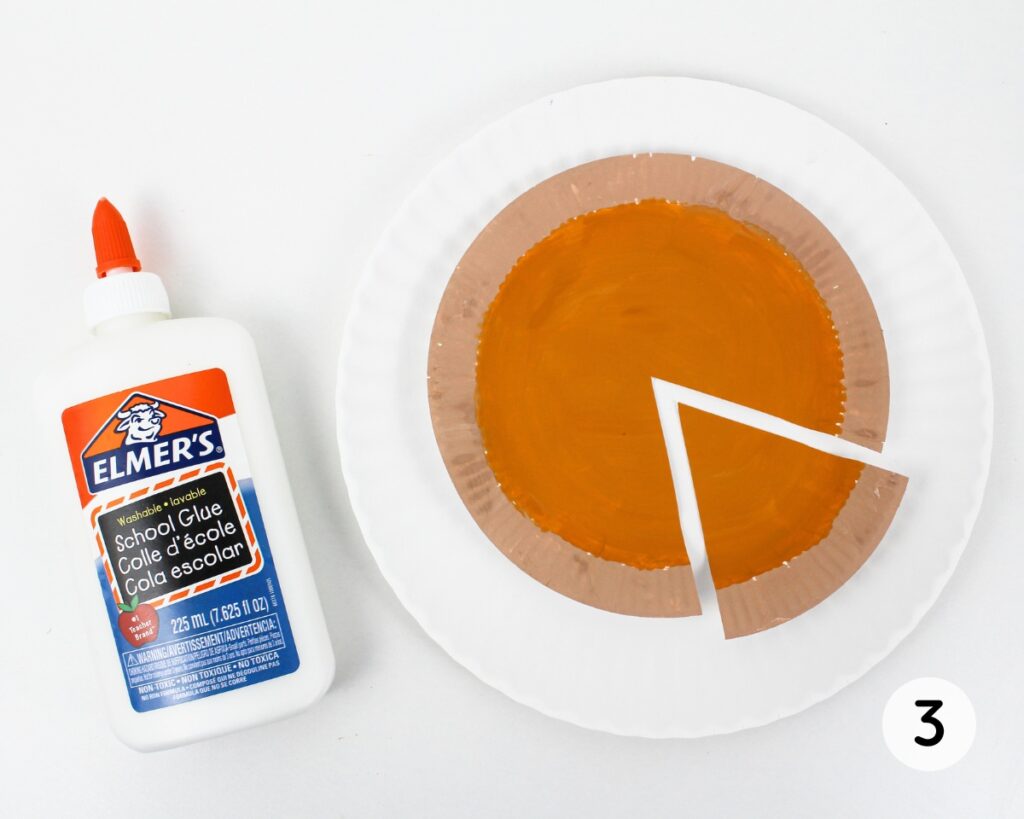
Step 3: Glue pie to plate. Glue the “pie” and “pie slice” to a 9-inch paper plate using liquid glue, placing the larger piece of pie slightly off-center and leaving a bit of white space between the two pieces to make it clear that the slice has been separated from the rest of the pie.
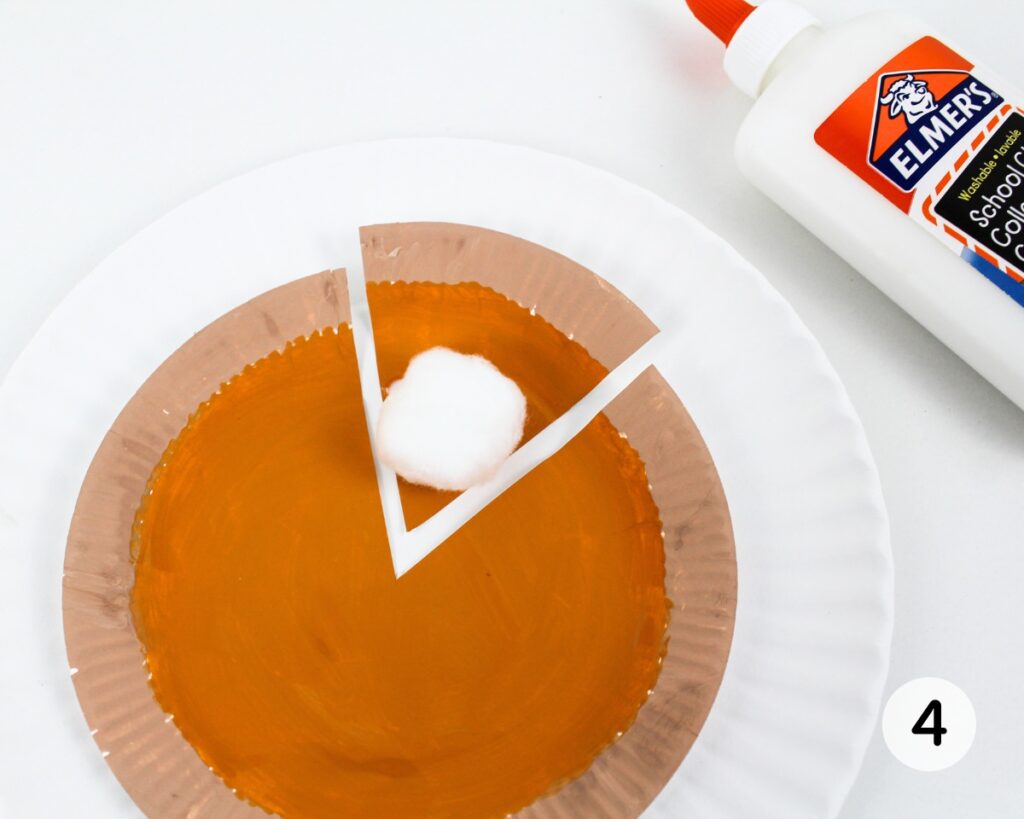
Step 4: Add cotton ball. Use liquid glue to glue a cotton ball to the point of the pie slice, mimicking whipped cream or vanilla ice cream. (If desired, you can add cotton balls to the rest of the pie as well, but this is a matter of personal preference.)
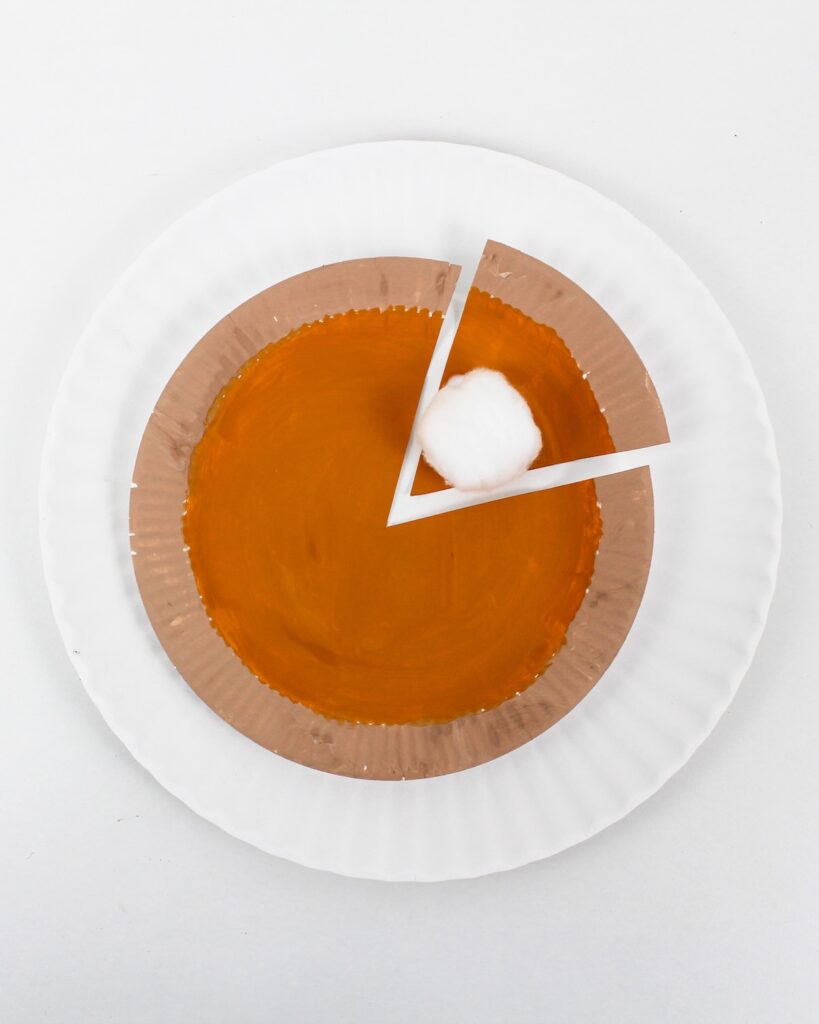
This project turned out super cute, and I loved that it was simple enough to allow my younger kids to participate! If you are making this craft with older kids, make sure to read the section below for some fun variations you can try.
Tips & Variations
- Add fine motor practice: Want to add a learning component to this activity? Instead of painting the small plate, tear up some orange construction paper and create the pie filling by glueing them to the plate.
- Decorate the plate: I kept the plate white, but you don’t have to! Consider painting the plate, or decorating the outside rim by adding designs using markers.
- Make it sparkly or scented: Instead of simply painting the plate, try sprinkling some glitter or cinnamon (or even pumpkin pie spice) on top of the paint before you let it dry.
More Thanksgiving Ideas for Kids



If you have tried this Paper Plate Pumpkin Pie or any other project on my website, please let me know how it went in the comments below. I can’t wait to hear from you!
Paper Plate Pumpkin Pie
Materials
- 1 small paper plate (6 inches or other)
- 1 large paper plate (9 inches or other)
- acrylic or washable paint (brown, white and orange) as needed
- 1 paintbrush
- 1 pair sharp scissors
- 1 cotton ball more if desired
- 1 bottle liquid glue
Instructions
- Combining brown and white paint if needed to create a lighter shade of brown, paint the outside rim of the smaller paper plate to create the pie crust. Add some orange to the remaining light brown paint to create an earthier shade of orange, then paint the inside of the plate to create the pie filling. Allow the paint to fully dry before moving on to the next step.
- Once the paint is completely dry, use scissors to cut a triangular “slice” out of the painted plate.
- Glue the “pie” and “pie slice” to the larger paper plate using liquid glue, placing the larger piece of pie slightly off center and leaving a bit of white space between the two pieces to make it clear that the slice has been separated from the rest of the pie.
- Use liquid glue to glue a cotton ball to the point of the pie slice, mimicking whipped cream or vanilla ice cream. (If desired, you can add cotton balls to the rest of the pie as well.)
Video
Notes
- Add fine motor practice: Instead of painting the small plate, tear up orange tissue paper and glue it to the plate.
- Decorate the plate: Paint or add designs to the large plate with markers.
- Make it sparkly or scented: Sprinkle glitter or cinnamon on top of the painted plate.

Only your name will be made public. Please note that by submitting your comment, you are agreeing to the terms of our Privacy Policy.