This thankful tree craft is the perfect way to teach kids about gratitude, and it includes a free printable template that you can download and print at home. Make this simple craft in the lead-up to Thanksgiving, or at any other time of year.

JUMP TO…
Thanksgiving is the perfect time to teach kids about gratitude and help them focus on the important things. And if you’re looking for an activity that will help you introduce the subject, this thankful tree is the perfect way to do it.
You’ll only need a few simple supplies, and basic cutting and glueing skills, to complete this project. It is perfect for elementary school kids, but with a bit of help, even younger kids should be able to make it!
Why You’ll Love This Craft
- Simple method and supplies: You won’t need any fancy supplies in order to make this craft—in fact, you probably already have everything you need at home. You also don’t need to be an expert at crafts, since most of the process is simply cutting and glueing. Elementary-aged kids should be able to make this one all on their own!
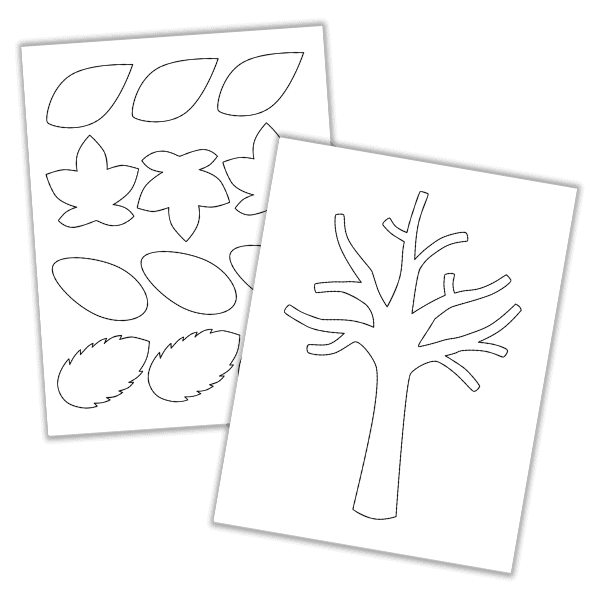
- Free template included: You are welcome to draw your own tree and leaf designs if you wish, but if that’s not something you have the time or desire to do, I’ve also provided a free template for you to use.
- Teach kids about gratitude: This craft is the perfect way to get kids reflecting on and appreciating the things that really matter. It is perfect for Thanksgiving, but you can also make it at any other time of year.
- Great for individuals or groups: Make this craft on your own, or turn it into a collaborative effort and get the whole family involved in making it together!
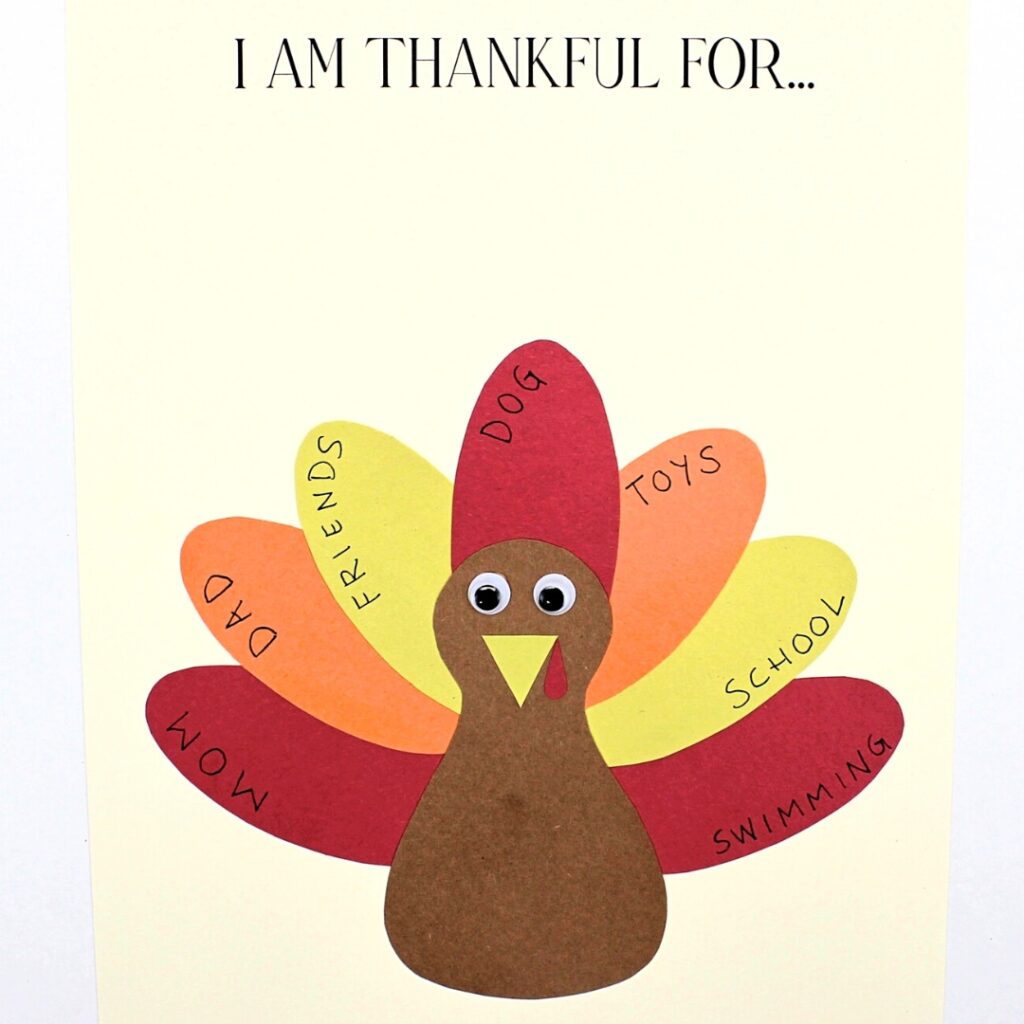
Want more projects like this one? You’ll also love this Thankful Turkey Craft!
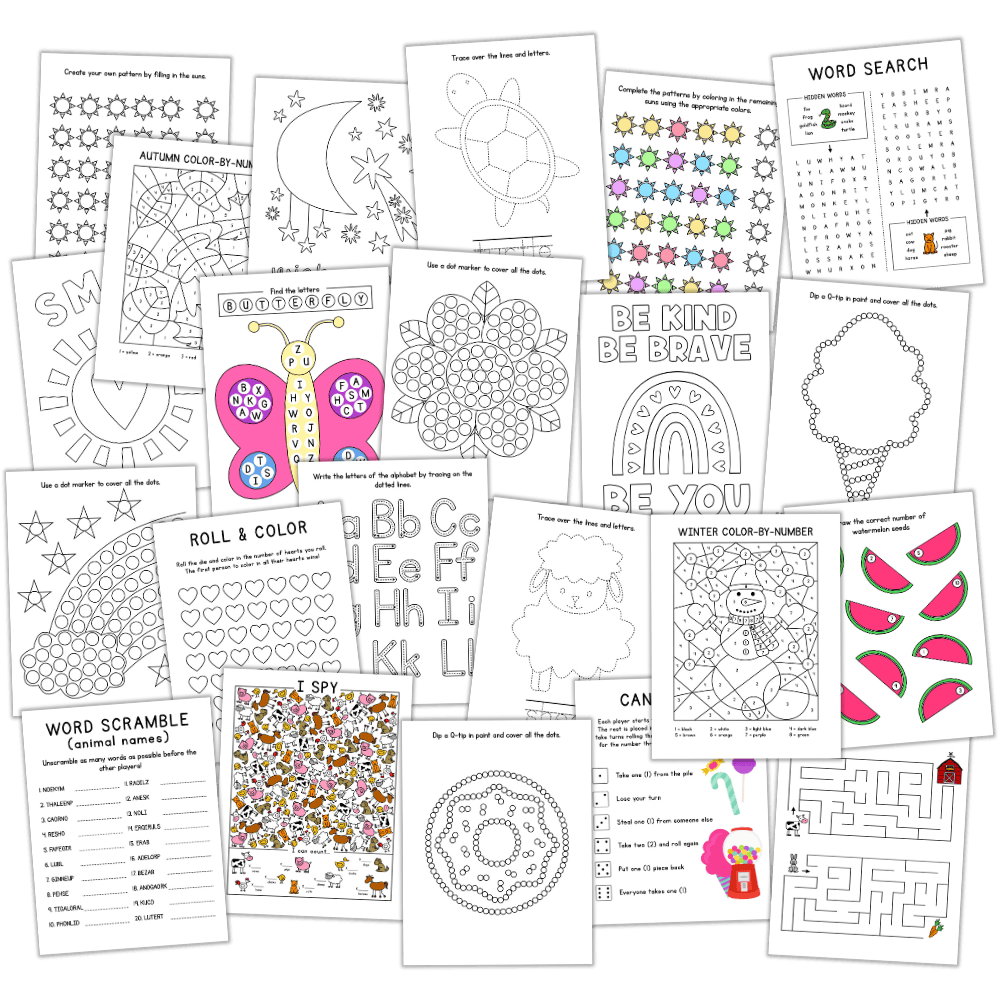
GRAB OUR FREE 30-PAGE ACTIVITY BUNDLE!
By submitting your email address, you are agreeing to the terms of our Privacy Policy. You can unsubscribe at any time.
Required Materials

- Paper: No need to use cardstock for this craft—you can print the template on regular printer paper.
- Construction paper: I used black construction paper for the background, and fall colors for the leaves: yellow, orange, red and brown. Feel free to use the same colors I did, or another color scheme of your choice. (A pack of assorted construction paper colors should give you everything you need.) If you don’t have construction paper, you can still make this craft by printing the template on white paper and coloring in the shapes with markers or colored pencils.
- Scissors: Any pair of scissors you have at home should work, as long as they’re not made of plastic. You won’t be using cardstock or cardboard, so the scissors don’t need to be very big or sharp, but they do need to be able to cut around the finer details of the tree and leaves.
- Glue: A glue stick works best for this craft, but if you don’t have one, you can always use a small amount of liquid school glue.
- Pencil: A regular N˚2 pencil is fine. You’ll only need it to trace the shapes onto construction paper, so if you’re coloring in the template instead, you can skip the pencil.
- Marker: I used a black fine point washable marker to write a word on each leaf. You can also use a pen if that’s what you have—just make sure it’s something permanent, to prevent the words from getting smudged or erased.
The full supply list and instructions can be found in the how-to card.
Get Your Free Gratitude Tree Template
Subscribe to my newsletter to receive your free thankful tree template as a welcome gift! I’ll also send new activities, craft ideas and printables right to your inbox.
Already a subscriber? Don’t worry, you won’t be subscribed twice. By submitting your email address, you are agreeing to the terms of our Privacy Policy. You can unsubscribe at any time.
How to Make a Thankful Tree (Step-by-Step)
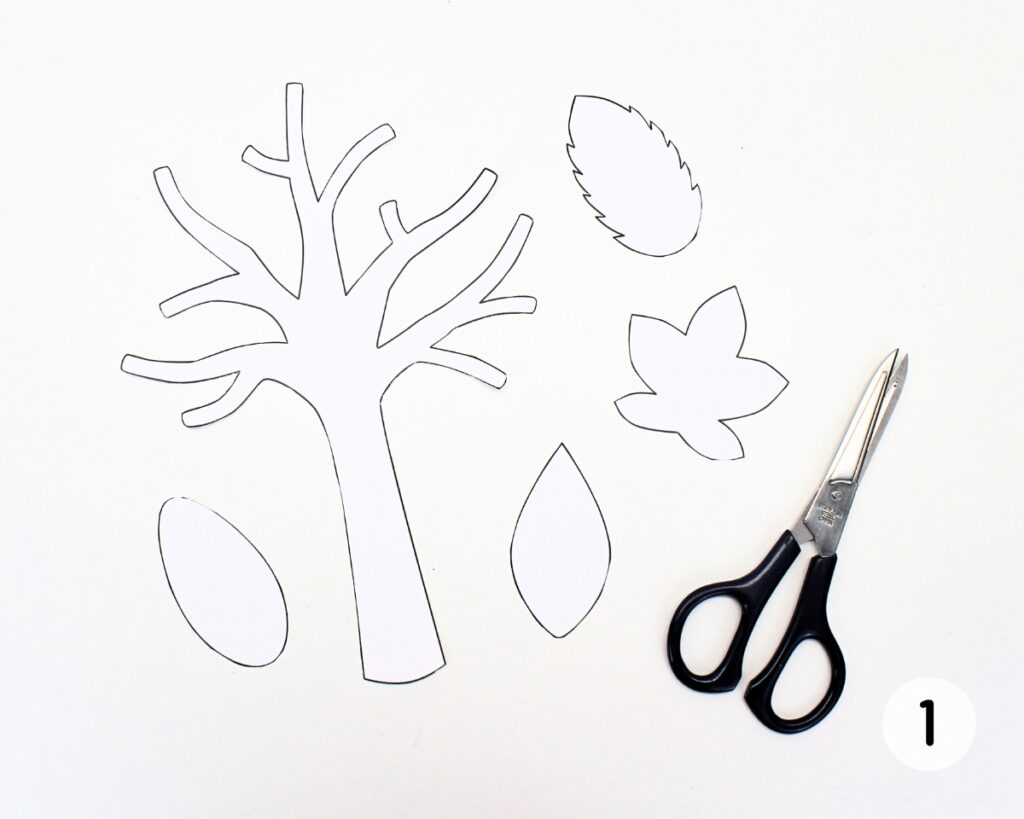
Step 1: Print & cut template. Print the template on regular printer paper (or draw your own tree and leaves), then use scissors to cut out all the shapes. Unless you have chosen to color in the leaves, you’ll only need to cut out one of each type.
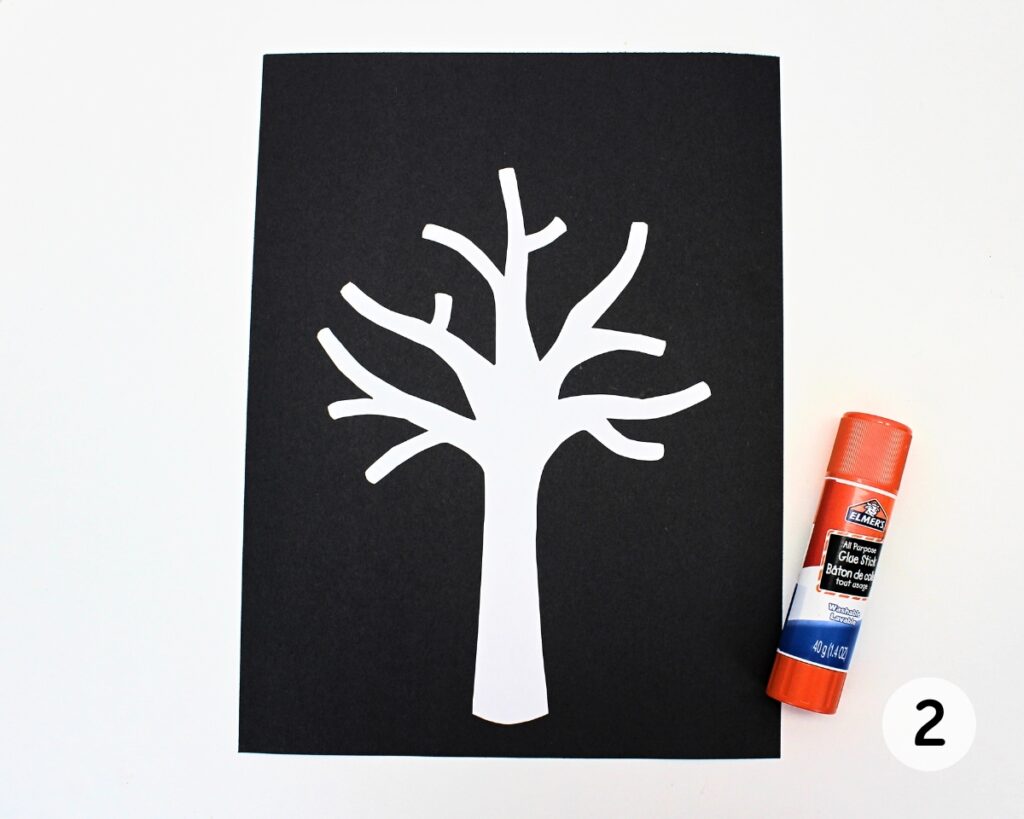
Step 2: Glue tree to background. Turning the shape so the printed lines face downward, use a stick of glue to glue the tree to a sheet of black construction paper (or another color of your choice).
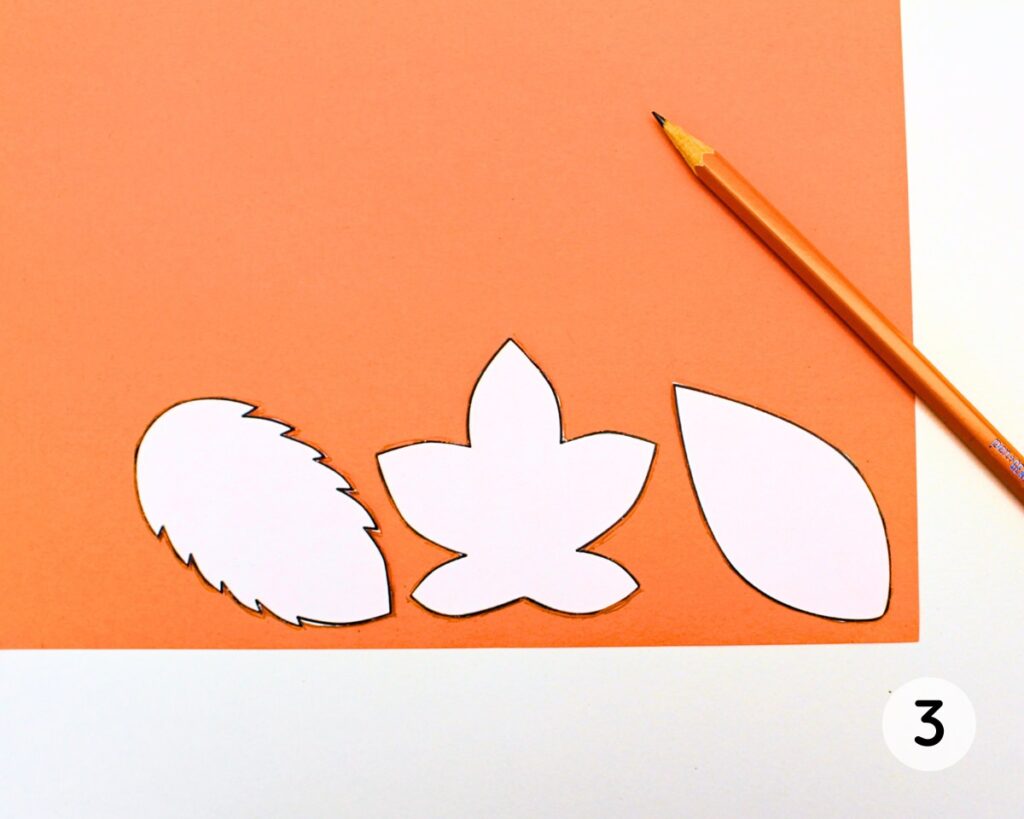
Step 3: Trace leaves. Use a pencil to trace 12 leaves onto colorful construction paper. I used red, orange, yellow and brown, creating 3 leaves of each color.
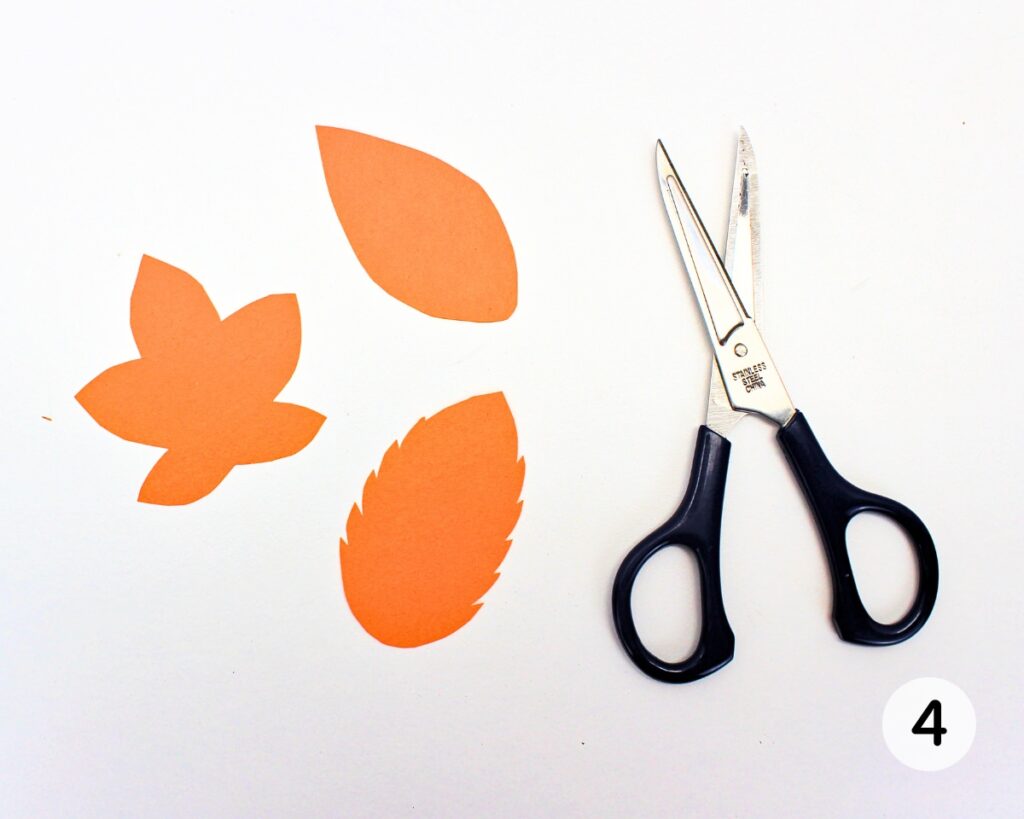
Step 4: Cut leaves. Use scissors to cut out the shapes of the leaves.
Only have regular paper?
If you don’t have any colorful construction paper on hand, no need to worry! Simply print the template on regular printer paper, cut out all 12 leaves and color them in using markers or colored pencils.
Just make sure to use light colors when coloring them in, so that the words you write on the leaves are still visible.
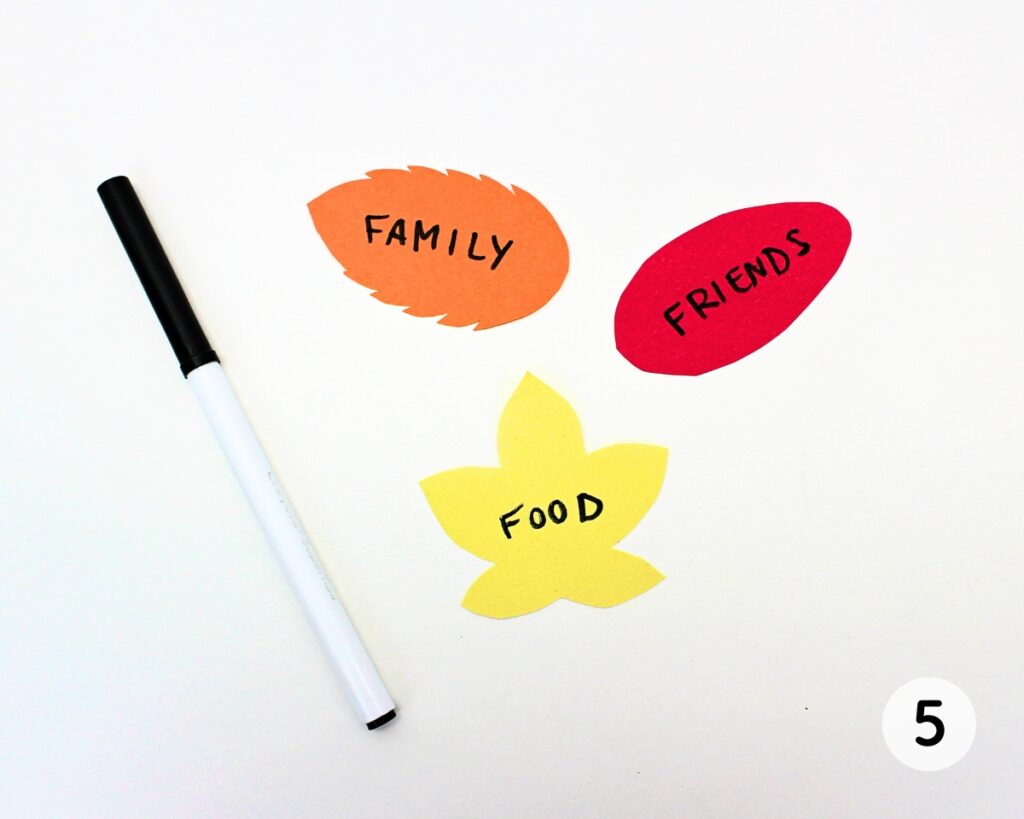
Step 5: Write on leaves. Write a word on each leaf to describe something you are thankful for. This is a great opportunity to start a discussion about gratitude with your kids.

Step 6: Glue leaves to tree. Place a bit of glue on the back of each leaf—on the end that will be touching the tree branch—and gently press down on it to glue it to the tree. (The tip of some of the leaves will go over the edge of the paper.)
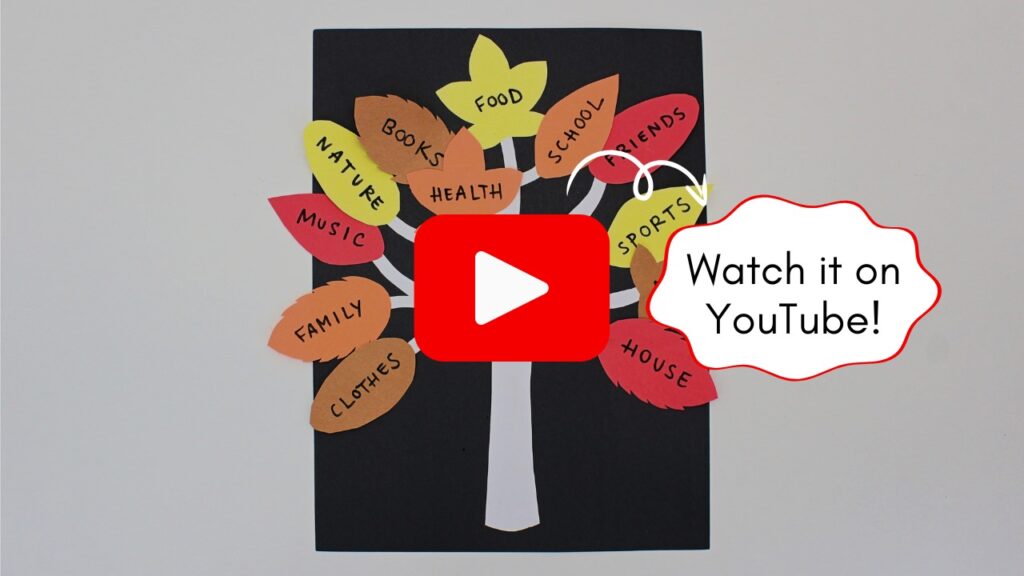
This was such a fun project to do, and a great way to get kids to think about all the things that they are grateful for! I love how the white tree and bright fall colors popped against the black background.

Helpful Tips
- Face all the lines downward: Want your tree to look nice and neat? Make sure you add the glue to the side of the shapes that have lines from printing or tracing shapes, so that they’ll be hidden when the craft is finished.
- Only add glue to one end: Because the leaves went over the edge of the construction paper, I only added glue to one end of each leaf—the one that came into contact with the tree. This helped add some dimension to the craft, since the leaves weren’t completely flat, and meant that the parts of the leaves that went over the edge didn’t have glue on the back.
- Add extra leaves: Have lots to be thankful for? The tree in the provided template has 12 branches and leaves, but you can always trace and cut more leaves and place them on top of the trunk or branches.
- Print the template differently: I intentionally designed the template to be a bit too big because I liked the look of the leaves spilling over the edge of the paper, but if you’re not a fan, you can decrease the print scale to make it fit. You can also choose to print the template directly on construction paper (you’ll need to cut it down to 8.5 x 11 inches first) to avoid having to trace the shapes.
- Make it alone or as a group: This craft is perfect for one child to make on their own, but you can also make it a group or family effort by having multiple children work together to create and add the leaves to the tree.
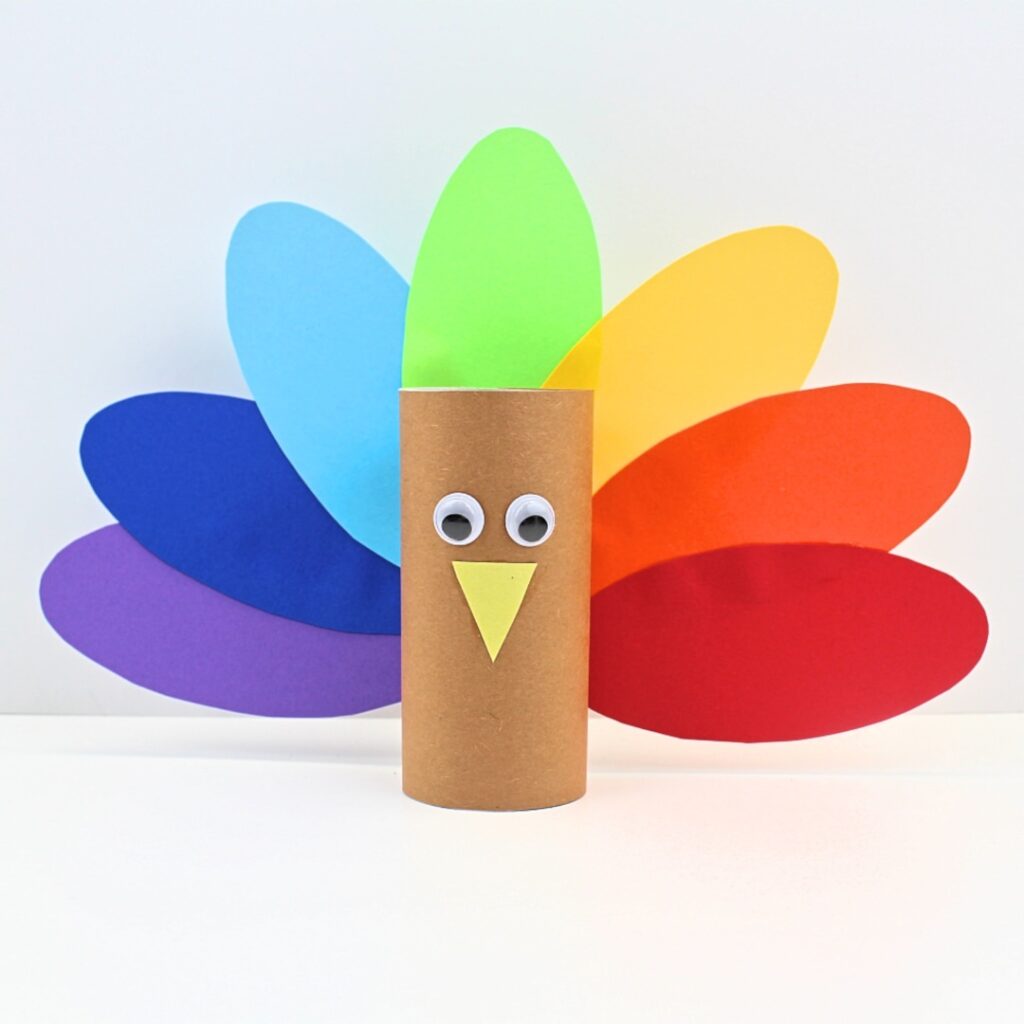
Looking for more simple crafts to make for Thanksgiving? Try this Toilet Paper Roll Turkey!
Fun Ways to Modify This Craft
- Color in the template: Instead of using construction paper, grab some markers or colored pencils and turn this craft into a coloring activity. (I recommend avoiding wax crayons, as they will be more difficult to write on once you’re done coloring.)
- Add more details: I kept the design pretty basic, but you don’t have to! Feel free to decorate the leaves or background, or use a black pen to add lines and knots that will make the tree trunk look more realistic.
- Add extra dimension: Consider folding one end of your leaves (the end that won’t be glued to the tree) to add a cool, three-dimensional look to your craft.
- Switch up the colors: I chose to use a black background and fall colors because I liked the way it made the tree and leaves pop, but you can use any combination of colors you like. Try a light background and brown tree (colored in or cut from construction paper), and don’t hesitate to use rainbow colors, or any other color scheme you prefer, for the leaves!
How to Make Your Tree Bigger
To make a large gratitude tree to hang on your wall, rather than printing the template on US Letter paper, take it to your local print shop and have it printed in large format.
The print quality won’t be as good, but if you are just using the template to trace the shapes and you are facing the lines downward, that shouldn’t matter. Once you have cut out the tree, you can glue it to a large poster board.
As for the leaves, you can either have them printed in large format at well, or keep them small so that you can fit more of them on the tree. Keeping the leaves small would be a great way for teachers to allow their whole class to participate.
More Thanksgiving Ideas for Kids


If you have tried this Thankful Tree Craft or any other project on my website, please let me know how it went in the comments below. I can’t wait to hear from you!

DIY Thankful Tree
Materials
- 2 sheets regular printer paper
- free thankful tree template (request it by filling out the form below this printable how-to card)
- 5 sheets construction paper assorted colors
- 1 pair scissors
- 1 stick glue
- 1 pencil
- 1 marker
Instructions
- Print the template on regular printer paper (or draw your own tree and leaves), then use scissors to cut out all the shapes. Unless you have chosen to color in the leaves, you’ll only need to cut one of each type of leaf.
- Turning the shape so the printed lines face downward, use a stick of glue to glue the tree to a sheet of black construction paper (or another color of your choice).
- Use a pencil to trace 12 leaves onto colorful construction paper. (I made 3 red leaves, 3 orange leaves, 3 yellow leaves and 3 brown leaves.) Then, use scissors to cut out the shapes.
- Write a word on each leaf to describe something you are thankful for.
- Place a bit of glue on the back of each leaf—on the end that will be touching the tree branch—and press down to glue it to the tree. (It is normal for the tip of some of the leaves to go over the edge of the paper.)
Video
Notes
- Add more details: You can decorate the leaves or background, or add black lines and knots to the trunk to make the tree look more realistic.
- Add extra dimension: Try folding the end of the leaves that doesn’t have glue to make the craft more three-dimensional.
- Change the colors: Instead of a black background, white tree and fall-hued leaves, try using a light background, a brown tree or different color palettes for the leaves.
- Face the lines downward: Add the glue to the side that has lines from printing or tracing, then face them downward to hide them and make the craft look neater.
- Add glue to one end: Only use glue on one end of the leaves—the end that comes in contact with the tree—to give the craft more texture and prevent the leaves that spill over from sticking to your table.
- Add extra leaves: The template has 12 branches and leaves, but you can trace and add more if desired.
- Print the template differently: When printing the template, reduce the print scale if you with to prevent the leaves from spilling over the sides. You can also trim construction paper to the right size for printing, and print the template directly on construction paper.
- Make it a group activity: This craft can be completed alone or as a group.
Request Your Free Template Here
Subscribe to my newsletter to receive your free thankful tree template as a welcome gift! I’ll also send new activities, craft ideas and printables right to your inbox.
Already a subscriber? Don’t worry, you won’t be subscribed twice. By submitting your email address, you are agreeing to the terms of our Privacy Policy. You can unsubscribe at any time.

Only your name will be made public. Please note that by submitting your comment, you are agreeing to the terms of our Privacy Policy.