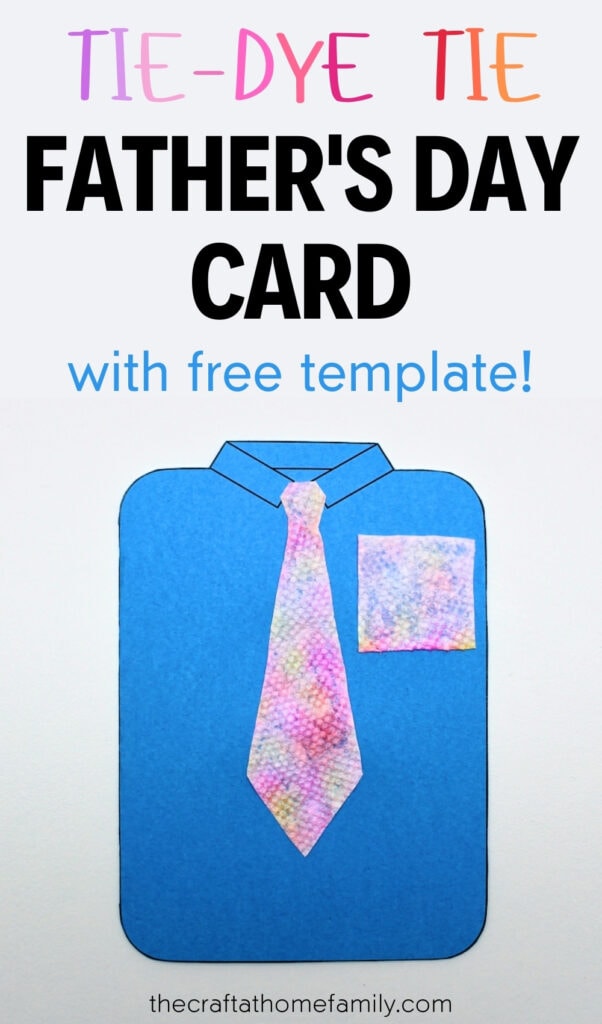
Looking for a fun craft to say “Happy Father’s Day”? This cute shirt card is decorated with a tie-dyed tie that’s easy enough for toddlers to make—and it includes a free template that you can download and print at home!
JUMP TO…
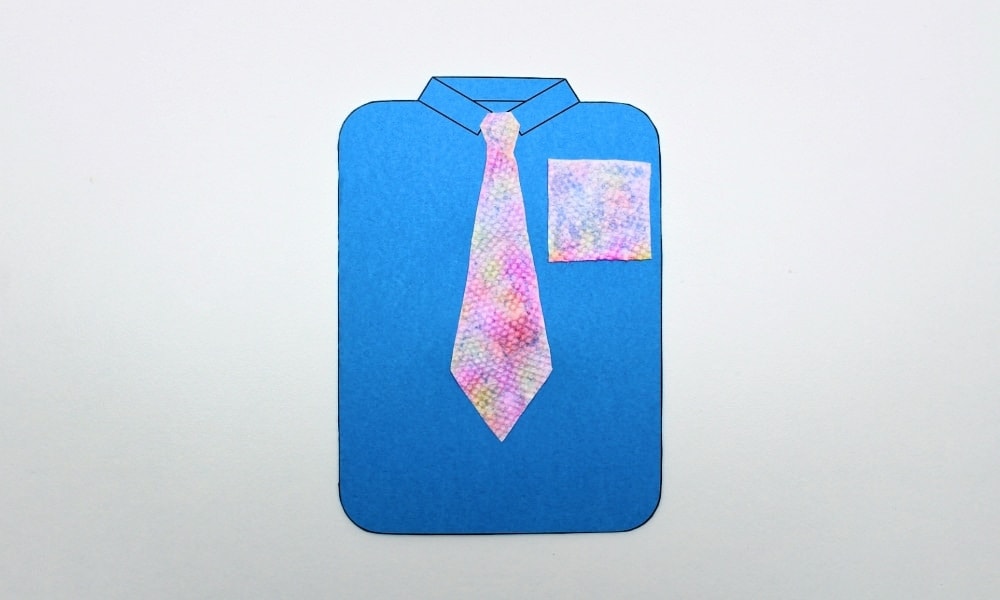
Nothing says Father’s Day like a homemade card shaped like a shirt and tie!
With four kids under the age of six at home, we often have to get creative when it comes to making crafts. Our younger kids always want to be just like their older siblings, so we have to strike a balance between making crafts that are fun for our older kids and easy enough for our younger ones to participate in.
Last year’s Marbled Shaving Cream Father’s Day Card was a huge hit with our kids—they were so proud to have helped make it!
So this year, we decided to recycle our shirt & tie template and turn it into another fun process art-based card to give to Daddy (or Grandpa)!

Get hundreds of pages of activities!
Get access to all our paid printables, as well as monthly activity planners, for just $5/month. (New printables added twice per month!)
Required Materials
Here’s what you’ll need to make this cute tie-dyed shirt & tie card for Father’s Day:
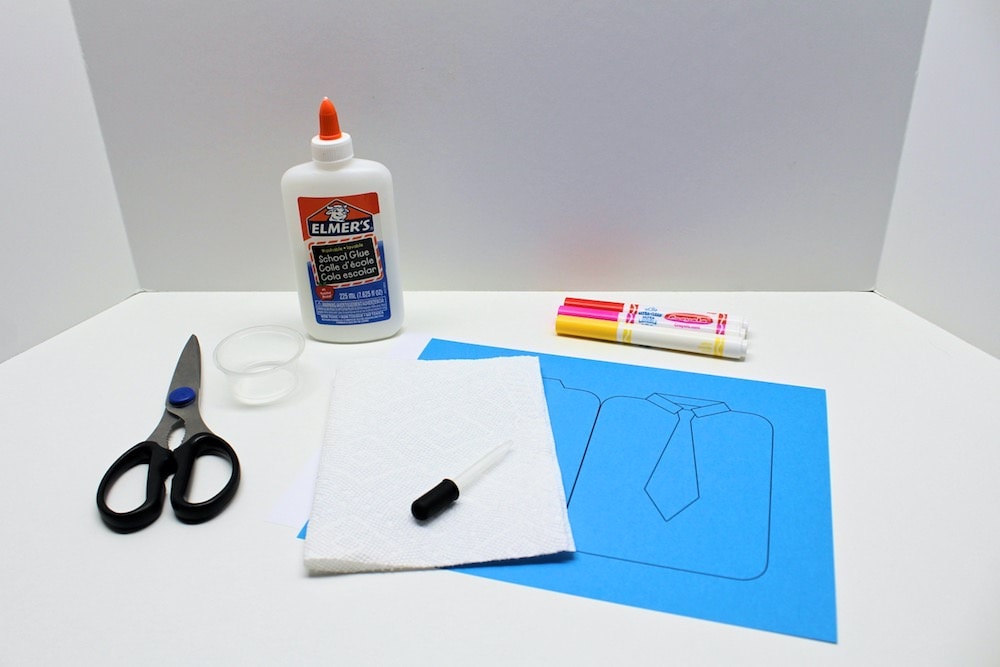
- Our free shirt & tie template, which you can download using the form at the bottom of this article
- Colorful cardstock (we chose blue)
- Paper towel
- Washable kids’ markers
- Water
- Dropper (I recommend using plastic if you’re making this craft with young kids!)
- Pencil (optional)
- Scissors
- School glue (stick or liquid)
How to Make a Tie-Dyed Tie Shirt Card (Step-by-Step)
1. Cut Paper Towel
Start by folding one (half) sheet of paper towel in half and cutting along the fold.

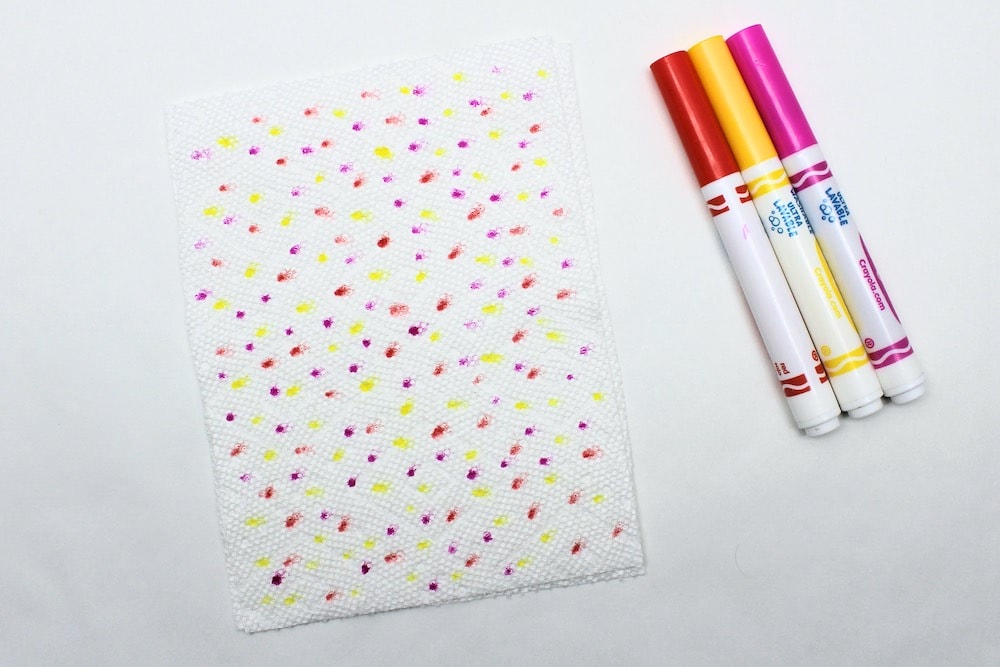
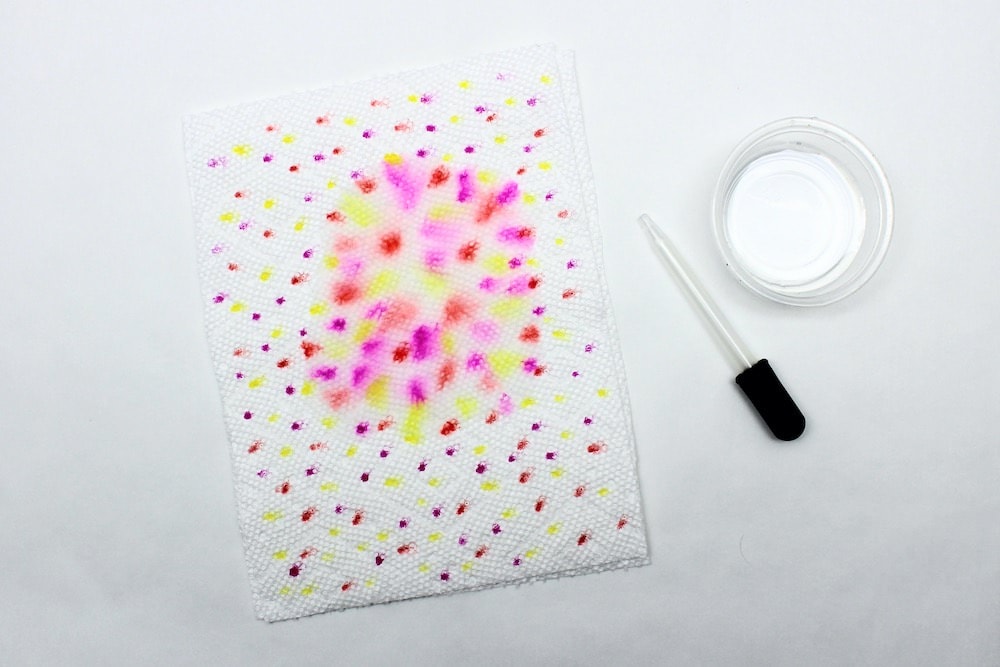
2. Draw on Paper Towel
Place the two pieces of paper towel one on top of the other. Then, use washable markers to draw little dots or lines all over the top layer of paper towel.
Note: I recommend protecting your work surface by placing the whole thing on top of some parchment paper or on a baking sheet. You’ll be glad to have done this when you get to the step that requires soaking the paper towel!
3. Add Water
Use a dropper to slowly soak the entire paper towel. The second layer of paper towel underneath with help absorb the water and prevent it from leaking.
4. Let Dry
Let the paper towel rest for a few hours until it’s nice and dry.
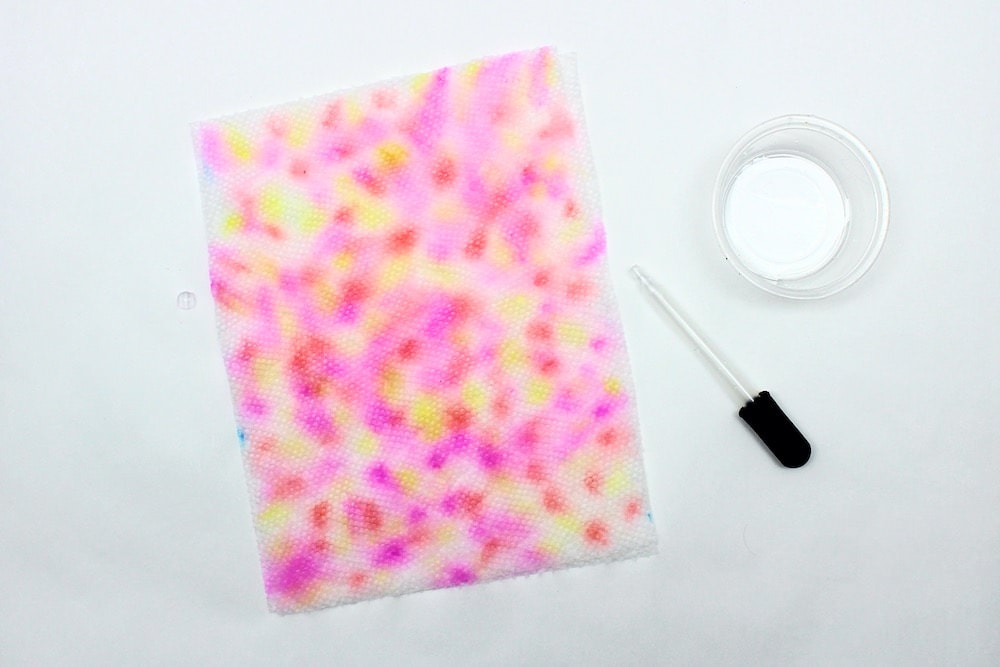
To speed things along, you can let it dry in the sun or place it on a baking sheet in the oven on your oven’s lowest setting. (Ours was 170°F.) If you do place it in the oven, keep a careful eye on it and make sure not to leave it in for too long!
5. Print Template
While you’re waiting for the paper towel to dry, print the shirt & tie template using your home printer. Print the first page of the template on a sheet of colored cardstock, and the second on a sheet of regular printer paper.
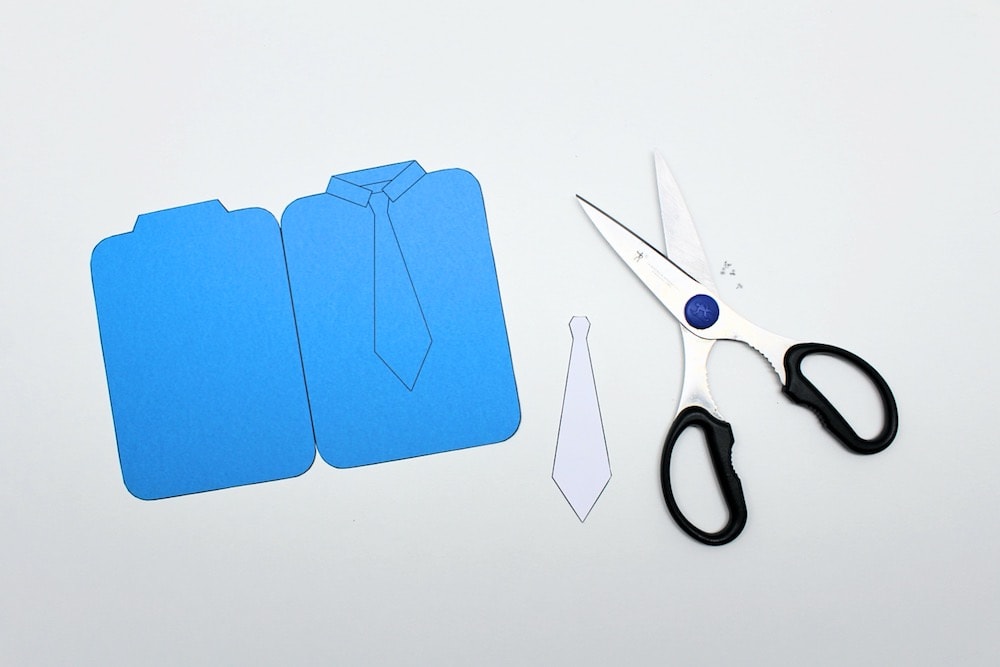
6. Cut Template
Use scissors to cut along all of the outer lines of the shirt, making sure not to touch the middle line—you’ll be using that to fold the card.
Then, cut out the tie shape as well. Depending on the age of your child, you may have to do this step yourself.
7. Write Message
Fold the card along the printed line and write a personalized message on the inside!
8. Cut Paper Towel
Once the card is folded and the paper towel is completely dry, use a pencil to lightly trace the tie design onto it, then use scissors to cut a tie-shaped piece of paper towel. (You can skip the pencil outline if you don’t feel that you need it.)
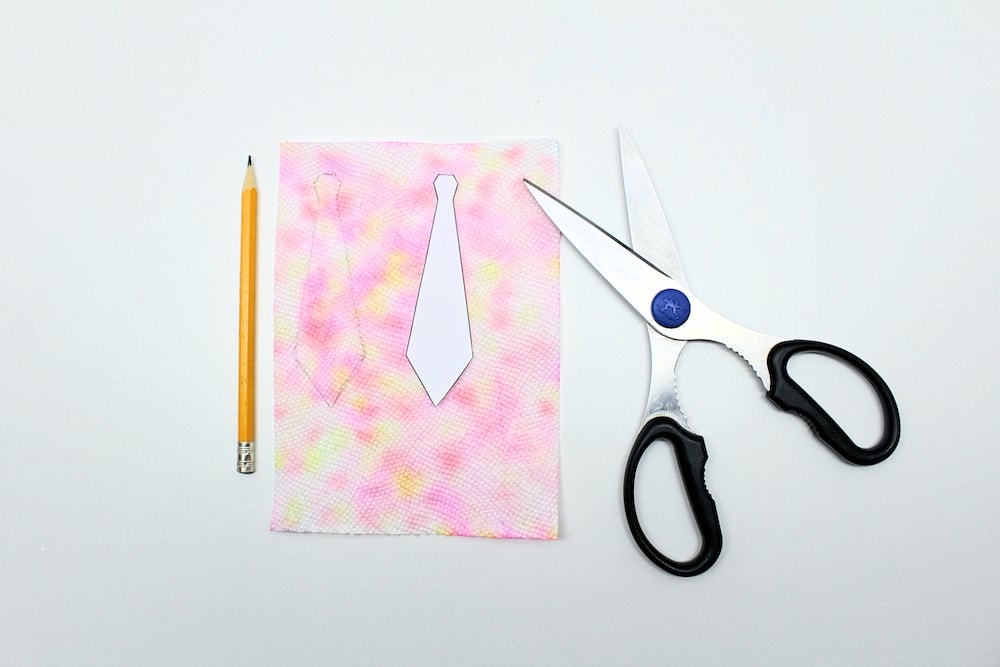
If you want, you can also cut a little square and turn it into a pocket!
9. Glue Tie to Card
Spread some school glue onto the tie shape printed on the cardstock. If you decide to use liquid glue, try not to squeeze out too much, and spread it around with the tip to prevent it from soaking through the paper towel.

Then, gently press the tie-shaped paper towel (as well as the square pocket, if you chose to make one) onto the glue.
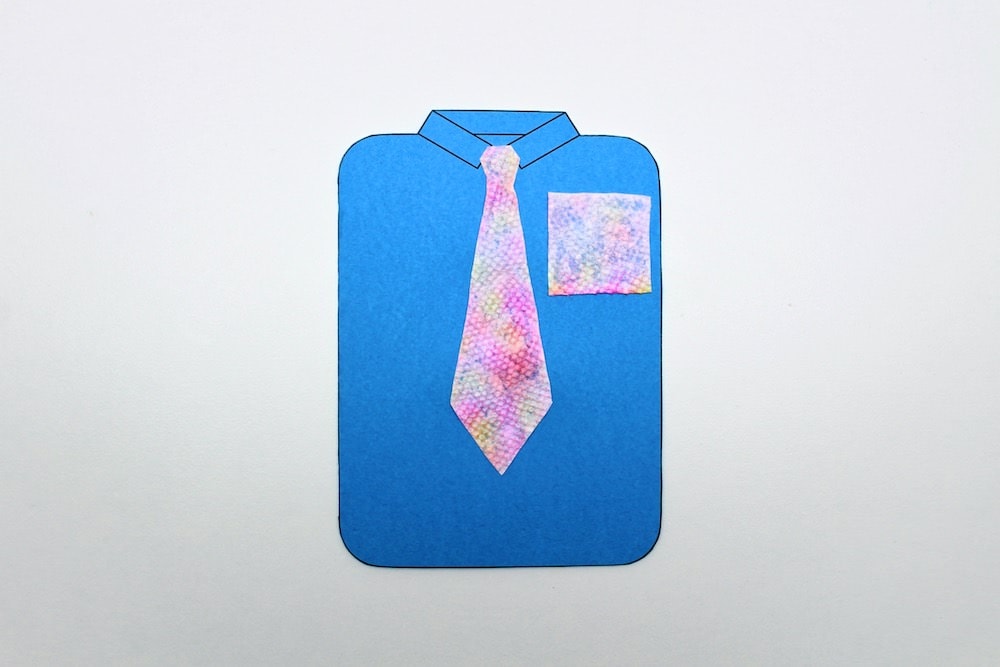
Once the glue is dry, wait for the third Sunday of June and gift the card to Daddy, Grandpa or whoever else you had in mind when you made the card. Your kids will be so proud to have created the tie-dye effect themselves!
Related Card Crafts for Dad
Looking for more cute cards to make with the kids for Father’s Day? Check out this article:
Only your name will be made public. Please note that by submitting your comment, you are agreeing to the terms of our Privacy Policy.