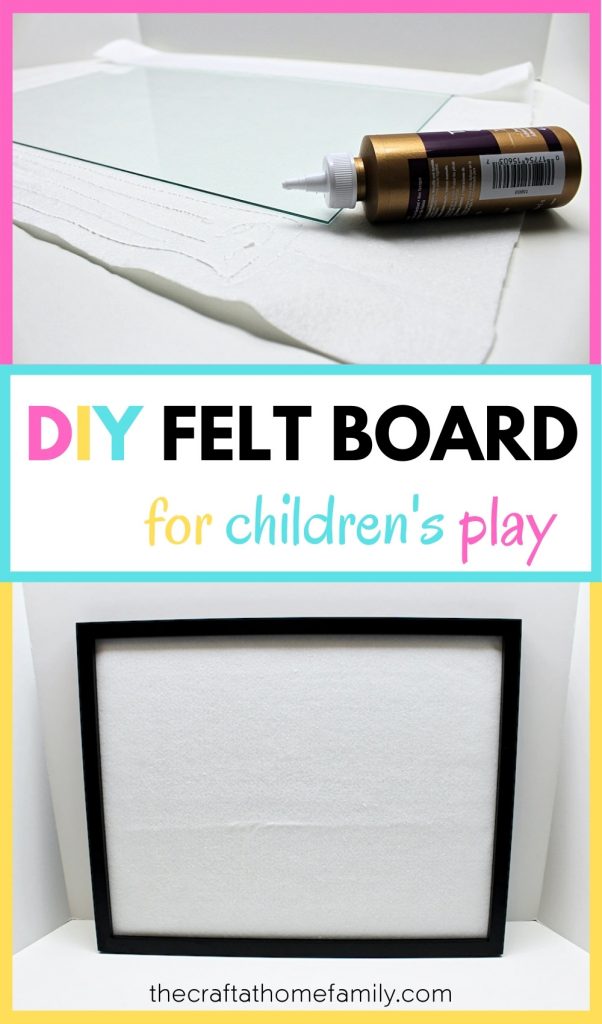
Felt boards are an excellent tool to promote children’s storytelling, creativity and hands-on learning—and making your own at home couldn’t be easier! All you’ll need to make your own DIY felt board is a frame, some felt, some glue… and about 10 minutes of free time!
JUMP TO…
I’ve been meaning to create a felt board for our kids since sometime last year. In fact, I even went so far as to buy a frame and some felt specifically for that purpose… only, it would seem, to leave them gathering dust in our bedroom closet!
With three young kids, life can get pretty hectic. I always have a ton of projects I want to try with them, and never enough time to do them all. So while they’re never forgotten, certain projects do end up getting placed on the back-burner for many months at a time.
But with Christmas—and Baby #4—coming in a few weeks, I thought it was time for this particular project to be completed. So I took out the felt and the frame I had bought all those months ago and got to work!
I’m quite happy with the result—and the kids are really excited to play with all the felt sets we’re planning on creating! But since not everyone has heard of felt boards, I thought I’d introduce them a little bit below before diving into the tutorial.

Get hundreds of pages of activities!
Get access to all our paid printables, as well as monthly activity planners, for just $5/month. (New printables added twice per month!)
What Is a Felt Board?
In case you’ve never heard of them, a felt board (or flannel board) is exactly what it sounds like—a board covered in felt. Far more exciting is what you can do with it!
If you’ve ever sewed with felt, you may have noticed that it sticks to itself. This means that when placed on your board, smaller pieces of felt will adhere to it—making them perfect for children to play with!
Once you’ve made your felt board, there’s really no limit to what you can create. You can use it to tell or retell stories, to create pictures, or even to learn about shapes or letters. All you need is some felt, a sharp pair of scissors and a little imagination!
For instance, you could create felt foods, felt shapes for each holiday, or even felt characters from your child’s favorite book or movie. Now that we’ve finally created our board, I can’t wait to dive in… and I’m sure you won’t either!
Required Equipment
Here’s what you’ll need to make a felt board for your kids at home:
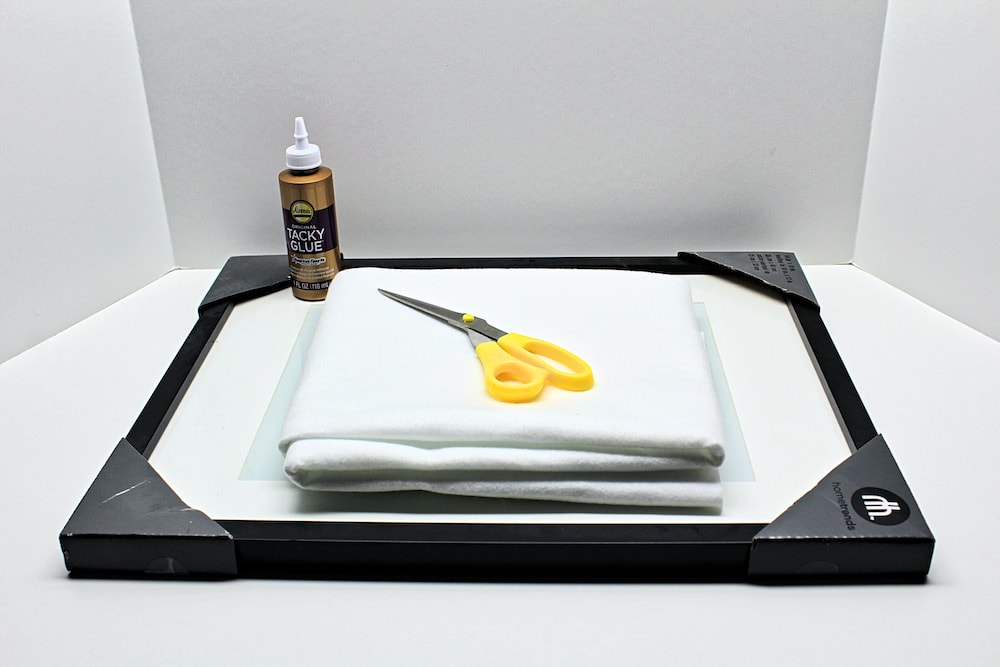
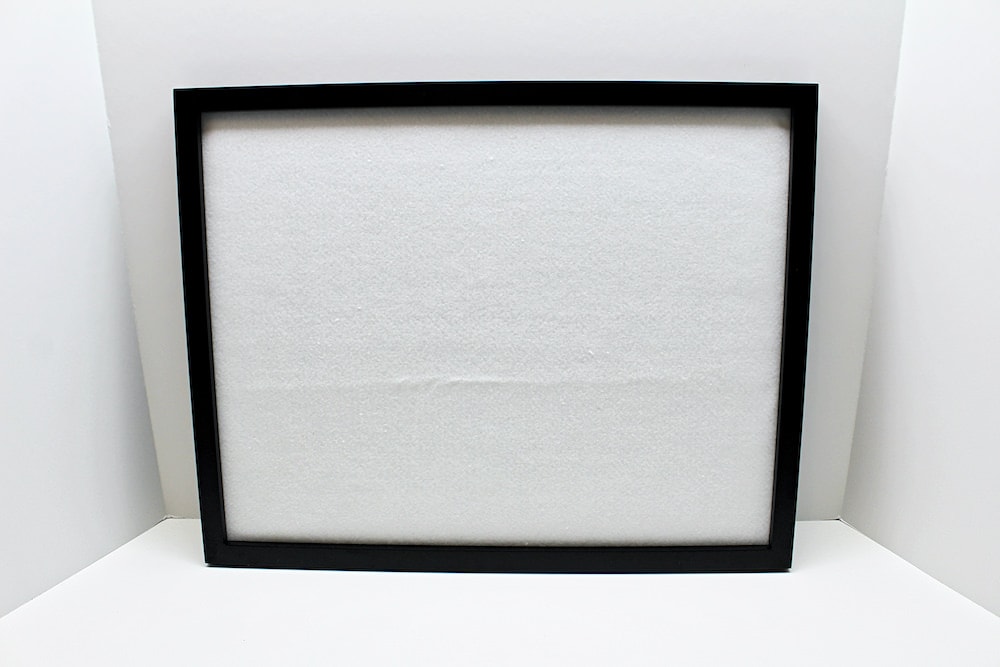
- Unused picture frame (mine was from Walmart)
- Large piece of felt in your color of choice (I opted for white so it could go with anything!)
- Sharp scissors (I used my sewing scissors)
- Tacky glue
You can choose whatever size frame you like, but make sure it’s large enough to accommodate any felt play sets you’re planning on making! The frame I used measured 14”x18”. Keep in mind that the piece of felt you use for the background needs to be large enough to cover the whole frame.
Note: When working with felt, it’s best to avoid regular white school glue as it tends to soak through the felt and leave dark patches. If you don’t have any tacky glue and are wondering whether something else could work, click here to find out more about glueing felt.
How to Make a DIY Felt Board (Step-by-Step)
1. Remove Glass from Frame
Start by removing the glass from your frame. You won’t need the wood from the frame for the next few steps, so feel free to set it aside in order to have more room to work.
2. Cut Felt
Place your felt on top of the glass to get an idea of the required dimensions, then use a pair of sharp scissors to cut it down to size. For this project, you’ll need a rectangle large enough to leave an overhang of about 1-2 inches on every side of the glass.
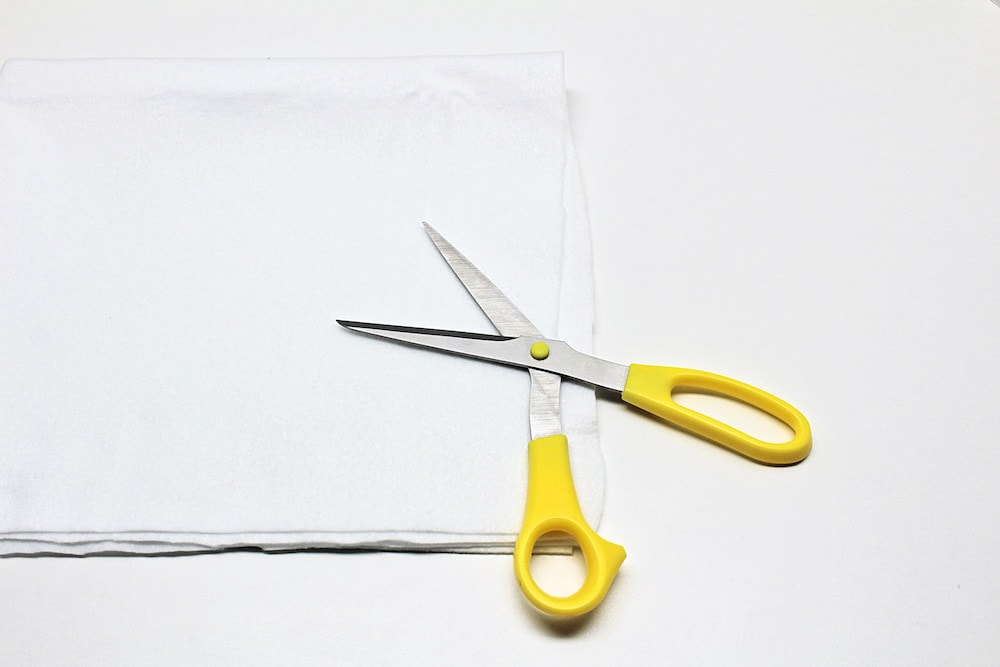
Don’t worry about cutting it perfectly. As long as you make it big enough, none of the cuts will be visible since they’ll be glued to the back of the glass. There’s no need to measure anything with a ruler or to make the cuts perfectly straight, so don’t waste your time trying.
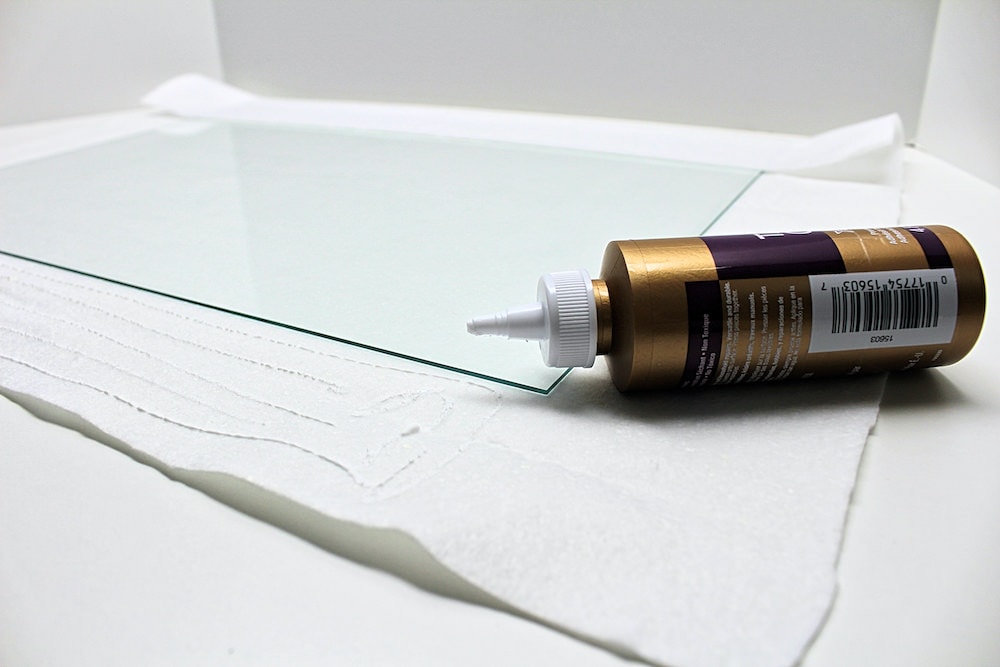
3. Glue Felt to Glass
Once you’ve cut your felt down to the correct dimensions (about 1-2 inches longer than the glass in every direction), center the glass on top of it. Spread some tacky glue on two opposing sides of overhanging felt, then fold the felt onto the glass and press down firmly to make it stick.
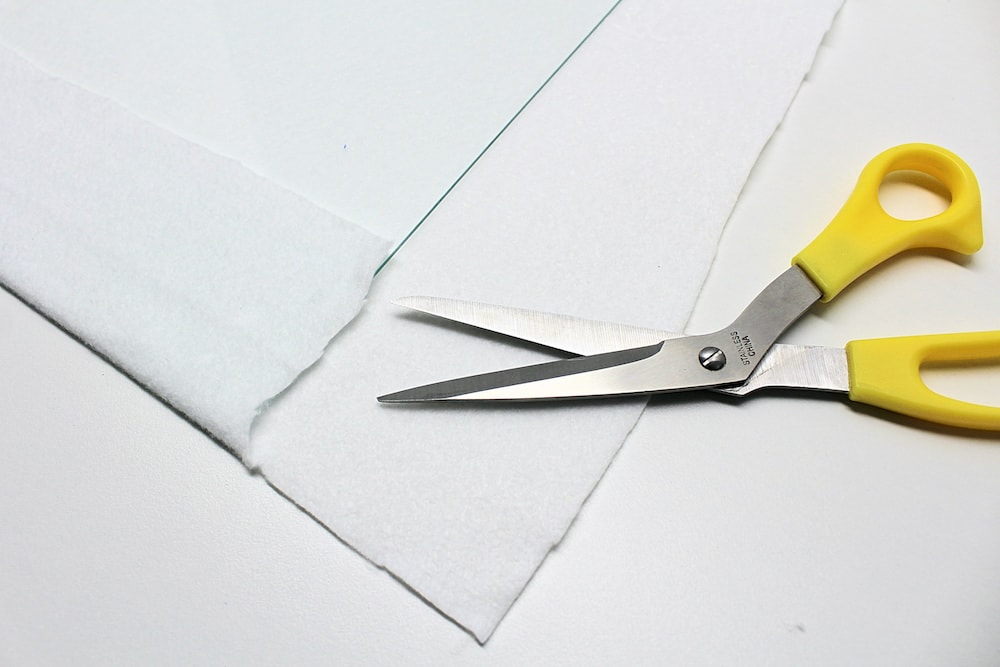
4. Cut Corners
After you’re done glueing two opposing sides of felt to the glass, use your scissors to cut off the excess on each corner. This will ensure that the corners aren’t much thicker than the rest when you fold the remaining felt onto the glass.
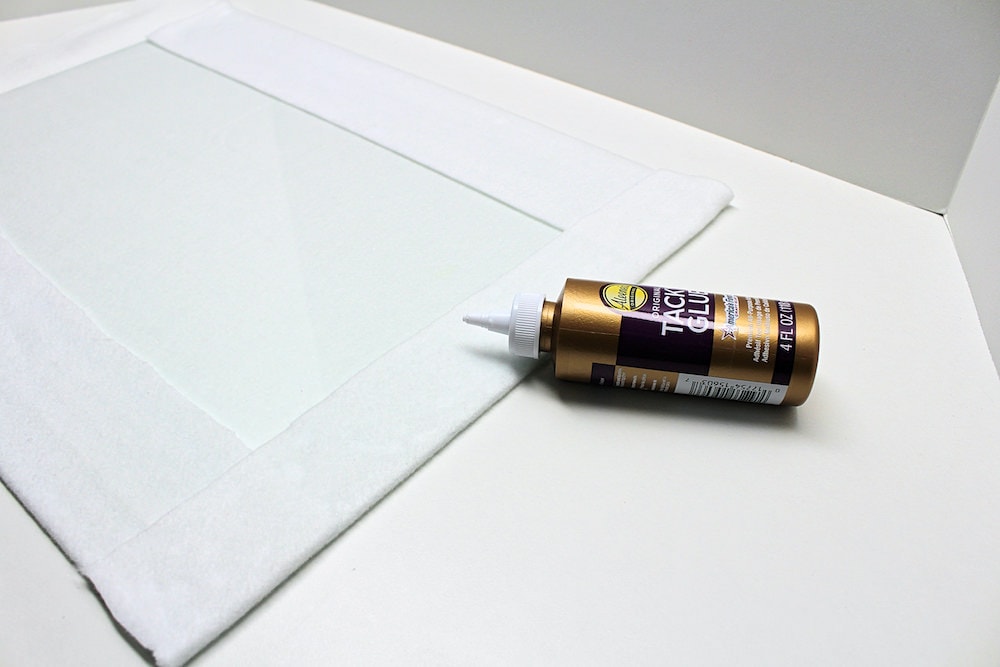
5. Finish Glueing Felt
Spread tacky glue on the two remaining sides of overhanging felt, then fold those over as well and press them onto the glass.
6. Place Glass In Frame
Once you’re sure the felt has adhered, pick up the felted glass and gently press it back into the frame, making sure that the side with the felt overhangs is facing the back of the frame.
7. Add Felt to Back
This step is optional, but it will make your felt board look much neater, so I recommend doing it. With the glass still in the frame, simply cut another felt rectangle big enough to cover the back of the glass and press it on with tacky glue so that both sides of the glass are completely covered.
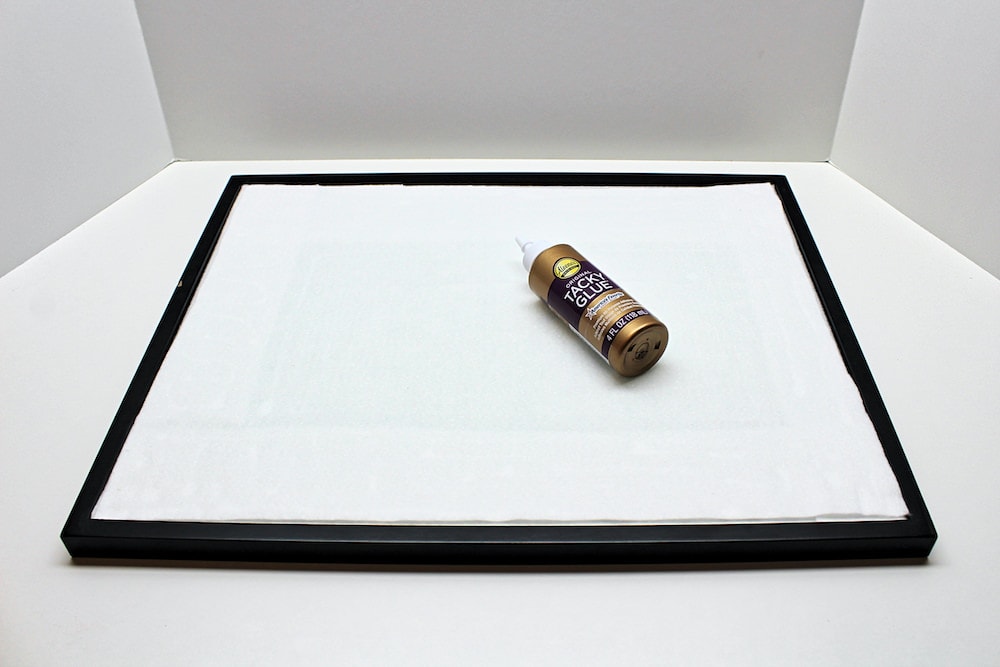
The reason for doing this step is to prevent the cardboard backing of the frame from showing through the felt at the front. If you use just one layer of felt on the front side of the glass, the cardboard may show and make the middle look darker—covering the back of the glass as well solves this issue!
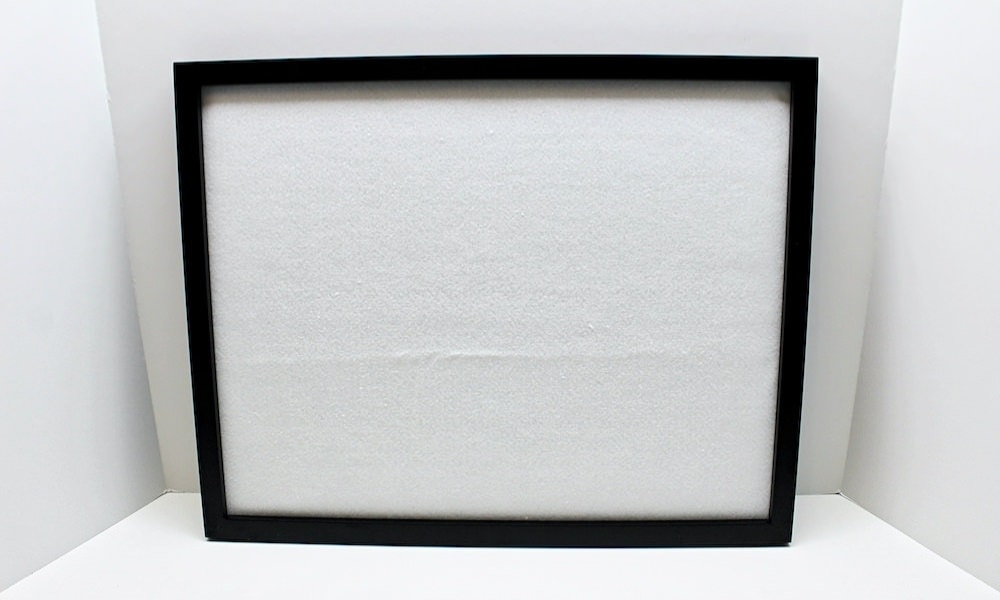
8. Replace Frame Backing
Once the back of the glass is also covered with felt, press the cardboard backing back into the frame and secure it properly. Your felt board is now ready to use!
Only your name will be made public. Please note that by submitting your comment, you are agreeing to the terms of our Privacy Policy.