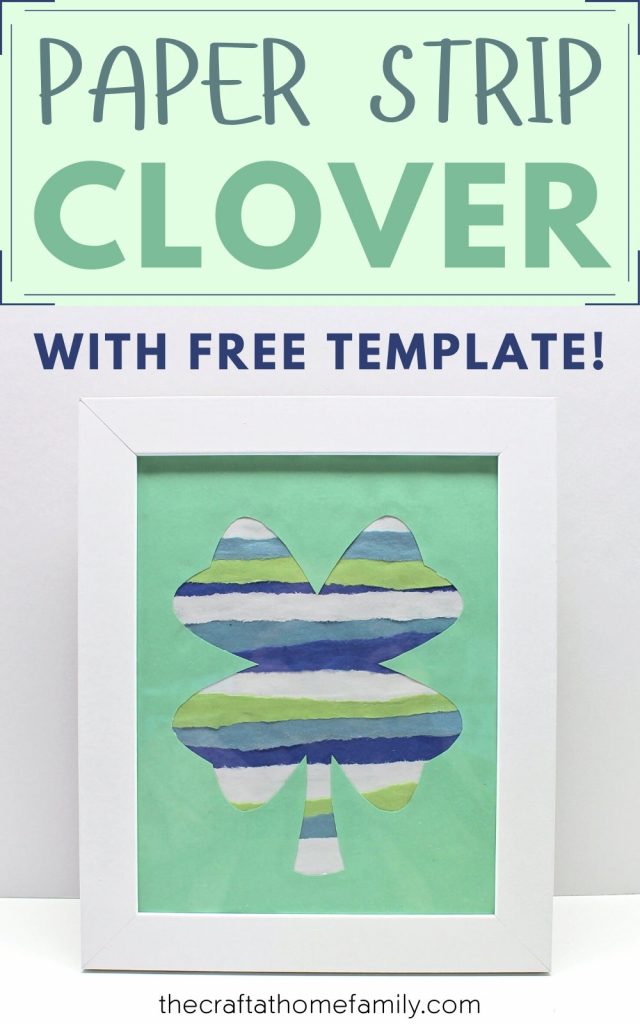
This cute Saint-Patrick’s Day craft made from torn strips of construction paper is easy enough for toddlers and preschoolers to help with, and worthy of being displayed on your wall. The tutorial even includes a free shamrock and four-leaf clover template that you can use for all your Saint Patrick’s Day crafts!

This post may contain affiliate links, which means I may receive a commission, at no extra cost to you, if you make a purchase through a link. As an Amazon Associate, I earn from qualifying purchases. Please see my full disclosure for further information.
JUMP TO…
With four kids under the age of five, we often have to get creative when choosing crafts. Everyone wants to participate, but not every task is accessible to our younger kids. So when we find something that works, we tend to stick with it!
We often try to do crafts that incorporate tearing and crumpling paper—or applying liquid glue, which our four-year-old is a huge fan of. Even better if the craft involves all three!
So for Christmas, we made Crumpled Tissue Paper Art. For Valentine’s Day, we made Torn Paper Strip Hearts. And because that was such a big hit, we figured we’d make something similar for Saint Patrick’s Day!
The kids actually loved how this craft turned out so much that we’ve been displaying it in our living room ever since. And to make things easier, I even created a template for you to download that includes both shamrock and a four-leaf clover designs!
Required Materials
Here’s what you’ll need to make this cute Saint Patrick’s Day craft that’s nice enough to display on your walls:
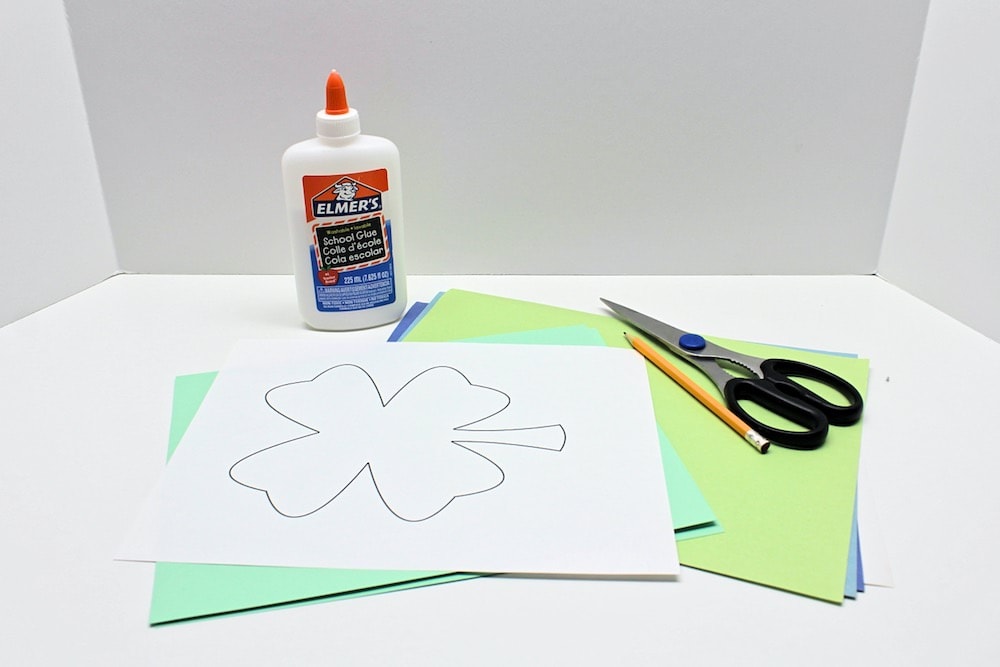
- My free shamrock and four-leaf clover template, which you can download using the form at the bottom of this article
- 2 sheets of cardstock or thick paper (I used some leftover pastel cardstock from our Easter crafts)
- Construction paper
- White school glue (in liquid or stick form)
- Pencil
- Scissors
- Frame (ours was from the dollar store)
Note: In keeping with the clover theme, we decided to use green cardstock and light blue, dark blue, white and green construction paper. Feel free to use whichever colours you like best.
How to Make a Framed Paper Strip Clover (Step-by-Step)
1. Cut Cardstock (Optional)
Depending on the size of your frame, you may need to cut the cardstock down to size.
My dollar-store frame measured 8”x10”, which is a little smaller than Letter-sized cardstock, so I used scissors to cut off some of the cardstock. The cuts don’t need to be super clean since they’ll be hidden underneath the frame—just make sure to get the right fit!
Note: My template includes multiple different sizes, so feel free to use a smaller frame.
2. Tear Construction Paper
Use your hands to tear up the construction paper. If you have a toddler, this is a great way to get them to participate while also channeling their destructive energies!

Tip: For whatever reason, the construction paper we used didn’t tear well at all when we tried to make horizontal tears—just vertical ones. If you’re having trouble tearing yours up, experiment with different angles to see what works!
3. Glue Construction Paper to Cardstock
Use school glue to glue strips of construction paper onto one of your sheets of cardstock. Continue until it is mostly covered, alternating between the different colours of construction paper.
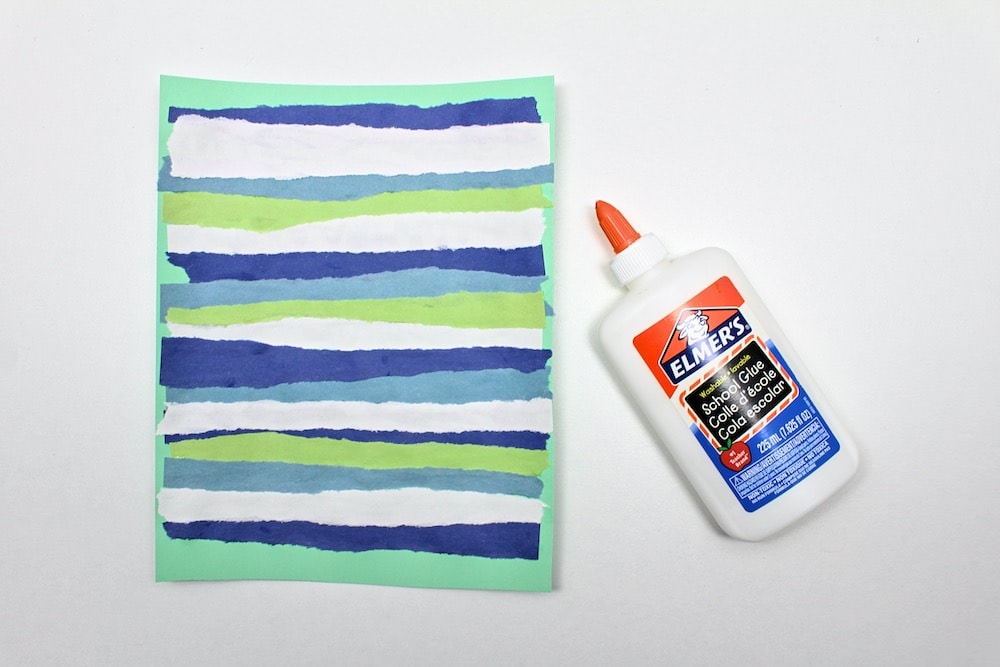
This step is also perfect for toddlers and preschoolers (with adequate supervision)! Our four-year-old loves using liquid school glue to make crafts.
4. Print Template
After downloading the printable using the form at the bottom of this article, choose the size and design you like best and print it on regular printer paper.
My template includes shamrocks and four-leaf clovers in various sizes, so you’ll have plenty of different possibilities to choose from! I used a four-leaf clover in the biggest available size.
5. Cut Template
Once you’ve chosen and printed your preferred design, cut it out using scissors. Then, position it on top of your remaining sheet of cardstock and use a pencil to trace the design.
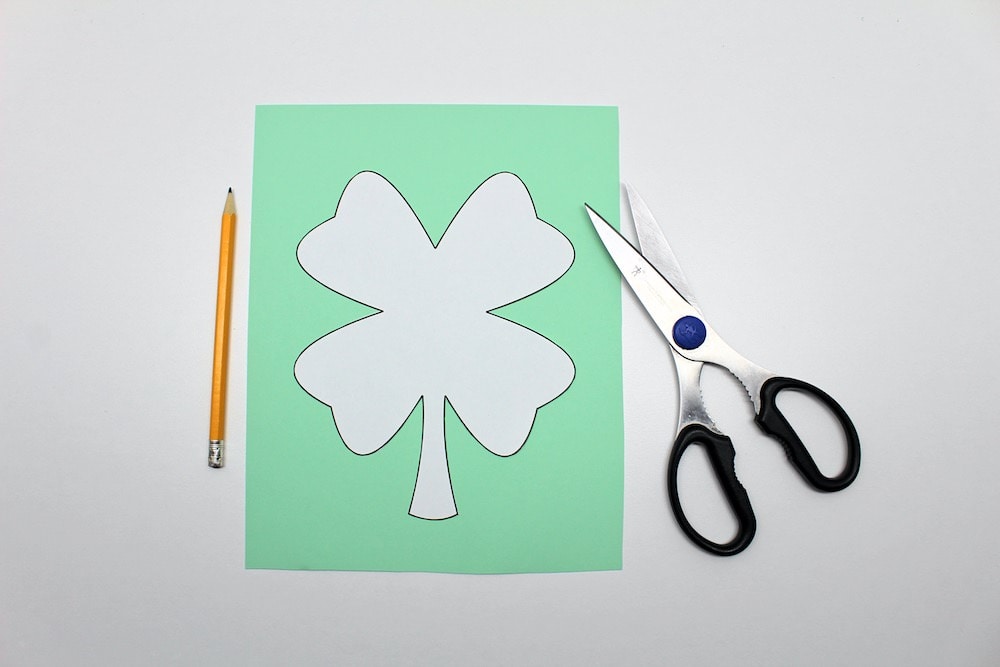
Finally, use the lines you traced to cut a clover-shaped hole inside the sheet of cardstock.
To do so, I simply poked a hole in the middle of it with scissors and used that as a starting point to cut out the clover. I found it easier to remove one leaf at a time. (You’ll only be needing the outline, so it’s fine if the clover itself gets cut into multiple pieces.)
6. Glue Clover Outline
Once you’re done cutting, discard the clover and spread school glue around the outer edges of both the clover shape and the cardstock itself. (Note: I used liquid glue, but a glue stick would work just as well and wouldn’t soak through as much.)
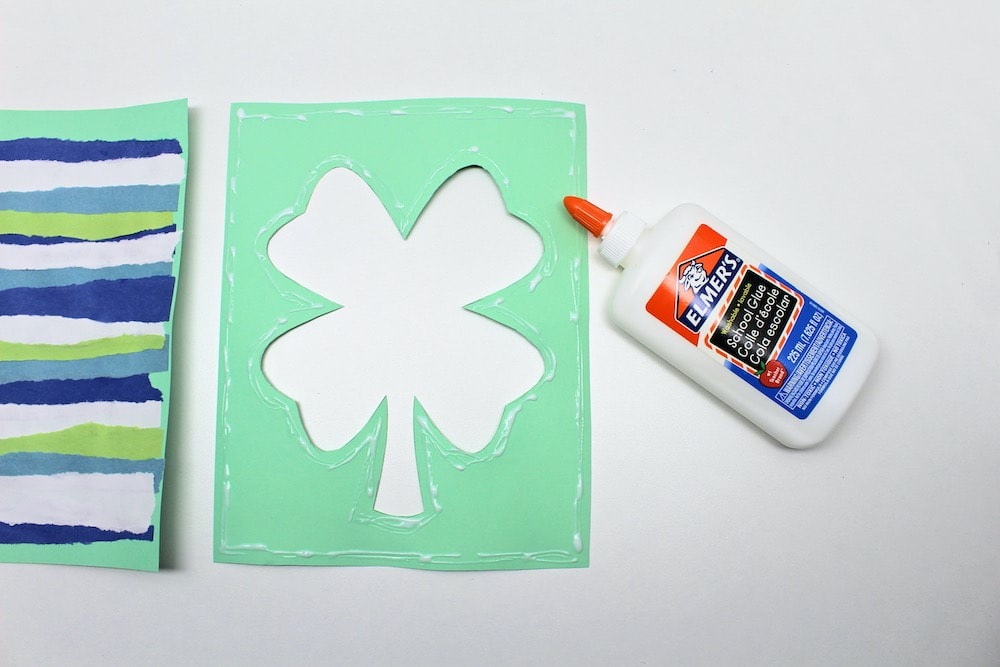
Then, place that sheet of cardstock on top of the other one and gently press down to help it stick. The torn construction paper strips should be visible inside the clover-shaped hole.
7. Frame Artwork
Give the glue a little time to dry, then place your artwork inside a frame to display it! (If needed, shave off a tiny bit of the cardstock with scissors to make it fit inside the frame.)
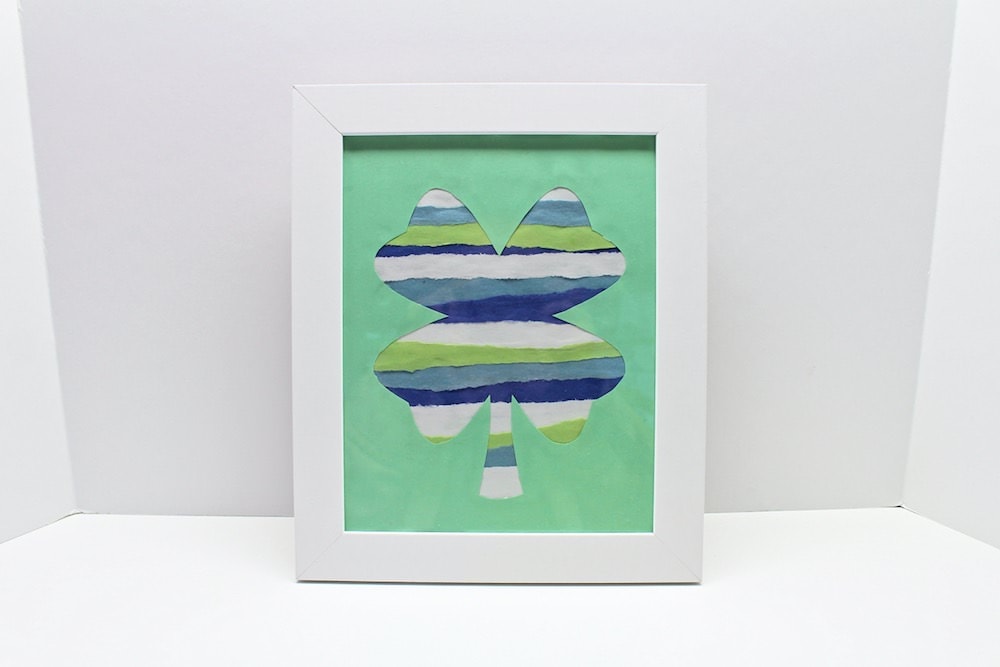
And that’s it! Such a simple project, but we love any craft that allows our younger kids to participate!
Related Crafts for Preschoolers
Looking for more crafts to do with your preschooler? Check out these articles:
- Easy DIY Scratch Art
- Bleeding Tissue Paper Bookmarks
- Button Pipe Cleaner Bracelets
- Bubble Wrap Butterflies
Join my mailing list using the form below to receive your free shamrock & four-leaf clover printable as a welcome gift! Subscribers gain access to my free printables library as well as to exclusive content that may never be published on my site!
Only your name will be made public. Please note that by submitting your comment, you are agreeing to the terms of our Privacy Policy.