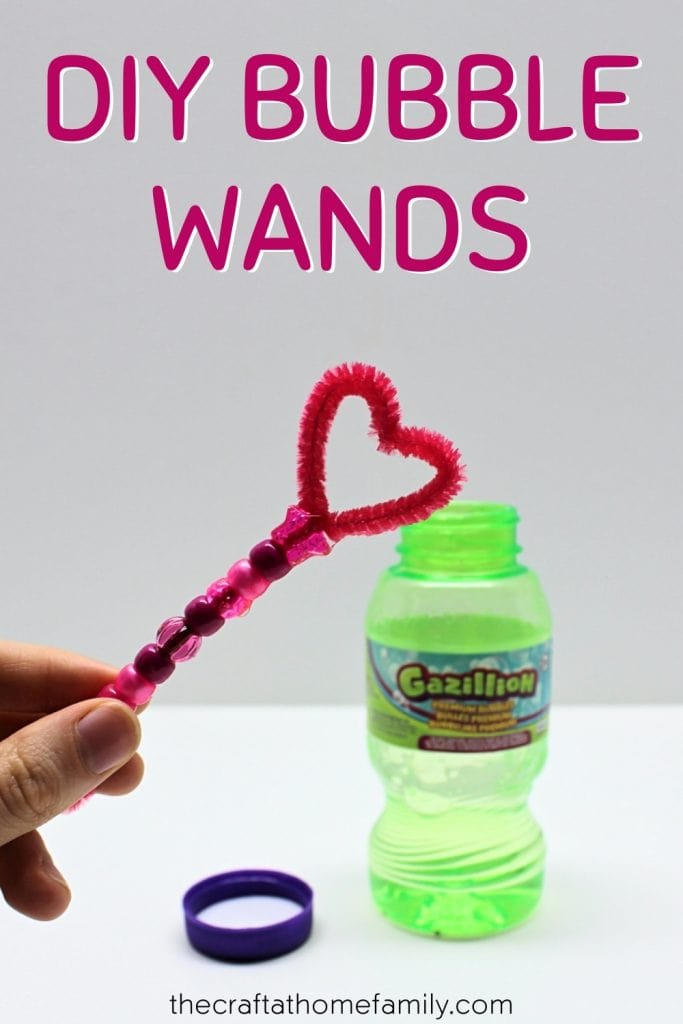
Do your kids love blowing bubbles? If so, all you need to make your own DIY bubble wands are some pipe cleaners and beads! This cute summer project is perfect for kids of all ages, and it’s also a great opportunity for little ones to practice their shape recognition, fine motor and pattern formation skills!
This post may contain affiliate links, which means I may receive a commission, at no extra cost to you, if you make a purchase through a link. As an Amazon Associate, I earn from qualifying purchases. Please see my full disclosure for further information.
JUMP TO…
I don’t know about your house, but with two adults and four kids living in ours, things sometimes get a little cluttered.
It’s possible that I just haven’t figured out the trick to keeping the house organized. (If you have it, I’d love to hear what it is!) But it seems like no matter how hard we try, we’re always running out of spots to put things.
This means that we often have to put several items in the same spot… and that I can’t always find the things I’m looking for when I’m looking for them.
So when our kids decided that they wanted to blow bubbles and all I could find was bubble liquid, I figured that if we couldn’t locate our bubble wands, we should try making our own instead!
I’m still not sure where all our bubble wands went. But thankfully, pipe cleaners do a great job of replacing them—and transforming them into bubble wands even turned into a fun activity to do with the kids!
So whether you’re disorganized like I am or you’re just looking for something fun to try with your kids, just grab a few simple supplies to start blowing bubbles with pipe cleaners!
Required Materials
Here’s what you’ll need in order to make a DIY bubble wand with a pipe cleaner:
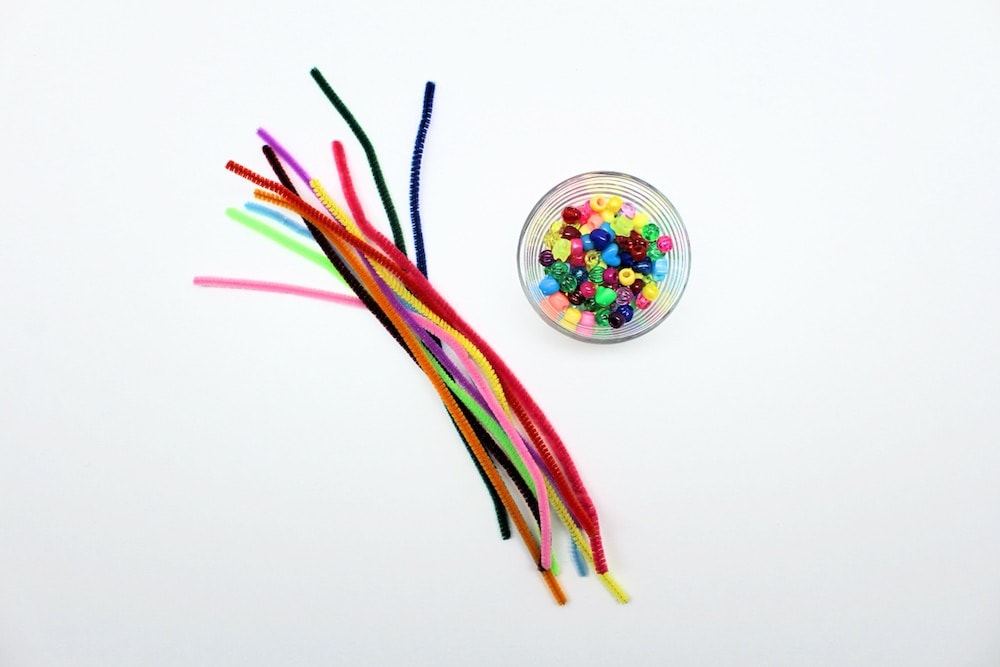
- Pipe cleaners
- Beads (we bought a big box of assorted beads a little while back and have been using them in all crafts that require them)
As you can see, the supplies required for this craft are super simple. You may already have them at home!
How to Make DIY Pipe Cleaner Bubble Wands (Step-by-Step)
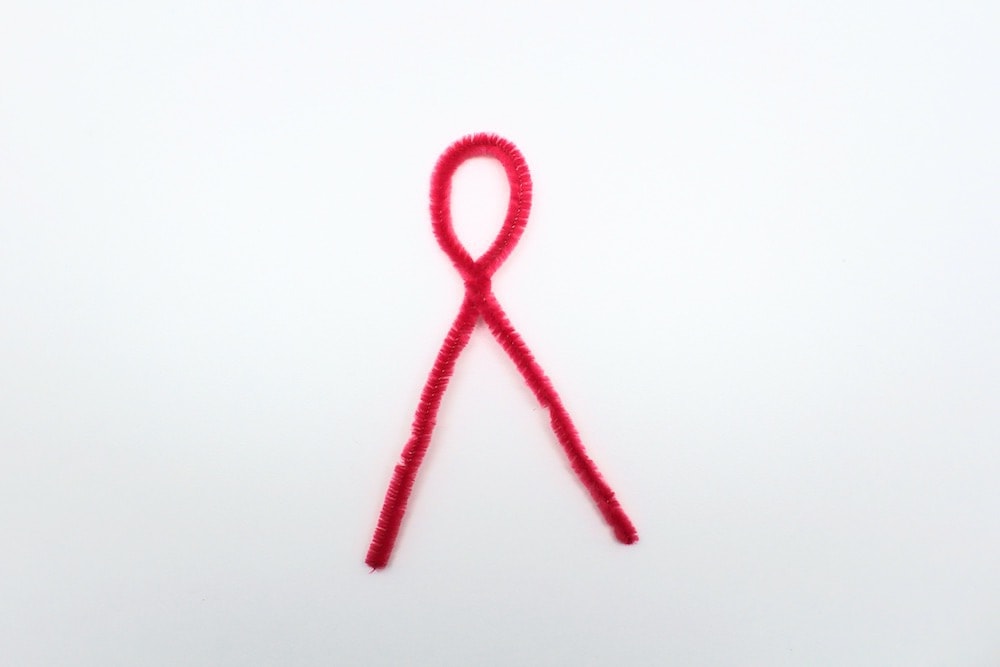
1. Form Loop
Start by folding your pipe cleaner in half and forming a loop in the middle of it, then twisting it in place. Make sure the loop is big enough to form a shape with during the next step.
Note: If you’re just looking to make some functional, no-frills bubble wands that will allow you to start blowing bubbles as quickly as possible, simply twist the ends of the pipe cleaner together and you’re done! Your bubble wands will literally have taken seconds to make.
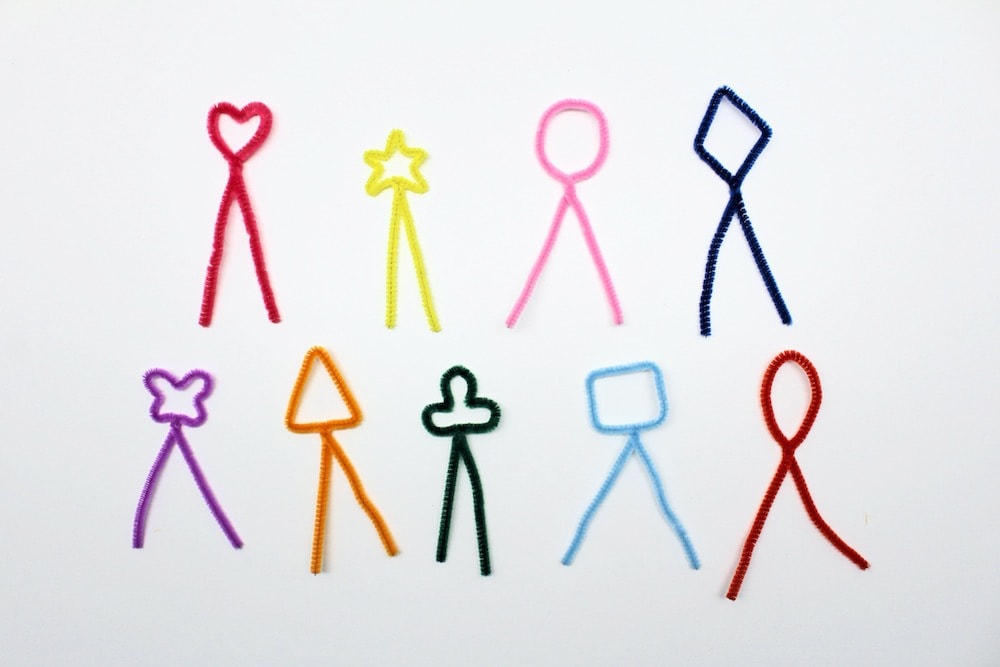
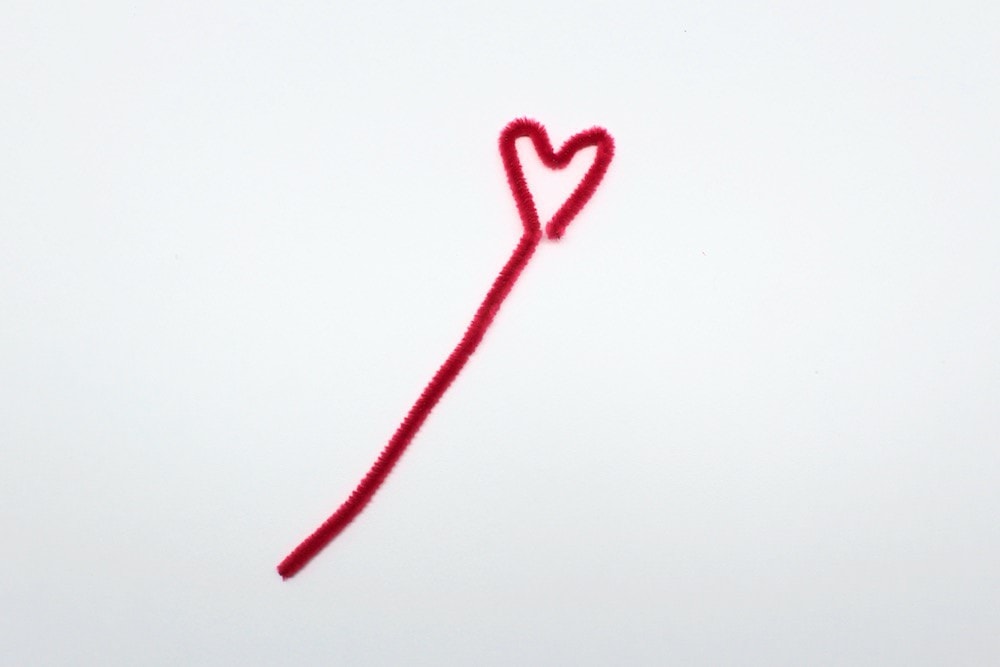
2. Form Shape
Use your fingers to form a shape with the loop. We were having so much fun that we decided to try a variety of shapes: a heart, a star, a circle, a diamond, a butterfly, a triangle, a clover, a square and an oval. Use your imagination!
Certain shapes may be a little harder to form, but keep trying! This is a great job to give to your kids to see what they come up with… or to teach them about shapes in a hands-on way!
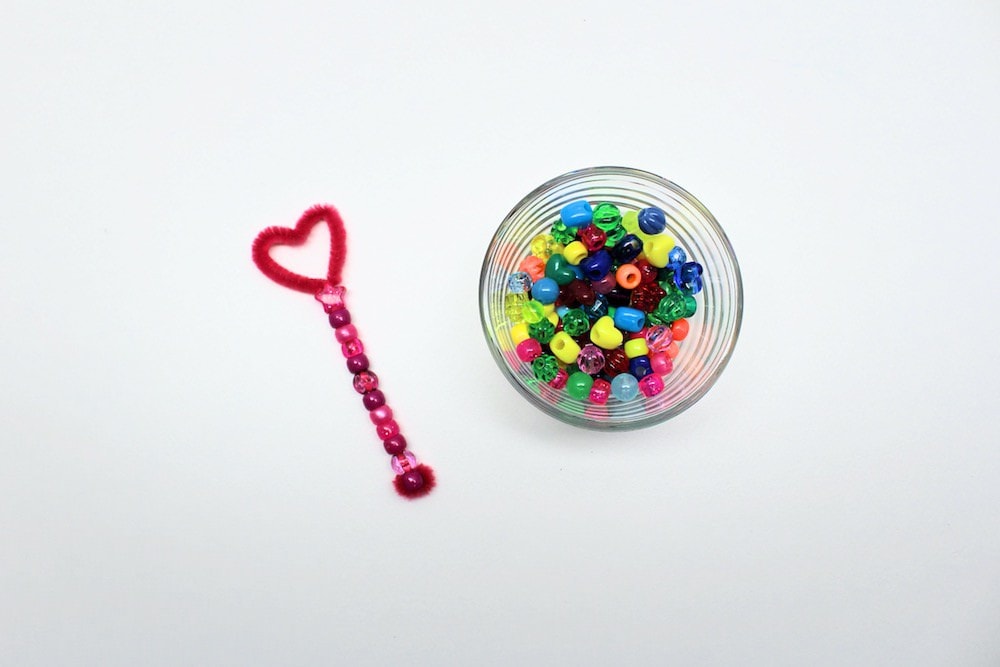
3. Add Beads
Once you’ve formed your shapes, pick out some beads and start threading them onto the ends of the pipe cleaner. We used a variety of different shapes and colours for added fun!
This step is a great way for kids to practice their fine motor skills—but be sure to provide adequate supervision if your kids are still little and you’re worried that they might try to eat the beads!
And if you happen to have several types of beads at your disposal, this step is also a great way for children to practice forming patterns. Who knew such a simple craft could offer so many different learning opportunities!
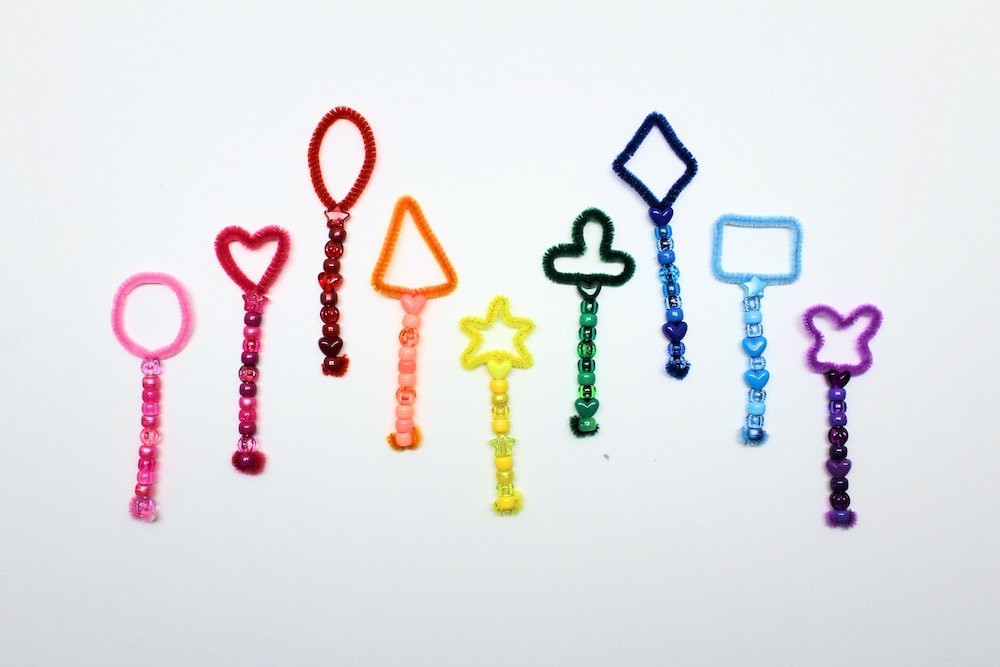
4. Fold Pipe Cleaner Ends
Once you’re done adding beads, simply twist the ends of the pipe cleaner up to prevent the beads from sliding off.
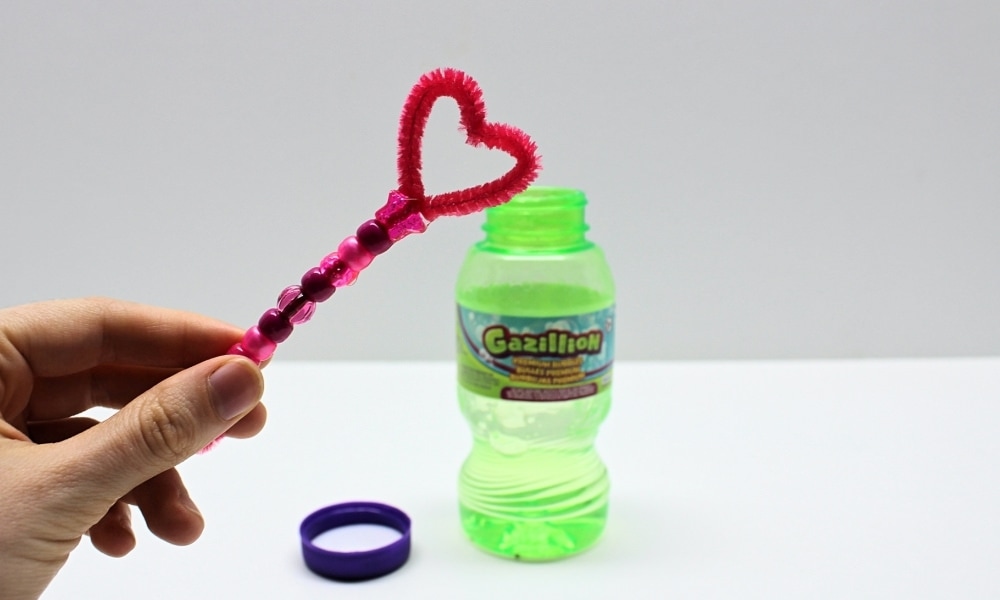
Then, dip your wand in bubble liquid and start blowing bubbles! So easy, but so fun—and perfect for summer!
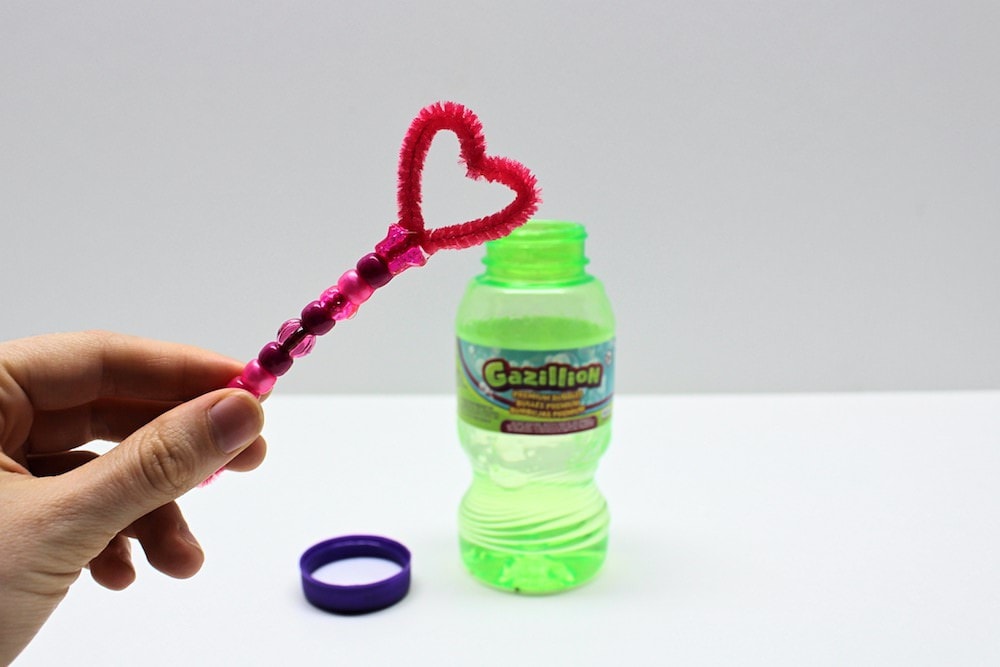
And if ever you don’t happen to have any bubble liquid handy, not a problem! Did you know that you can make your own using only a few simple ingredients?
Alternate Method for Making Pipe Cleaner Shapes
If your child is having trouble forming shapes with the pipe cleaners, this alternate method may be a little easier.
I personally prefer the method explained above because I find the resulting bubble wands sturdier, and the shapes more symmetrical. However, this method can work too.
Instead of folding the pipe cleaner in half, simply take one end of the pipe cleaner and twist it into a shape. Then, close the loop, thread beads onto the other end and fold it up as you normally would, cutting off any excess pipe cleaner as needed.
Because the beads will only cover one end of the pipe cleaner, the handle of the bubble wand will be a bit less sturdy and more prone to bending—especially when the bubble wands is wet with bubble liquid, and therefore heavier.
But this is nonetheless a good option for kids who are having trouble forming shapes!
Related Summer Crafts
Looking for some more for summer-themed crafts to do with your kids? Check out this article:
You can also subscribe to my newsletter to receive fun craft and activities right in your inbox! Subscribers gains access to my free printables library as well as to fun bonuses that will never be available on my site!
Only your name will be made public. Please note that by submitting your comment, you are agreeing to the terms of our Privacy Policy.