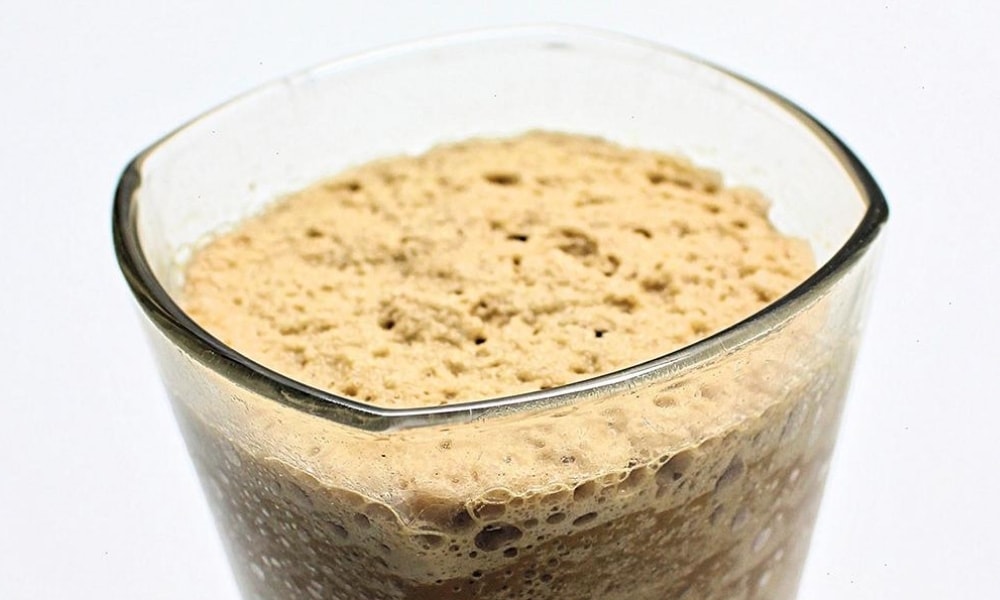
This iced cappuccino recipe is simple to make and so delicious! It’s also perfect for people with food sensitivities because it is naturally sweetened and can be made decaf, dairy-free or lactose-free. You’ll never need to buy a pre-made iced cappuccino ever again!
This post may contain affiliate links, which means I may receive a commission, at no extra cost to you, if you make a purchase through a link. As an Amazon Associate, I earn from qualifying purchases. Please see my full disclosure for further information.
JUMP TO…
Tim Horton’s “iced capps” (aka iced cappuccinos) are such a refreshing treat on hot days. And while this recipe is not an exact copycat recipe, it is just as delicious as the real thing.
Making your own iced cappuccinos at home will not only save you money, but it will also allow you to control the ingredients—which means that you can tailor the recipe to suit any dietary preferences, restrictions or sensitivities you may have.
This recipe is naturally sweetened using maple syrup, and it can be made decaf, dairy-free or lactose-free. It is healthier than the original and can be made in under 5 minutes, which means you can enjoy a homemade iced capp anytime you feel like it!
Related: Coffee & Chocolate Chia Pudding
Required Ingredients
Making your own (healthy) blended iced capp at home is so quick and easy, and costs way less than buying one already made. Here’s what you’ll need to make your own:
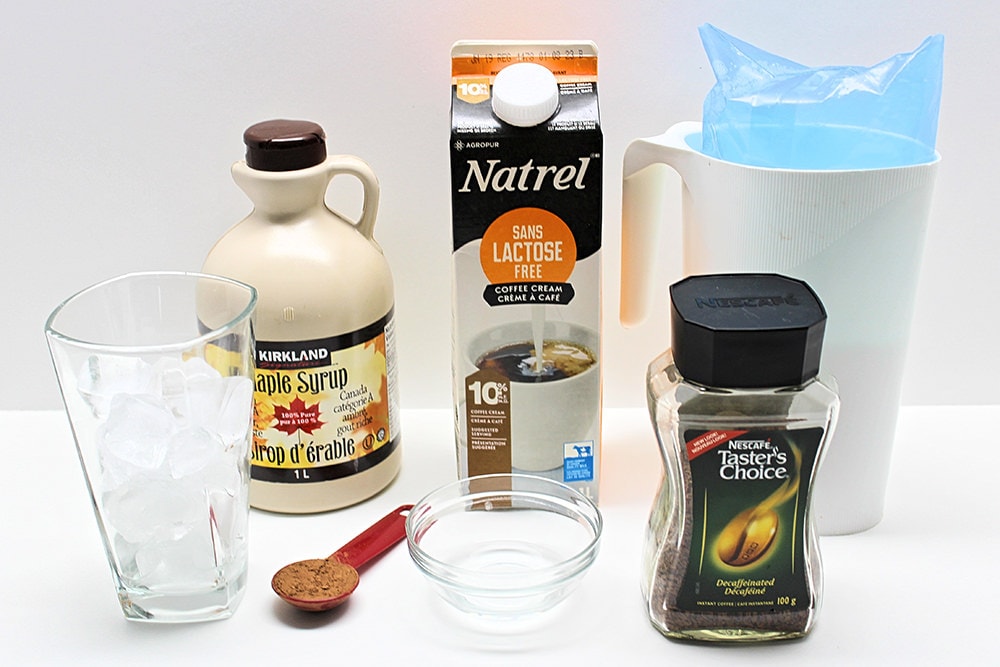
- 1 ½ tbsp instant coffee (regular or decaf), or very strong brewed coffee
- 1 ½ tbsp hot water
- ½ tbsp cocoa powder
- 1 ½ – 2 tbsp maple syrup (to taste)
- ⅓ cup milk
- 1 ½ cups ice cubes
- 3 tbsp coffee cream or half-and-half
If you have special dietary needs, scroll past the recipe instructions for more details on possible ingredient substitutions.
Required Equipment
You’ll also need:
- Small bowl (to dissolve the instant coffee granules)
- Blender capable of easily crushing ice cubes
I personally LOVE my high-powered Vitamix blender, but since this recipe doesn’t call for much ice, a regular blender would probably do the trick.
How to Make a Homemade Iced Cappuccino (Step-by-Step)
1. Dissolve Instant Coffee
Start by dissolving 1 ½ tablespoons of instant coffee granules in 1 ½ tablespoons of hot water. If needed, you can stir them with a spoon to help them dissolve.
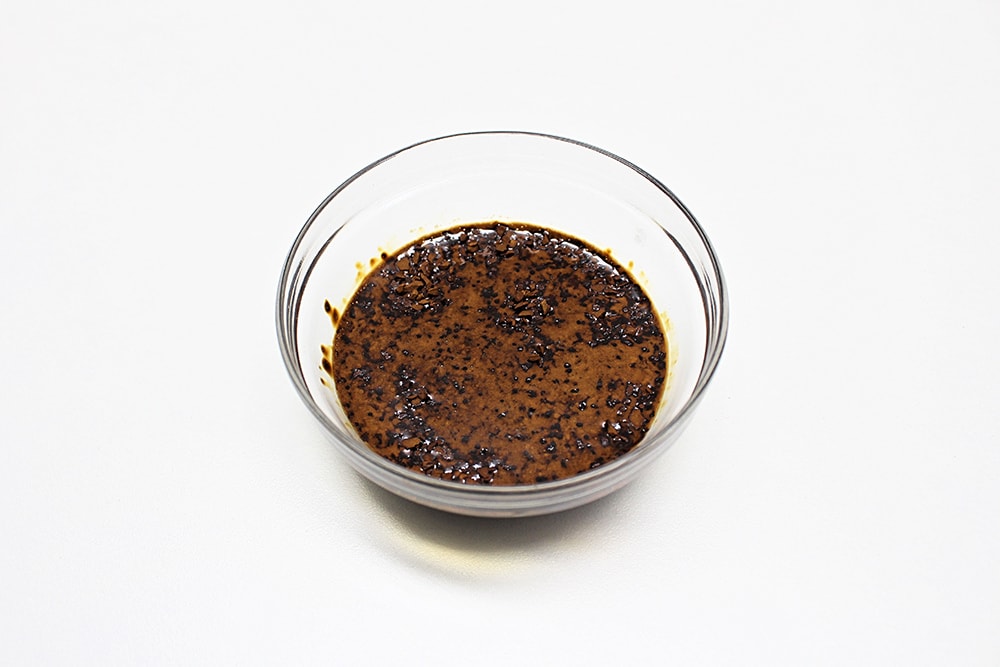
If you are using brewed coffee rather than instant coffee granules, skip the water and make sure that the coffee you use is strongly brewed, or the iced cappuccino will taste pretty bland.
You can add a small quantity of instant coffee granules to your brewed coffee if you’re worried it won’t be strong enough.
2. Blend Ingredients
Once the granules are dissolved, pour the coffee into your blender. Add ½ tablespoon of cocoa powder, ⅓ of a cup of milk, and 1 ½ to 2 tablespoons of maple syrup (or to taste).
Using less maple syrup will make the coffee taste more pronounced. I usually use 1 ½ tablespoons when I’m making this for my husband, who is a big fan of strong coffee, but I personally prefer mine a little sweeter, so I tend to use 2 tablespoons for myself.
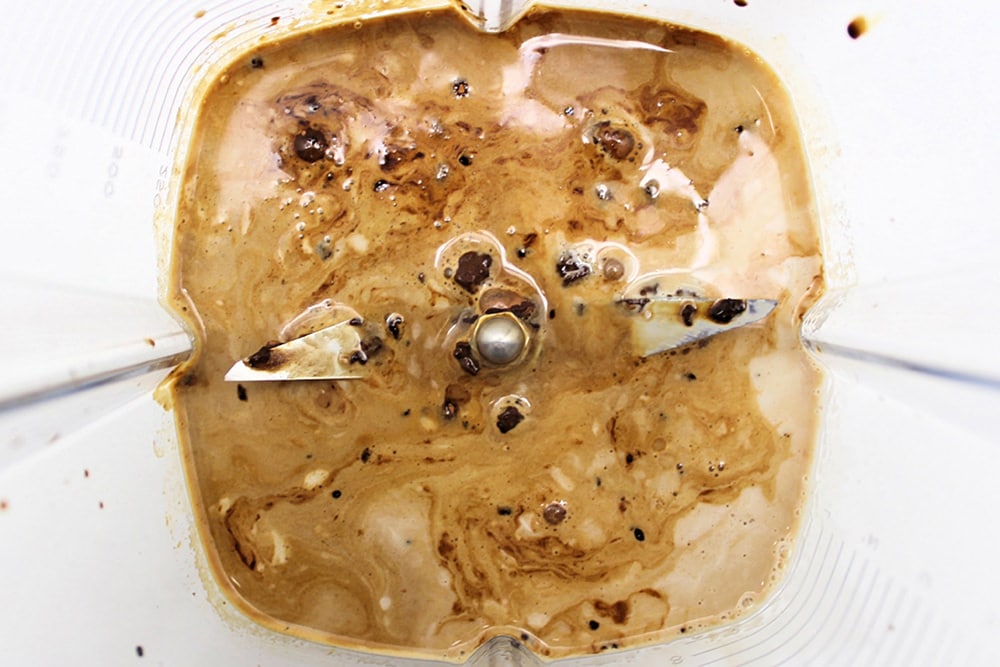
Turn on your blender and run it for about 5 to 10 seconds, until the ingredients are well combined.
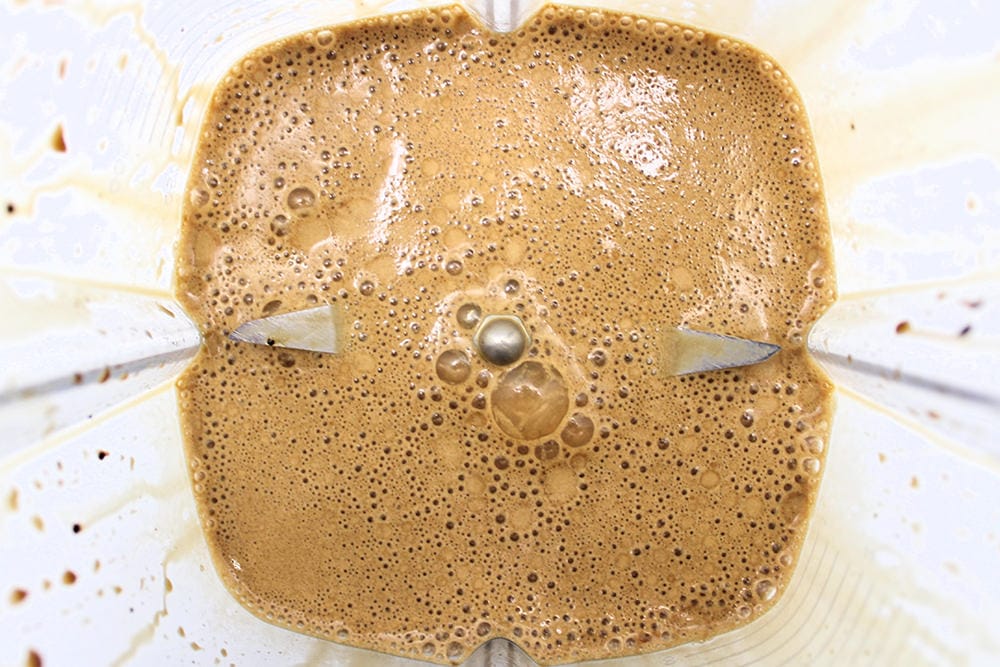
Note: If you’re unsure whether you should be using 1 ½ or 2 tablespoons of maple syrup, start with less and taste the mixture once the ingredients have been blended together. It won’t taste quite like the finished product, but it should give you an idea of whether it’s sweet enough for your liking.
3. Add Ice Cubes
Once you’ve blended the ingredients together, it’s time to add the ice cubes.
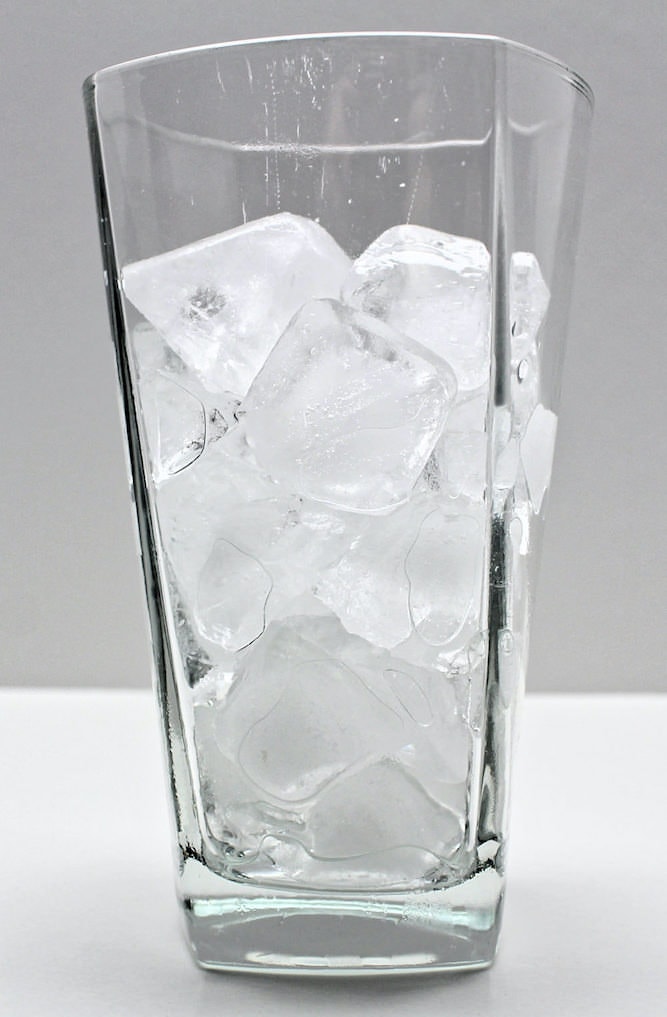
The quantity of ice cubes you’ll need depends on the size of your ice cubes and how much space is left between them, but you’ll need roughly 1 ½ cups. I usually just take out a 16-ounce drinking glass and fill it most of the way.
4. Blend Until Frothy
Once you’ve measured out your ice cubes, add them to the coffee mixture and run your blender until they’ve been pulverized and the mixture looks frothy. Then, add 3 tablespoons of coffee cream or half-and-half and blend until combined.
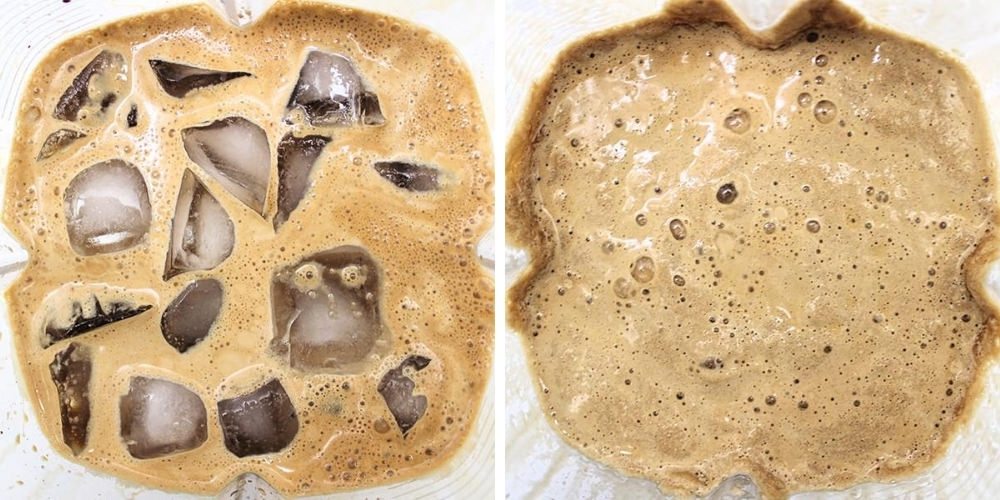
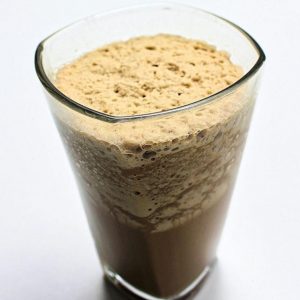
Once that is done, your DIY iced cappuccino is now ready to enjoy! Doesn’t it look delicious?
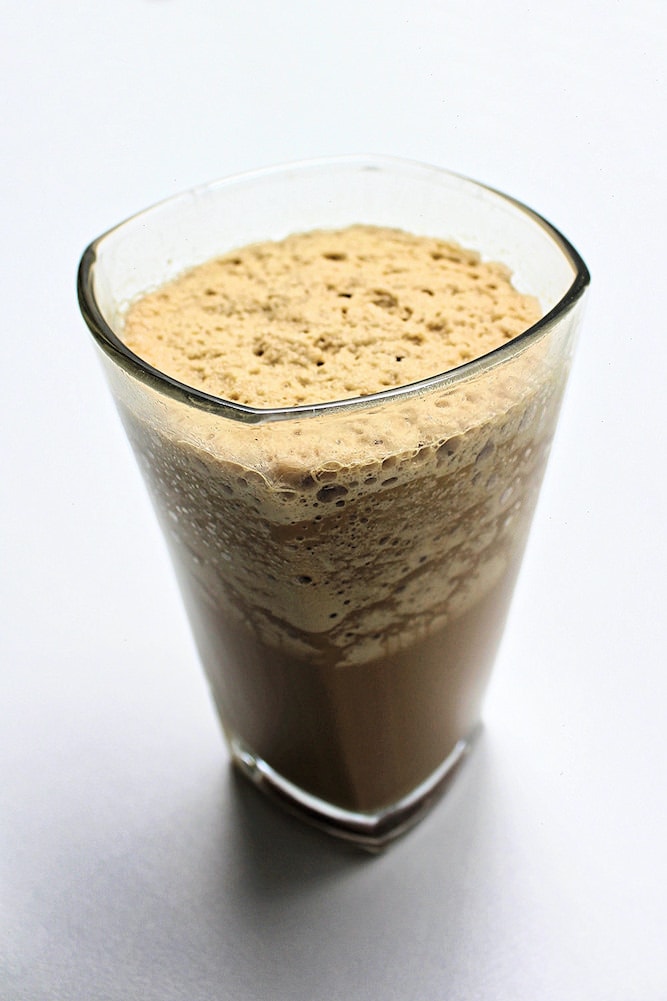
You’ll have a much easier time drinking your iced cappuccino with a straw since it’s pretty thick. (And if ever you’re not a fan of plastic straws, not a problem! We bought a set of reusable metal straws a while back and we love them—they even come with a little brush that makes cleaning a breeze!)
Ingredient Substitutions
Depending on your dietary preferences and/or food sensitivities, here are some ways you can adapt this recipe to make it perfect for you.
1. Lower the Caffeine Content
Because caffeine gives me migraines, I always make my iced cappuccinos using decaf instant coffee granules. This doesn’t technically make it caffeine-free since the recipe still contains cocoa powder, but it lowers the caffeine content quite a bit.
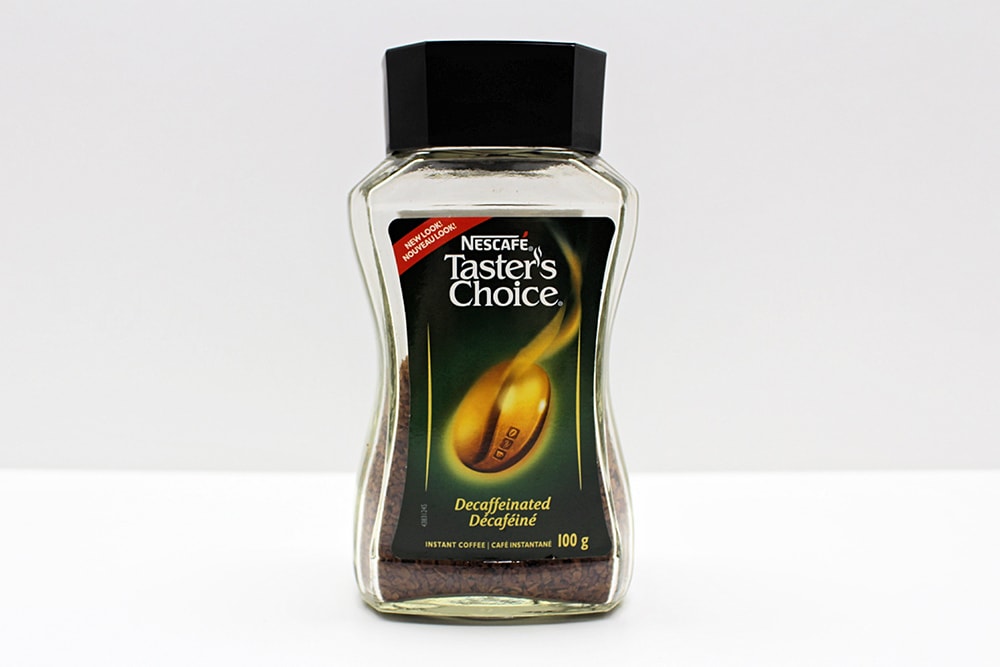
Decaf coffee can sometimes taste different from regular coffee, but I use the one pictured below and it’s quite good. Even my husband, who is a big coffee drinker and isn’t usually a fan of decaf, was pretty impressed!
2. Lower the Fat Content
If you’re watching your fat intake or simply don’t like drinks that are too rich, replace the coffee cream or half-and-half with more milk (skim or whole).
3. Make It Lactose-Free
To make this recipe lactose-free, you can use lactose-free milk and coffee cream, which are pretty easy to find at most grocery stores. (This is what we use because my husband and several of my kids are lactose-intolerant.)
If you can’t find lactose-free milk or cream, you can make this recipe dairy-free instead by following the instructions below.
4. Make It Vegan + Dairy-Free
If you are vegan, you can’t consume dairy, or you can’t find any lactose-free products at the store, you can replace the milk and coffee cream with your favourite non-dairy milk.
Coconut milk would work nicely because of its creaminess, but soya and almond milk could also work well.
Depending on the sweetness of the non-dairy milk you’re using, you may have to adjust the amount of maple syrup to compensate.
5. Change the Sweetener
I love maple syrup and use it frequently, but if you can’t find any, you can replace it with another type of liquid sweetener. Honey has a pretty distinctive taste, but agave syrup tastes pretty neutral and would be a good substitute.
Although I’ve never tried it, you could probably even use regular granulated sugar if artificial sweeteners are not an issue for you.
Homemade Iced Cappuccino
Ingredients
- 1 ½ tbsp instant coffee granules regular or decaf
- 1 ½ tbsp hot water
- ½ tbsp cocoa powder
- 1 ½-2 tbsp maple syrup to taste
- ⅓ cup milk
- 1 ½ cups ice cubes approx.
- 3 tbsp coffee cream or half-and-half
Instructions
- Dissolve the instant coffee granules in hot water, stirring with a spoon if needed, and pour into a blender. (Or replace with 3 tbsp very strongly brewed coffee.)
- Add cocoa powder, maple syrup and milk. Run your blender for about 5-10 seconds, until ingredients are well combined. Taste and adjust the quantity of maple syrup as needed.
- Add ice cubes and blend until frothy, then add cream and blend for a few more seconds until well combined. Serve immediately.
Nutrition
Related Summer Recipes
Looking for more delicious recipes that are perfect for summertime? Check our these articles:
Subscribe to for my newsletter to get my latest recipes delivered straight to your inbox! You can also tick the checkbox below to receive fun craft and activity ideas to do at home with your kids.
I lik to use vanilla or caramel creamer blend or whiz quickly. I find if you blend the ice cubes some before adding liquid it blends better.
Great afternoon pick me up!!!
My wife likes to put put peppermint Candy the blends it with mocha flavor.
Sounds great!
I’m pregnant right now and have been craving Iced Capps like crazy so being able to make a decaf one is awesome! I have tried Iced Capp copies in the past and this is definitely the best I’ve found. I used raw cacao powder instead of cocoa powder so had to use a bit more maple syrup to sweeten, but the coffee flavour was actually quite strong! I may even use just 1 tbsp next time. Very yummy! Thanks for sharing!
I’m so glad you enjoyed the recipe! I love ice Capps, but they always give me a headache, so being able to make them at home and control the ingredients has been a game-changer!
Absolutely amazing! The perfect little afternoon treat with just the right amount of caffeine / sweetness!! I’ve never had an Iced Cap because I am lactose intolerant and simply accepted that it wasn’t something I could have. This is a game changer! I don’t have coffee cream so I just added more milk at the end.
PS – I can also be made into a yummy little “adult” Ice Cappuccino! Just saying!
With a popsicle mould it could also be made into a delicious frozen treat as well!
I am so glad that you enjoyed the recipe! I have trouble with Tim Horton’s Iced Caps too because of the caffeine, so I love being able to make them at home and choose the ingredients accordingly!
Hello, what can I use if I don’t have maple syrup. Please let me know. Thank you
Honey or agave syrup would be the closest substitutes (honey will change the flavour more, so I recommend agave syrup if you have it). You can also try using regular granulated sugar. Regardless of what you choose, you’ll probably have to play around with the quantities until you get the taste right, so I’d recommend starting with less than you think you’ll need and tasting the mixture before adding the ice cubes.
Delicious!! Thank you 4 sharing.😁
I’m so glad you liked it! We’ve been making lots of them now that the warmer weather is here!
Thank you so much! I thought I would have to give up my T H icecap as im trying to lose weight. I tweaked it using skim milk and sweetener and it worked great!
You’re welcome, I’m so glad it worked for you! I love iced cappuccinos, but the ones from Tim Hortons give me a headache, so it’s great being able to make it at home and tweak the ingredients as needed!
This looks easy and is a great way to save money too!
Ooo I’m saving this one! Looks great!
I’m the biggest coffee addict ever so this recipe is perfect for me. Gonna go make it right now!
Hope you enjoy it!