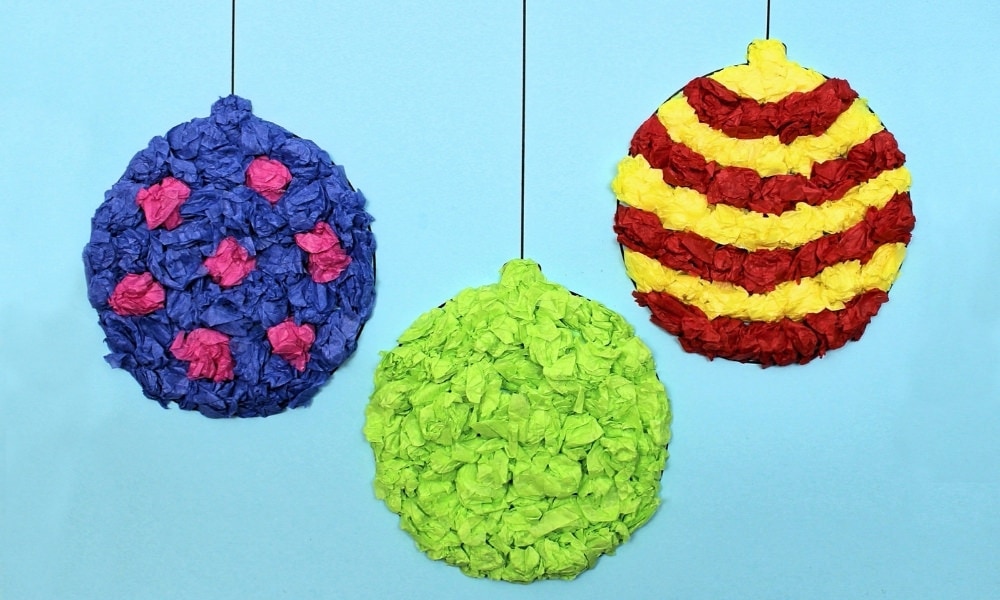
Looking for fun craft ideas to keep your children busy over the holidays? Crumpled tissue paper art is super simple to set up, and even toddlers and younger kids can actively participate! This colourful, kid-friendly artwork is a great way to celebrate the Christmas season—and we’ve even included a free Christmas ornament template that you can download and print at home!
This post may contain affiliate links, which means I may receive a commission, at no extra cost to you, if you make a purchase through a link. As an Amazon Associate, I earn from qualifying purchases. Please see my full disclosure for further information.
JUMP TO…
When I first heard about Bleeding Tissue Paper Art, I was so excited to try it that I went to the dollar store and bought a whole bunch of gift-wrapping tissue paper… only to find out that regular tissue paper doesn’t always work for that type of project!
So I ordered some bleeding art tissue paper from Amazon, and the various packages of dollar-store tissue paper I had purchased ended up in one of the many bins we use to store our craft supplies.
We do occasionally use it to wrap gifts, but I was so excited about the possible colour combinations that I had bought a lot of tissue paper. (The fact that each package only costs $1 at the dollar store didn’t help.)
We also occasionally let our kids tear it up as a way to channel their destructive energies. We have two toddlers and a preschooler at home, so we’re always looking for creative ways to control the destruction.
But I knew there had to be many fun craft possibilities as well!
I found out about crumpled tissue paper art a while back, but we hadn’t had the chance to try it yet until I came up with the idea for this project. And now that we have, I can definitively say that we’ll be doing a whole lot more of it!
This project is so easy to set up, and all the supplies required are super simple. Plus, with several young kids at home, I’m always on the lookout for craft projects that are suitable for children under the age of five—and crumpled tissue art fits the bill perfectly!
Our kids also really enjoyed this hot glue Christmas light craft. It is perfect for younger kids who still need a little help colouring within the lines!
Required Materials
Here’s what you’ll need to make some fun Christmas-themed crumpled tissue paper art with your kids:
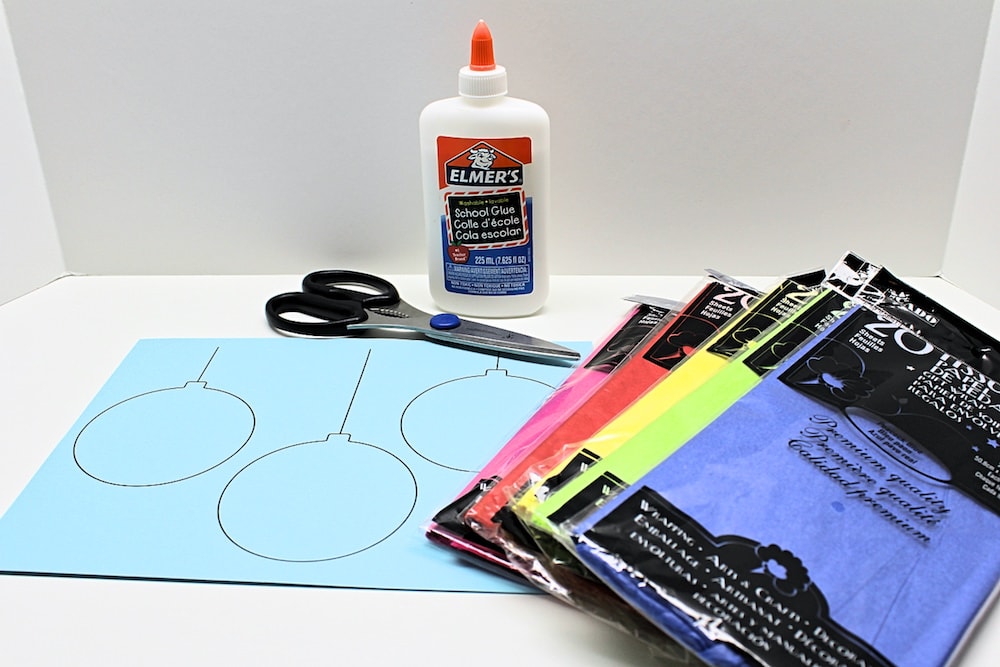
- My free Christmas ornament printable, which you can download using the form at the bottom of this article
- Cardstock (I used some leftover pastel cardstock from our Easter crafts)
- Colourful tissue paper of your choice
- Scissors
- School glue
How to Make Crumpled Tissue Paper Christmas Art (Step-by-Step)
1. Print Template
Start by downloading my free Christmas ornament template and printing it on a sheet of Letter-sized cardstock. I used light blue for the background, but you’re free to choose any colour you like.
2. Cut Tissue Paper
Next, use scissors to cut the tissue paper into medium-sized squares. Ours measured about 2” x 2”, but there’s no need to be exact with it. And there’s definitely no need worry if the squares don’t look perfect since you’re going to be crumpling them up anyway!
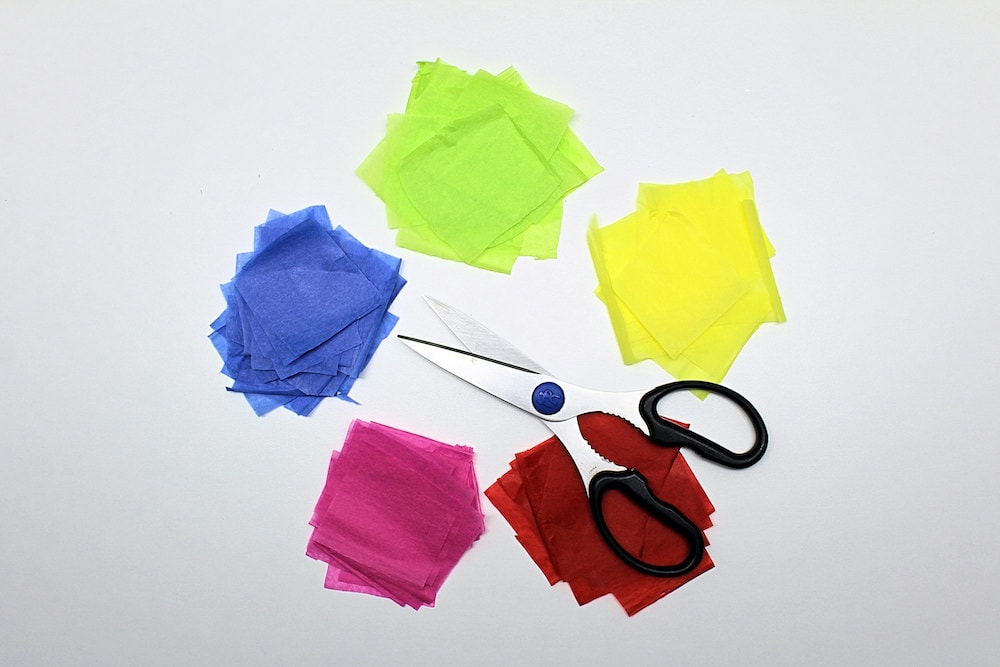
Tip: Place several sheets of tissue paper on top of each other and cut them simultaneously to speed up the process.
3. Crumple Tissue Paper
Once you’re done cutting the tissue paper into squares, start crumpling them up! No need to do anything fancy with them—we simply crumpled each one up into a little ball using our hands.
This is a great job to give to younger kids who want to participate, and a great way to keep them busy for a while! To make things easier, you can place all the squares in a medium-sized bowl and let your little ones grab whichever ones they like.
4. Glue Tissue Paper
Once you’re done crumpling up the squares of tissue paper, it’s time to glue them onto the sheet of cardstock. Start by squeezing out individual dots of school glue for each ball of tissue paper. Then, once you get the hang of it, feel free to draw lines that are enough to glue several balls of tissue paper onto the template!
Be creative with how you place the balls of tissue paper and don’t be afraid to create patterns with multiple colours!
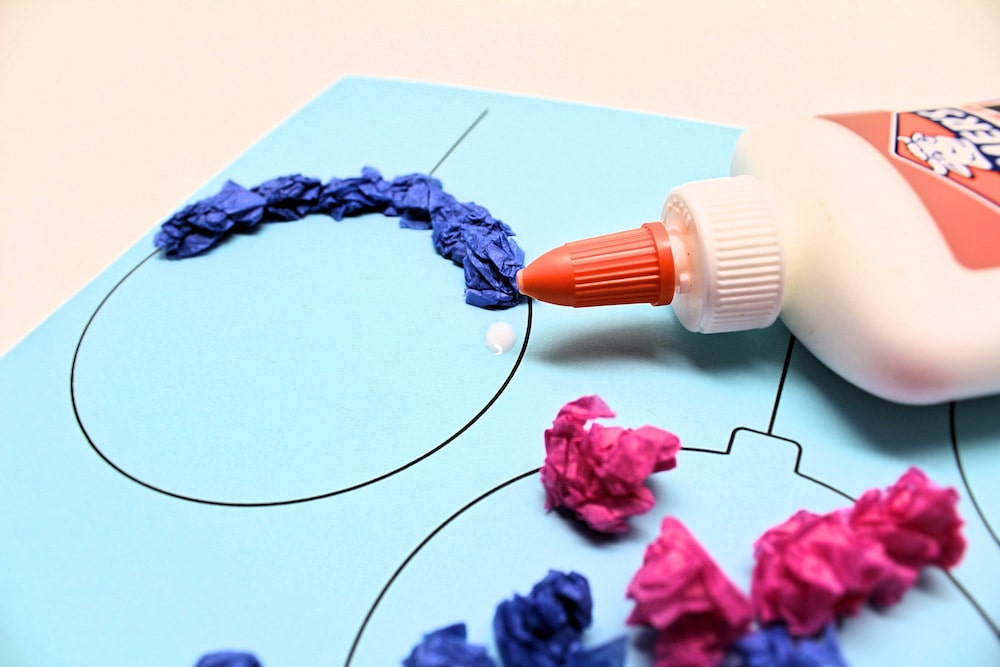
Note: If you have younger kids who can’t squeeze glue out of the bottle, feel free to pour some into a small container for them. They can then dip the balls of tissue paper into the glue or use a paintbrush to apply it to the cardstock.
5. Let Dry
Once the ornaments on the printed template are covered, simply let the glue dry (this won’t take long) and your artwork will be ready to display! Doesn’t it look so neat? I love the cheerful colours and three-dimensional texture!
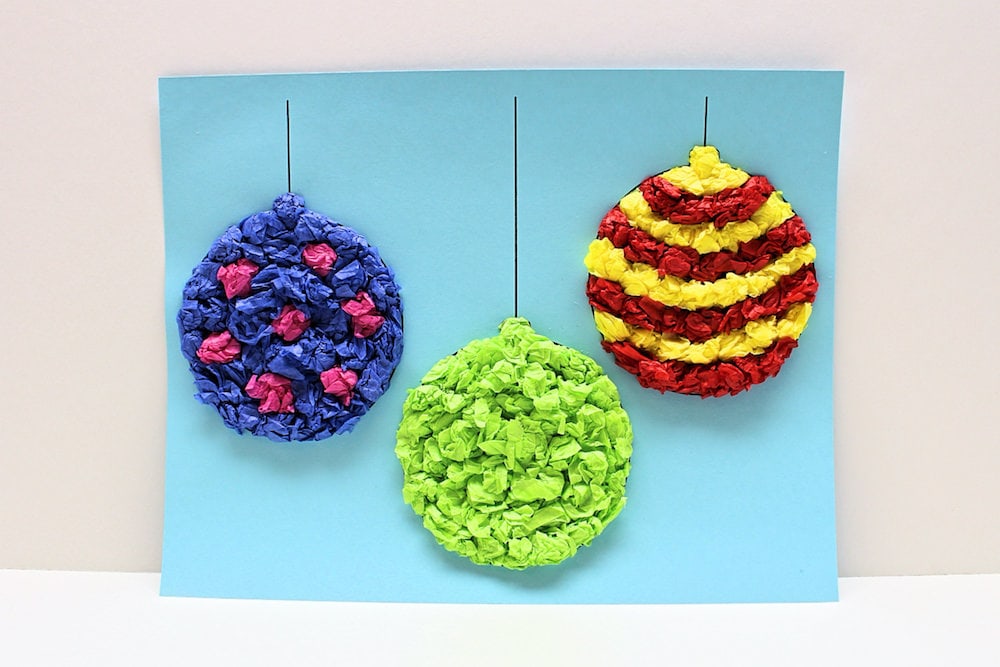
This project was super fun, and we’re really excited to do some more crumpled tissue paper art this season!
You can download the template I used by entering your email address in the form below (or visiting our free printables library if you’re already a subscriber), but I’ll likely be creating more holiday images you can use as Christmas approaches, so be sure to sign up for our newsletter if you’d like to receive them all!
Related Winter Crafts
Looking for more fun holiday-themed crafts that you can do at home with your kids? Check out this article:
Join my mailing list using the form below to receive your free Christmas ornament printable as a welcome gift! Subscribers gain access to my free printables library as well as to exclusive content that may never be published on my site!
j’ai hate d’essayer avec mes élèves
Ça fait plaisir. J’espère qu’ils s’amuseront beaucoup!
merci